
Lawn Care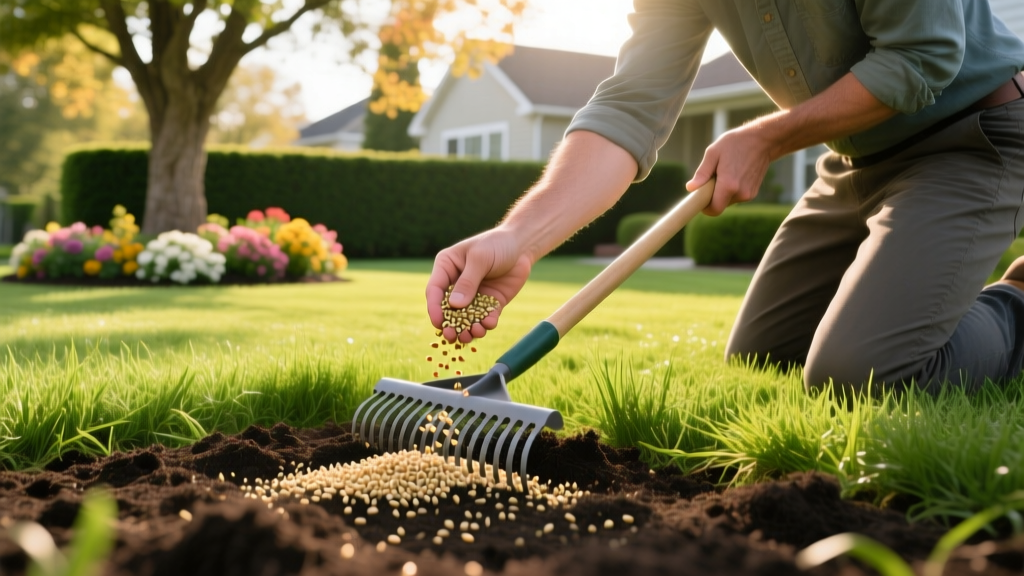
How to Plant Lawn Grass from Seed: Complete Establishment Guide
The Reality of Lawn Establishment: Why Most Seedings Fail
Learning how to plant lawn grass successfully requires moving beyond the basic instructions printed on the back of a seed bag. Industry data indicates that nearly 70% of DIY lawn seeding failures occur due to improper seedbed preparation and incorrect watering protocols, not poor seed viability. Grass seed requires exact soil-to-seed contact, precise moisture levels, and specific soil temperatures to trigger germination. This guide provides a professional-grade framework for planting lawn grass from seed, focusing on the exact measurements, equipment, and timelines required to establish a dense, weed-free turf.
Pre-Planting Soil Diagnostics: The Hidden Failure Point
Before purchasing seed, you must understand your soil's chemical and physical profile. Broadcasting seed over compacted, acidic, or nutrient-deficient soil guarantees thin, patchy results. According to Penn State Extension, a comprehensive soil test is the non-negotiable first step in lawn establishment.
Pro Tip: The Mehlich-3 Test
Request a Mehlich-3 soil test from a lab like Logan Labs or your local university extension. This test measures base saturation and Cation Exchange Capacity (CEC), revealing not just what nutrients are present, but how well your soil can actually hold onto them. Aim for a CEC above 12 meq/100g for optimal nutrient retention in new lawns.
Request a Mehlich-3 soil test from a lab like Logan Labs or your local university extension. This test measures base saturation and Cation Exchange Capacity (CEC), revealing not just what nutrients are present, but how well your soil can actually hold onto them. Aim for a CEC above 12 meq/100g for optimal nutrient retention in new lawns.
Correcting Soil pH and Structure
Most turfgrasses thrive in a soil pH between 6.0 and 7.0. If your test results show a pH below 6.0, apply pelletized calcitic lime at a rate of 50 lbs per 1,000 square feet to raise the pH by approximately 0.5 points. Conversely, if your pH is above 7.5, apply elemental sulfur at 10 to 15 lbs per 1,000 square feet. For heavy clay soils, avoid the common mistake of adding sand, which creates a concrete-like matrix. Instead, incorporate 2 to 3 cubic yards of composted organic matter per 1,000 square feet using a rototiller to improve drainage and microbial activity.
Selecting the Right Seed Blend for Your Hardiness Zone
Choosing the correct grass species dictates your long-term maintenance costs, drought tolerance, and shade viability. The table below outlines the precise seeding rates and environmental requirements for the most common turfgrasses used in residential lawns.
| Grass Species | Seeding Rate (lbs/1,000 sq ft) | Optimal Soil Temp | Days to Germinate | Primary Use Case |
|---|---|---|---|---|
| Tall Fescue (TTTF) | 5 - 8 | 50°F - 65°F | 7 - 14 | Transition zones, high traffic, drought tolerance |
| Kentucky Bluegrass (KBG) | 1 - 2 | 50°F - 60°F | 14 - 30 | Northern climates, full sun, rhizome spreading |
| Perennial Ryegrass | 5 - 7 | 50°F - 65°F | 5 - 10 | Quick cover, nurse crop, high wear areas |
| Bermudagrass (Seeded) | 1 - 2 | 65°F - 75°F | 10 - 14 | Deep south, extreme heat, full sun |
For cool-season lawns, always purchase seed blends rather than single-species bags. A mix of 80% Turf-Type Tall Fescue and 20% Kentucky Bluegrass provides the deep root structure of fescue with the lateral spreading and self-repairing capabilities of bluegrass.
Step-by-Step Seedbed Preparation
Proper grading and tilling ensure water drains away from your foundation and prevents seed washouts during heavy rains. The University of Minnesota Extension recommends a minimum slope of 1% to 2% away from structures.
- Eradicate Existing Vegetation: Apply a 41% glyphosate solution to the entire area. Wait a full 14 days for complete systemic kill. Do not till live weeds into the soil, as this distributes weed rhizomes and seeds.
- Rough Grading: Rent a skid steer with a Harley rake attachment (typically $150-$200 per day) or use a heavy-duty landscaping rake to remove rocks larger than 2 inches and establish your final drainage slope.
- Apply Starter Fertilizer: New seedlings require high phosphorus for root development. Apply a starter fertilizer with an N-P-K ratio similar to 10-18-10 at a rate that delivers 1.0 lb of actual nitrogen per 1,000 square feet.
Regulatory Warning: Many states and municipalities ban phosphorus fertilizers unless a recent soil test explicitly proves a deficiency. Check your local agricultural extension regulations before purchasing high-phosphorus starter blends.
- Final Seedbed Smoothing: Use a lawn roller half-filled with water to firm the soil. This prevents the seed from settling into deep footprints later, which causes uneven germination.
Sowing and Initial Watering Protocols
When learning how to plant lawn grass, the application method is just as critical as the seed itself. Use a broadcast spreader for large areas and a drop spreader for precise edges. Divide your total seed volume in half. Broadcast the first half walking horizontally across the yard, and the second half walking vertically. This cross-hatch pattern eliminates striping and missed spots.
The 14-Day Moisture Matrix
Grass seed must remain constantly moist, but never waterlogged, until germination is complete. Overwatering causes seed rot and fungal diseases like Pythium blight (damping off).
- Days 1-14 (Germination Phase): Water lightly 2 to 3 times per day for 5 to 10 minutes per zone. The goal is to keep the top 1/2 inch of soil damp. If the seed dries out completely for even a few hours during this phase, the germination process halts and the seed dies.
- Days 15-28 (Establishment Phase): Reduce watering frequency to once per day, but increase the duration to 20-30 minutes. This encourages the new roots to grow deeper into the soil profile to chase the moisture.
- Day 30+ (Maturation Phase): Transition to standard deep and infrequent watering—providing 1 to 1.5 inches of water per week, split across two sessions.
Troubleshooting Common Establishment Failures
Even with meticulous preparation, environmental variables can disrupt establishment. The University of California IPM outlines several common failure modes and their specific remedies.
Crusting and Washouts
If heavy rain occurs within 48 hours of seeding, you may experience seed washout or soil crusting, where the top layer of soil dries into a hard shell that sprouts cannot penetrate. The Fix: Apply a thin layer of certified weed-free straw (not hay, which contains agricultural weed seeds) at a rate of one bale per 1,000 square feet immediately after seeding. The straw breaks the impact of raindrops and retains surface moisture. If crusting has already occurred, lightly drag a piece of chain-link fence or a stiff push broom over the soil to break the crust without uprooting sprouts.
Damping Off (Pythium Blight)
If seeds germinate but the sprouts suddenly collapse, turn brown at the soil line, and die, you are dealing with damping off. This soil-borne fungus thrives in hot, humid, and excessively wet conditions. The Fix: Immediately reduce watering frequency and improve air circulation. For severe outbreaks, apply a preventative fungicide containing azoxystrobin or propiconazole, strictly following the label rates for newly seeded turf.
Post-Germination Care and The First Mow
Patience is required before the first mow. Do not mow until the majority of the turf has reached at least 3.5 to 4 inches in height. When you do mow, ensure your mower blades are freshly sharpened; dull blades will tear the tender new shoots, pulling them out by the roots. Follow the "one-third rule": never remove more than one-third of the grass blade in a single cutting. Set your mower deck to 3 inches for the first cut. Leave the clippings on the lawn to act as a natural mulch and return nitrogen to the soil. Avoid heavy foot traffic and postpone any broadleaf weed control applications until the new lawn has been mowed at least three times.

