
Lawn Care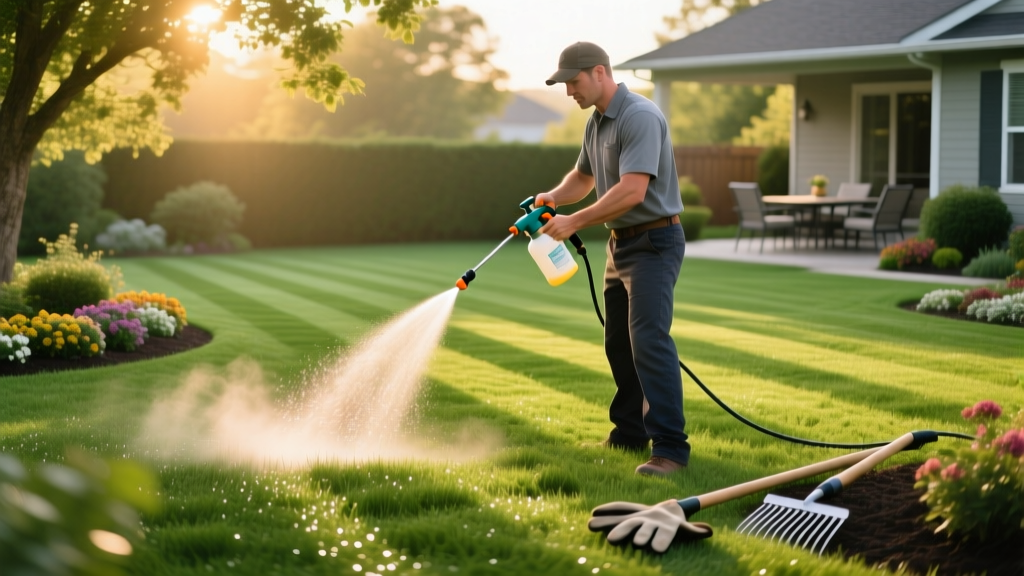
How to Spray Grass: Step-by-Step Liquid Lawn Care Guide
Applying liquid treatments to your turf—whether broadcasting post-emergent herbicides like 2,4-D or applying liquid nitrogen fertilizers like 46-0-0 urea—requires mathematical precision. When homeowners spray grass without proper calibration, the results are binary and unforgiving: over-application causes severe phytotoxicity (chemical burn), while under-application fails to kill weeds and accelerates chemical resistance. This step-by-step maintenance procedure details the exact equipment, calibration math, and mixing protocols required for professional-grade liquid lawn care.
Choosing the Right Sprayer for Your Lawn Size
Before you can spray grass effectively, you must match your equipment to your turf area. Hose-end sprayers are largely obsolete for precise herbicide work due to fluctuating water pressure and inconsistent siphon rates. For modern lawn maintenance, pump and backpack sprayers are the industry standard.
| Sprayer Type | Recommended Model | Capacity | Best For | Avg. Cost |
|---|---|---|---|---|
| 1-Gallon Pump | Chapin 20000 | 1 Gal | Spot treatments, flower beds, lawns under 1,000 sq ft | $15 - $22 |
| 2-Gallon Pump | Solo 418 | 2 Gal | Small to medium urban lawns (1,000 - 2,500 sq ft) | $25 - $35 |
| 4-Gallon Backpack | Chapin 61800 | 4 Gal | Large suburban lawns (2,500 - 10,000 sq ft) | $60 - $95 |
| Wheeled Push | NorthStar Spot Sprayer | 13 Gal | Acreage, athletic fields, commercial properties | $350 - $500 |
Step 1: Calibrating Your Sprayer (The 1,000 Sq Ft Method)
Chemical labels dictate application rates per 1,000 square feet. To determine how much water your specific sprayer outputs over that exact area, you must calibrate it. According to Penn State Extension, calibration accounts for your unique walking speed, pump pressure, and nozzle wear.
- Mark a Test Area: Measure out a 20 ft by 50 ft section of your lawn (exactly 1,000 sq ft). Use landscaping flags to mark the corners.
- Fill with Water: Fill your sprayer tank with clean water to a specific, easily readable line (e.g., the 2-gallon mark).
- Spray the Area: Walk the 1,000 sq ft test area at your normal, comfortable walking pace while maintaining a consistent pumping rhythm (aim for 40-50 PSI on the gauge).
- Measure the Deficit: Return to your fill station and use a graduated measuring cup to pour water back into the tank until it reaches the original 2-gallon line.
- Calculate: If it took 1.5 gallons (192 ounces) of water to refill the tank, your application rate is 1.5 gallons per 1,000 sq ft. You will now mix your chemical concentrate based on this exact water volume.
Pro Tip: A standard walking speed of 3 miles per hour translates to 132 feet per minute. If you find yourself walking much faster or slower than this during calibration, adjust your pace to hit the 3 mph mark, as this is the baseline speed used by commercial turf managers for uniform coverage.
Step 2: Mixing the Tank Using the W.A.L.E.S. Protocol
When mixing multiple liquid lawn products (e.g., a broadleaf herbicide, a liquid iron supplement, and a surfactant), the order in which you add them to the tank dictates whether they will blend smoothly or form a useless, clumpy sludge that clogs your nozzles. Agricultural chemists use the W.A.L.E.S. acronym to ensure chemical compatibility.
The W.A.L.E.S. Mixing Order
- W - Wettable Powders (WP): Add dry powders first. Pre-mix them in a separate bucket with a small amount of water to create a slurry before pouring into the main tank.
- A - Agitate: Shake or stir the tank vigorously to ensure the powders are fully suspended in the water.
- L - Liquid Suspensions / Flowables (F): Add thick, cream-like liquid concentrates next.
- E - Emulsifiable Concentrates (EC): Add your standard liquid herbicides and fertilizers (like 2,4-D amine or liquid urea).
- S - Surfactants / Solutions: Add non-ionic surfactants (NIS), methylated seed oils (MSO), or crop oil concentrates last. Adding surfactants early creates excessive foam that makes it impossible to fill the tank accurately.
Step 3: Application Techniques and Nozzle Selection
The physical act of spraying grass requires attention to nozzle geometry and boom height. Most consumer sprayers come equipped with cheap, adjustable cone nozzles. These are unacceptable for turf maintenance because they apply more chemical in the center of the spray pattern than at the edges, leading to streaky lawns and overlapping chemical burns.
Upgrade to a Flat Fan Nozzle
Swap your factory nozzle for a TeeJet 11004-VS Flat Fan Nozzle (approximately $8-$12). This nozzle produces a 110-degree fan pattern that guarantees edge-to-edge uniformity when overlapped correctly.
- Boom Height: Keep the nozzle exactly 18 to 24 inches above the turf canopy. If you hold the wand too high, wind drift will carry your herbicide into neighboring flower beds. If you hold it too low, the fan pattern will not have enough distance to widen and overlap properly.
- Overlap: When spraying adjacent passes, overlap the edges of your spray pattern by 20% to ensure no strips of grass are missed.
- Wind Limits: Never spray grass if wind speeds exceed 10 mph. Use a digital anemometer or the Beaufort scale (if leaves are rustling continuously and small branches are moving, it is too windy to spray).
Step 4: Post-Spray Cleanup and Storage
Failing to properly clean your sprayer after applying hormone-based herbicides (like 2,4-D, Dicamba, or Triclopyr) will result in severe damage to your lawn or ornamental plants the next time you use the tank to apply fertilizer or water. Microscopic residues cling to the plastic walls and rubber O-rings.
To neutralize and remove herbicide residue, follow the triple-rinse ammonia protocol:
- Drain any leftover mixture safely onto the lawn (never into storm drains or sewers, per EPA pesticide disposal guidelines).
- Fill the tank 1/4 full with clean water, add 1 tablespoon of household ammonia per gallon of water, and spray it through the nozzle to clean the internal hoses.
- Let the ammonia solution sit in the tank for 15 minutes to break down the ester or amine herbicide bonds.
- Drain, then rinse twice more with plain water. Remove the nozzle and filter screen, cleaning them with a soft-bristle toothbrush.
Common Spray Grass Mistakes to Avoid
- Spraying in High Heat: Applying Dicamba-based products when temperatures exceed 85°F causes the chemical to volatilize (turn into a gas) and drift, damaging nearby trees and shrubs. Spray early in the morning when temperatures are below 80°F.
- Skipping the Surfactant: Most turfgrass leaves have a waxy cuticle designed to repel water. If your herbicide label calls for a Non-Ionic Surfactant (NIS) and you omit it, the chemical will bead up and roll off the weed leaf, wasting your time and money. Use 1 teaspoon of NIS per gallon of water.
- Mowing Too Soon: Wait at least 48 hours after spraying grass with systemic herbicides before mowing. The weeds need their full leaf surface area intact to absorb and translocate the chemical down to their root systems.

