
Lawn Care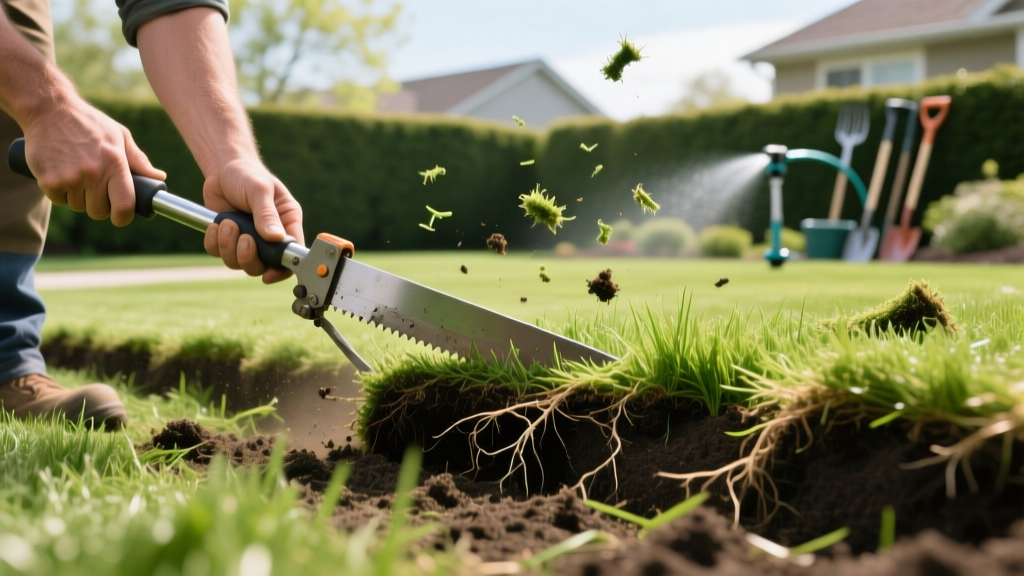
How to Take Out Grass for Lawn Renovation: Step-by-Step Guide
Removing existing turf is the most critical and physically demanding phase of any lawn renovation, hardscaping project, or xeriscape conversion. If you fail to completely remove or neutralize the existing root system, aggressive grasses will quickly penetrate new soil amendments, paver bases, or garden beds. The method you choose to take out grass depends entirely on your timeline, budget, and the specific grass species currently growing in your yard.
This guide provides exact measurements, equipment specifications, and step-by-step procedures for the three most effective turf removal techniques used by landscaping professionals in 2026.
Evaluating Your Turf Removal Options
Before renting equipment or buying materials, match your project constraints to the appropriate removal method. Tilling is intentionally excluded from this matrix; rototilling active turf chops rhizomes and stolons into thousands of viable pieces, guaranteeing a severe weed infestation in your newly prepared soil.
| Method | Time to Completion | Estimated Cost (per 1,000 sq ft) | Physical Effort | Best Use Case |
|---|---|---|---|---|
| Mechanical Sod Cutting | 1 to 2 days | $85 - $120 (Equipment rental) | High | Instant prep for new sod, patios, or hardscapes |
| Soil Solarization | 4 to 8 weeks | $30 - $50 (Plastic sheeting) | Low | Organic eradication of invasive rhizomes and soil pathogens |
| Sheet Mulching | 3 to 6 months | $100 - $150 (Compost/Mulch) | Moderate | Converting turf to garden beds while building soil biology |
Pre-Removal Preparation (Required for All Methods)
Regardless of the technique you select, you must complete these preparatory steps to avoid damaging infrastructure or wasting effort.
- Call 811: Contact the National 811 Safe Digging service at least 72 hours before cutting or digging. Utility locators will mark underground gas, water, and fiber-optic lines for free. A sod cutter blade can easily sever shallow irrigation or low-voltage lighting lines.
- Mow the Turf: Lower your mower deck to its minimum setting (usually 1 to 1.5 inches). Scalping the grass reduces the biomass you have to manage and allows solarization plastic or sheet mulch to sit flush against the soil.
- Water Deeply: Two days before starting, apply 1 inch of water to the lawn. Moist soil conducts heat better during solarization and allows sod cutter blades to slice cleanly through the root zone without tearing.
Method 1: Mechanical Sod Cutting (Fastest for Large Areas)
If you need to take out grass and immediately install new sod, pour a concrete slab, or lay a gravel patio base, mechanical sod cutting is the only viable option. You will need to rent a walk-behind sod cutter (such as a Billy Goat SC18 or Ryan Renovation Equipment model) from a local equipment yard.
Step-by-Step Execution
- Set the Blade Depth: Adjust the cutter blade to 2.5 inches. Cutting shallower leaves behind deep-rooted weeds and rhizomes. Cutting deeper creates excessively heavy sod rolls (wet soil weighs roughly 40 lbs per square foot) that are nearly impossible to move manually.
- Cut Parallel Strips: Start at the longest straight edge of your lawn. Push the cutter forward in straight, continuous lines. Overlap each pass by 1 inch to ensure no strips of grass are left behind.
- Cross-Cut the Strips: Use a flat spade or a landscaping knife to cut the long strips into manageable 2-foot by 2-foot squares.
- Roll and Remove: Roll up the squares and load them into a wheelbarrow. If the soil is dry, the rolls will break apart; if it is properly moistened, they will hold together.
Pro Tip: Do not leave removed sod sitting on the lawn for more than 24 hours. The dead grass will begin to decompose, creating a slimy, anaerobic mat that is difficult to load into a truck or trailer.
Method 2: Soil Solarization (The Organic Eradication Route)
Soil solarization uses the sun's radiant energy to bake the soil, killing grass, weed seeds, and soil-borne pathogens. According to the University of California Integrated Pest Management program, this method can raise soil temperatures to 140°F in the top two inches, effectively cooking the root systems of even the most stubborn grasses.
Step-by-Step Execution
- Select the Right Plastic: Purchase 2-mil to 4-mil clear UV-resistant polyethylene sheeting. Do not use black plastic; black plastic shades the soil and prevents the deep penetration of radiant heat required to kill deep rhizomes.
- Lay the Sheeting: Unroll the clear plastic directly over the scalped, moistened lawn. Ensure the plastic is pulled as tight as possible. Any air gaps between the plastic and the soil will create cool spots where grass can survive.
- Trench the Edges: Dig a 6-inch deep trench around the entire perimeter of the plastic. Bury the edges of the plastic in the trench and pack the soil tightly over it to create an airtight seal.
- Wait and Monitor: Leave the plastic in place for 4 to 8 weeks during the peak heat of summer (June through August). The grass will turn yellow within a week and brown within three weeks. Leave it in place until the soil biology has fully broken down the dead root mass.
Method 3: Sheet Mulching (Best for Soil Health and Garden Beds)
If your goal is to take out grass to plant trees, shrubs, or a vegetable garden, sheet mulching (often called lasagna composting) is the superior method. As noted by Penn State Extension, this technique smothers the existing turf while simultaneously building a rich, biologically active topsoil layer.
Step-by-Step Execution
- Source Clean Cardboard: Collect large, plain brown cardboard boxes from appliance stores. Remove all packing tape, glossy labels, and staples. Glossy inks and adhesives can introduce unwanted chemicals into your new garden bed.
- Lay the Cardboard Barrier: Wet the scalped lawn thoroughly. Lay the cardboard directly on the grass, overlapping every seam by at least 6 inches. Grass rhizomes are highly opportunistic and will find any gap smaller than 4 inches to push through.
- Wet the Cardboard: Use a hose to completely saturate the cardboard. This initiates the decomposition process and prevents it from blowing away while you work.
- Apply Organic Layers: Spread a 3-inch layer of nitrogen-rich material (grass clippings, vegetable scraps, or compost) over the cardboard. Follow this with a 3- to 4-inch layer of carbon-rich material (arborist wood chips or shredded leaves).
- Cure the Bed: Allow the bed to cure for 3 to 6 months. The cardboard will smother the grass, and the underlying earthworms will pull the organic matter down into the soil profile, leaving you with a loose, plant-ready bed.
Critical Edge Case: Dealing with Invasive Rhizomatous Grasses
If your lawn consists of Bermudagrass, Kikuyugrass, or Quackgrass, standard removal methods require modification. These species spread via thick, fleshy underground stems called rhizomes, which can survive up to 12 inches below the soil surface.
Warning: Never use a rototiller on Bermudagrass or Quackgrass. A single mature rhizome chopped into a 1-inch piece can generate a new, highly aggressive plant. Tilling effectively multiplies your weed problem by a factor of hundreds.
To take out grass with invasive rhizomes, you must either use mechanical sod cutting set to a depth of 4 inches (requiring heavy-duty commercial equipment) or rely on a double-cycle solarization process. If solarizing, leave the clear plastic on for a full 8 weeks, remove it, water the soil to encourage any surviving rhizomes to sprout, and then re-apply the plastic for another 4 weeks.
Disposal and Repurposing Removed Sod
Once you have successfully taken out the grass, you must manage the biomass. A 1,000-square-foot lawn yields roughly 2,500 to 3,000 pounds of sod and soil.
- Composting in Place: Stack the removed sod rolls in a shady corner of your yard, grass-side down. Cover the pile with a heavy tarp. In 12 to 18 months, the grass will decompose into nutrient-dense topsoil that you can use to level low spots in your new lawn.
- Municipal Green Waste: Most municipal green waste bins accept sod, but they strictly limit the weight. Check your local waste management guidelines; you may need to break the sod into small chunks and distribute it across several weekly pickup cycles.
- Professional Hauling: If you are on a tight timeline, hiring a local junk removal service to haul away the sod typically costs between $150 and $300 per truckload, depending on the weight and local landfill tipping fees.

