
Lawn Care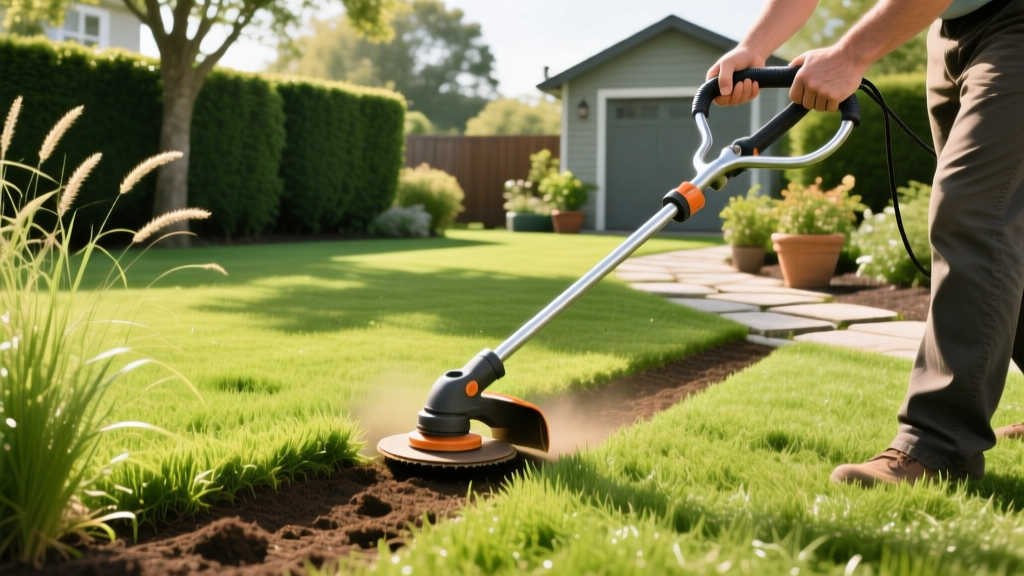
How to Use an Edger for Crisp Lawn Borders: Beginner Guide
The Anatomy of a Perfect Edge
A meticulously mowed lawn still looks unfinished if the borders are overgrown and ragged. Edging creates a physical barrier between your turfgrass and hardscapes (driveways, sidewalks, and flower beds), preventing grass stolons from creeping into unwanted areas while delivering that professional, manicured aesthetic. For beginners, learning how to use an edger properly is less about brute force and more about understanding depth control, tool geometry, and soil conditions.
According to turf management experts at NC State TurfFiles, maintaining a distinct physical edge reduces the time you spend trimming with a string weed whacker and minimizes herbicide runoff into garden beds by creating a natural catch-basin for mulch and soil.
Choosing the Right Edger for Your Yard
Before you cut into the soil, you need the right tool for your specific property size and soil type. Using a manual half-moon spade on a 10,000-square-foot property will lead to fatigue and inconsistent lines, while bringing a gas-powered walk-behind edger to a small townhouse patio is overkill.
| Edger Type | Top Model Examples | Average Cost | Best Application | Power & Runtime |
|---|---|---|---|---|
| Manual (Half-Moon) | Bully Tools 12-Inch Steel | $35 - $55 | Small touch-ups, tight garden bed curves | Human effort |
| Corded Stick Edger | WORX WG896 (7.5-inch blade) | $90 - $130 | Suburban yards under 5,000 sq ft with accessible outlets | 120V AC (Unlimited runtime) |
| Cordless Stick Edger | EGO EA0800 (56V ARC Lithium) | $160 - $220 | Standard yards, offering high torque without a cord | 56V Battery (30-45 mins) |
| Walk-Behind Gas | McLane 101-5.5GT-7 (9-inch blade) | $550 - $750 | Large estates, deep trenching, heavy clay soils | 3.5 to 5.5 HP Gas Engine |
Pre-Edging Preparation (Do Not Skip)
The most common beginner failure mode is cutting through buried utilities or invisible dog fences. Preparation dictates the quality of your final line.
CRITICAL SAFETY WARNING: Always call 811 or visit call811.com at least 48 to 72 hours before your first deep edging session of the season. Utility companies will mark public lines for free, but you are responsible for locating private lines like sprinkler systems, landscape lighting, and pet fences.
- Mark Your Boundary: If you are establishing a new edge or correcting a wavy one, use inverted marking paint (like Rust-Oleum Professional Inverted Striping Paint) to spray a visual guide line on the grass. Alternatively, stake a mason's line tightly between two landscaping spikes to act as a physical guide for the edger's wheel.
- Mow First: Always mow the lawn before edging. This removes the bulk of the grass canopy, giving you a clear view of the soil line and preventing long grass clippings from tangling in the edger's blade guard.
- Locate Sprinkler Heads: Walk the perimeter and flag any sprinkler heads or 6-inch circular valve boxes (usually green or black plastic) that sit within 3 inches of the concrete. You will need to hand-trench around these to avoid shattering the PVC lateral lines.
Step-by-Step: How to Use an Edger for the First Time
Operating a motorized stick or walk-behind edger requires a specific stance and pacing. Let the tool's RPMs do the work; forcing the blade forward will stall the motor and create a jagged trench.
- Establish Your Stance and Wheel Placement: The guide wheel is your steering mechanism. Place the guide wheel entirely on the hardscape (the concrete driveway or brick walkway). The blade should hang just over the edge, positioned on the grass side. Keep your dominant hand on the main trigger handle and your non-dominant hand on the front auxiliary handle to stabilize lateral wobble.
- Set the Initial Depth (The Two-Pass Method): Never drop the blade to its maximum depth on the first pass, especially in compacted clay soil. Adjust the depth lever to 0.5 inches. This shallow first pass severs the surface grass stolons and creates a visual track for your second pass without bogging down the motor.
- Engage and Walk: Squeeze the throttle to reach full RPMs before the blade touches the soil. Lower the blade into the 0.5-inch track. Walk at a steady pace of about 1 to 1.5 feet per second. If the motor pitch drops significantly, you are walking too fast or the soil is too dense—slow down.
- The Second (Trenching) Pass: Once the entire perimeter is traced, adjust the depth lever to 1.5 inches (the ideal depth for most cool- and warm-season turfgrasses). Run the edger over the same line a second time. This clears the soil out of the trench, creating a sharp 90-degree drop-off that prevents bermudagrass or zoysia from creeping over the concrete.
- Negotiating Corners: Do not try to pivot the edger sharply while the blade is engaged in the soil. Walk past the corner, release the throttle, lift the blade, reposition the wheel for the intersecting line, and begin the cut 6 inches away from the corner, working backward or forward to meet the existing trench.
Common Beginner Mistakes and Field Fixes
Even with the right technique, beginners often encounter specific edge cases that ruin the symmetry of the lawn.
- The "Wobbly" Driveway Line: Cause: Relying entirely on the guide wheel against an uneven or crumbling concrete edge. Fix: Ignore the concrete edge. String a mason's line 2 inches away from the driveway and use the line as your visual guide for the blade, allowing the wheel to track naturally over the uneven surface.
- Scalping the Turf: Cause: Tilting the edger inward, causing the blade guard to crush the grass adjacent to the trench. Fix: Keep the tool perfectly vertical. If your stick edger lacks a robust front wheel, apply downward pressure on the rear handle to keep the chassis level.
- Motor Stalling in Clay: Cause: Wet, heavy clay soil clumping on the blade. Fix: Wait 24 hours after heavy rain before edging clay soils. If you must edge, spray the blade with a silicone-based lubricant (like WD-40 Specialist Dirt & Dust Resistant Dry Lube) to prevent soil adhesion.
Post-Edging Cleanup and Blade Maintenance
A clean trench is useless if the excavated soil is left on the hardscape, where it will wash back into the grass during the next rainstorm or clog your driveway drains.
Use a backpack blower or a stiff-bristled push broom to clear the debris immediately. Blow the soil back onto the lawn, not into the street or storm drains, to comply with local municipal runoff regulations. For garden bed edges, use the excavated soil to build up a slight berm on the garden side, which helps retain mulch.
Blade Maintenance: Edger blades are consumable parts. A standard 9-inch flat replacement blade (such as the Oregon 72-064) will typically last 15 to 20 hours of cutting time in sandy loam, but may dull in as little as 8 hours in heavy, rocky clay. When the blade loses its sharp leading edge, it will begin tearing the grass roots rather than slicing them, resulting in a frayed, brown trench line. Replace the blade when it loses 1/4 inch of its original width, and always disconnect the spark plug wire or remove the battery before performing maintenance.
Frequently Asked Questions
How often should I edge my lawn?
During peak growing season (late spring through early fall), edge every 2 to 3 weeks, or roughly every other time you mow. Warm-season grasses like Bermudagrass and Zoysia spread aggressively via stolons and may require weekly edging in mid-summer to keep hardscapes clear.
Can I just use a string trimmer to edge instead of buying a dedicated edger?
While a string trimmer turned vertically (the "weed whacker edging" method) can maintain an existing edge, it lacks the torque and rigid steel blade required to establish a new trench or cut through thick, matted roots. Dedicated edgers provide a perfectly straight, 90-degree cut that string trimmers simply cannot replicate consistently.

