
Lawn Care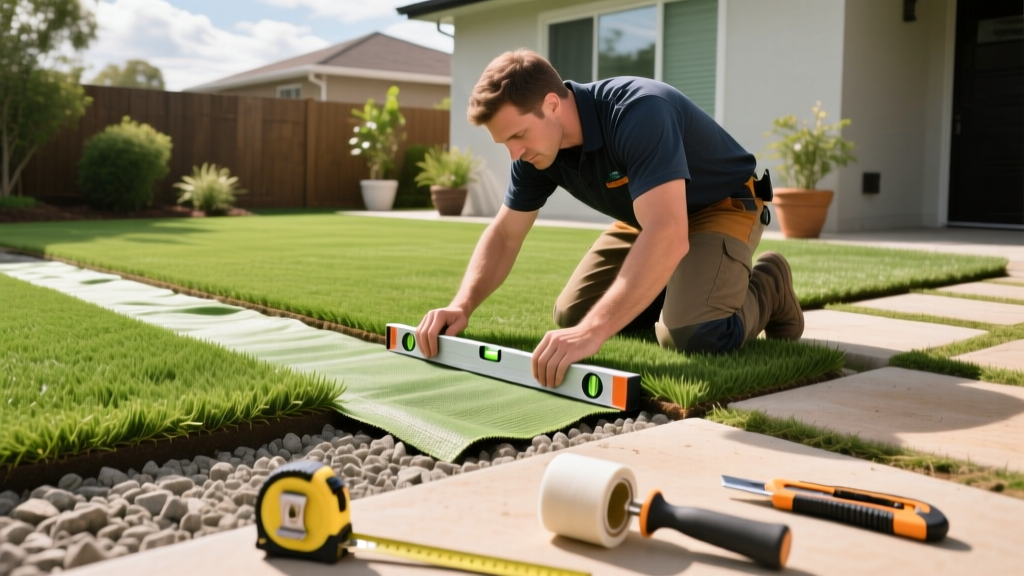
How Do You Install Artificial Lawn? Pro Base Prep & Seaming Guide
The "Soil" of Synthetic Turf: Excavation and Base Engineering
When addressing the question of how do you install artificial lawn, the most critical phase mirrors natural grass establishment: site preparation. Unlike natural turf that relies on biological soil networks, synthetic grass relies entirely on mechanical stability and hydrological drainage. A failed base results in pooling water, seam separation, and premature fiber degradation. The industry standard for a residential installation requires excavating 3 to 4 inches of existing topsoil to remove organic matter that decomposes and causes settling.
Warning: Clay Soil Failure Modes
If your native soil is heavy clay (expansive soil), standard 3-inch excavation is insufficient. Clay retains water and expands/contracts with temperature shifts, which will telegraph through the turf as visible ripples. For clay-heavy yards, excavate to 5 inches and incorporate a 2-inch layer of 3/4-inch clear gravel at the very bottom to create a French-drain-style capillary break before adding your primary base material.
If your native soil is heavy clay (expansive soil), standard 3-inch excavation is insufficient. Clay retains water and expands/contracts with temperature shifts, which will telegraph through the turf as visible ripples. For clay-heavy yards, excavate to 5 inches and incorporate a 2-inch layer of 3/4-inch clear gravel at the very bottom to create a French-drain-style capillary break before adding your primary base material.
Base Material Selection Matrix
The sub-base must be compacted to a minimum of 95% Modified Proctor density. According to guidelines from the Synthetic Turf Council, the choice of aggregate dictates your long-term drainage and surface firmness.
| Material | Composition | Drainage Rate | Best Application |
|---|---|---|---|
| Decomposed Granite (DG) | 3/8" minus crushed granite with fines | Moderate (2-4 in/hr) | Standard residential lawns, pet turf |
| Crushed Limestone | 3/8" minus with high calcium carbonate | High (5-8 in/hr) | High-rainfall climates, putting greens |
| Class II Road Base | 3/4" aggregate with varied gradation | Low (1-2 in/hr) | Deep sub-base only, high traffic driveways |
Step-by-Step Compaction and Grading Protocol
Proper grading ensures water moves away from structures. You must establish a 1% to 2% slope (a 1 to 2-inch drop per 10 feet of run).
- Moisture Conditioning: Lightly mist the base material with a hose. Compacting bone-dry DG or limestone prevents the fines from binding, resulting in a loose, sandy surface that will shift under foot traffic.
- Initial Spread: Lay the base material in 2-inch lifts (layers). Never attempt to compact 4 inches of material at once; the vibratory force of standard plate compactors cannot penetrate deeper than 2 inches effectively.
- Mechanical Compaction: Use a walk-behind vibratory plate compactor (minimum 140 lbs, generating at least 5,000 lbs of centrifugal force). Make three overlapping passes per lift.
- Fine Grading: For the final half-inch, use a leveling drag mat or a heavy wooden lute to ensure absolute smoothness. Any 1/4-inch depression in the base will look like a 1-inch crater once the turf is installed.
Weed Barrier and Shock Pad Integration
Do not use cheap, non-woven landscaping fabric from big-box stores. These materials degrade under UV exposure if exposed at the edges and restrict vertical drainage. Instead, specify a 3 to 4 oz woven geotextile fabric. This woven structure allows water to pass through at high volumes while blocking the photosynthetic growth of weeds.
For play areas or athletic zones, integrate a 5mm to 10mm closed-cell foam shock pad over the geotextile. This pad increases the G-Max (impact attenuation) rating of the surface, making it safer for children while providing a more natural, yielding feel underfoot that mimics natural soil aeration.
Turf Acclimation, Cutting, and Seaming Techniques
The establishment of synthetic turf relies heavily on thermal management and precision seaming. Artificial grass expands and contracts with temperature fluctuations. According to research on synthetic surface thermodynamics from the UC Davis Turfgrass Program, dark green fibers can reach surface temperatures exceeding 140°F in direct summer sunlight, causing significant thermal expansion.
Pro Tip: The Acclimation Rule
Never cut or seam artificial turf in direct sunlight when ambient temperatures exceed 85°F. Unroll the turf in the morning or late evening and let it acclimate to the ambient ground temperature for 2 hours. If you seam hot, expanded turf, the seams will pull apart and create visible gaps when the turf contracts at night.
Never cut or seam artificial turf in direct sunlight when ambient temperatures exceed 85°F. Unroll the turf in the morning or late evening and let it acclimate to the ambient ground temperature for 2 hours. If you seam hot, expanded turf, the seams will pull apart and create visible gaps when the turf contracts at night.
The Dual-Glue Seaming Method
Seam failure is the most common callback for installation contractors. To ensure a permanent bond, use a 12-inch wide polyurethane-coated seam tape and a high-quality adhesive like Roberts 6700 or Superseam Pro.
- Align the Nap: Ensure the grass fibers on both pieces point in the exact same direction. A reversed nap will create a permanent, highly visible shade line.
- Fold and Tape: Fold back both edges of the turf. Lay the 12-inch seam tape centered directly under the joint.
- Apply Adhesive: Trowel a 1/8-inch thick layer of polyurethane adhesive onto the tape, leaving a 1-inch dry margin on the outer edges to prevent squeeze-out.
- Join and Weight: Carefully drop both edges onto the glue. Use a carpet kicker to stretch the turf slightly, ensuring a tight, gap-free joint. Immediately place 50-lb bags of infill sand along the seam to act as a clamping weight while the adhesive cures (typically 2 to 4 hours).
Infill Selection: The Structural "Nutrient"
Infill is not merely a top dressing; it is the structural ballast that weighs down the turf, protects the primary backing from UV degradation, and keeps the grass blades standing upright. For residential lawns, the standard application rate is 1.5 to 2.0 lbs per square foot.
While standard rounded silica sand (16-30 mesh) is the most economical choice, it can retain odors if pets use the yard. For pet-heavy environments, upgrade to an antimicrobial, coated acrylic infill like Envirofill. This material features Microban technology that inhibits the growth of odor-causing bacteria and maintains a cooler surface temperature than raw silica.
Power Brooming and Final Grooming
Apply the infill using a drop spreader in two perpendicular passes (North-South, then East-West) to ensure even distribution. Follow this with a motorized power broom equipped with nylon bristles. The power broom drives the infill down to the backing and stands the grass fibers up. Avoid using stiff wire bristles, which will fray and permanently damage the polyethylene yarn.
2026 Cost Breakdown and ROI Timeline
Understanding the financial establishment of an artificial lawn requires looking at both initial capital and long-term maintenance offsets.
| Cost Category | DIY Material Cost (per sq ft) | Professional Install (per sq ft) |
|---|---|---|
| Excavation & Haul Away | $0.50 - $1.00 | $1.50 - $2.50 |
| Base Materials & Compaction | $0.75 - $1.25 | $2.00 - $3.00 |
| Premium Turf (60oz+ face weight) | $2.50 - $4.50 | $4.00 - $6.00 |
| Infill, Tape, Glue & Nails | $0.50 - $0.80 | $1.00 - $1.50 |
| Total Estimated Cost | $4.25 - $7.55 | $8.50 - $13.00+ |
With average water rates and landscaping maintenance factored in, a professionally installed artificial lawn typically reaches its break-even point in 5 to 7 years in drought-prone regions, after which it generates pure savings.
Frequently Asked Questions
How do you handle tree roots during excavation?
Never compact a rigid sub-base directly over the critical root zone of a mature tree. Leave a 3-foot radius around the trunk unfilled, or use a flexible, non-compacted aggregate like clean pea gravel in that zone. Cover the root zone with the geotextile fabric and lay the turf over it, securing the edges with 6-inch galvanized landscape nails rather than rigid bender board, allowing the roots to expand without buckling the surface.
Can artificial turf be installed over an existing concrete patio?
Yes, but drainage must be addressed first. Drill 1/2-inch weep holes into the concrete every 4 feet to allow water to escape. Because you cannot use nails on concrete, the perimeter must be secured using a high-strength outdoor construction adhesive (like Liquid Nails Polyurethane) applied to a perimeter nailing board, or by gluing the turf backing directly to the concrete edge.

