
Lawn Care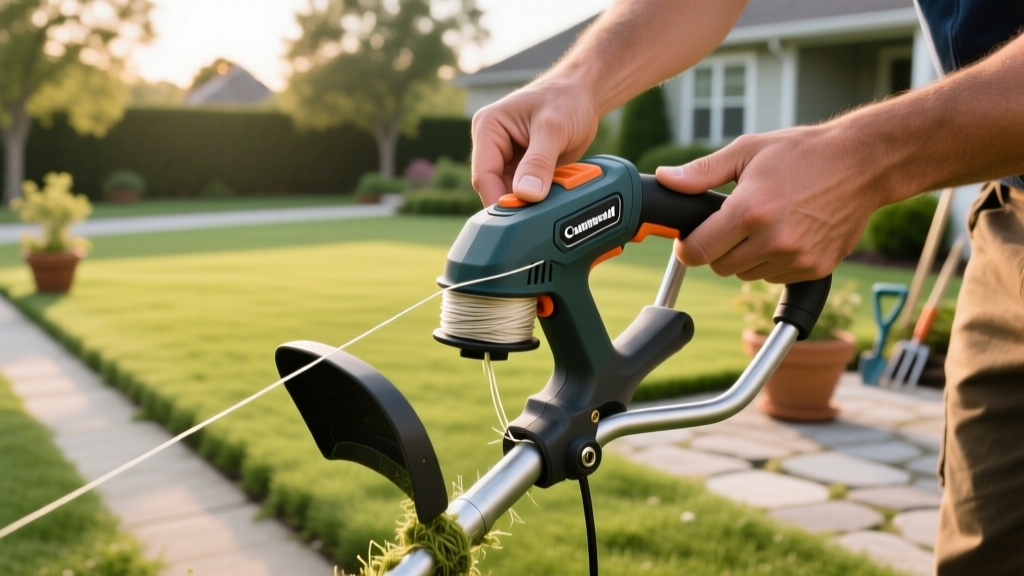
How to Install Trimmer Line on Bump and Speed Feed Heads
Few landscaping tasks are as universally frustrating as a string trimmer that refuses to feed line, snaps continuously, or melts inside the spool. Knowing exactly how to install trimmer line is only half the battle; understanding the material science of the line itself and the mechanical nuances of your specific trimmer head is what separates professionals from weekend warriors. Whether you are running a commercial Husqvarna 525L or a residential EGO 15-inch battery trimmer, the principles of spool tension, material hydration, and eyelet maintenance remain the same.
⚠️ OSHA Safety Directive: According to the OSHA Landscaping eTools, string trimmers can project debris at speeds exceeding 200 mph. Always disconnect the spark plug wire or remove the battery before performing spool maintenance, and wear ANSI Z87.1-rated wrap-around safety glasses when testing the feed mechanism.
The Hygroscopic Secret: Why Your Nylon Line Snaps
Before you even unspool new line, you must understand a critical material property that 90% of homeowners ignore: nylon is hygroscopic. This means it naturally absorbs moisture from the air. When trimmer line sits in a hot, dry garage or the back of a landscaping truck for months, it loses its internal moisture, becoming brittle and highly susceptible to shattering upon impact with concrete or fencing.
The Pro Fix: Submerge your bulk spool of standard nylon trimmer line in a bucket of tap water for 24 to 48 hours before use. The nylon will absorb the water, drastically increasing its tensile strength and flexibility. This single step can extend the operational life of a $6 spool of .095-inch line by up to 40%, reducing the frequency of mid-job breakages. (Note: Copolymer and titanium-infused lines are less hygroscopic and do not require soaking).
Trimmer Line Selection Matrix (2026 Specs & Pricing)
Choosing the wrong diameter or profile for your trimmer's horsepower will cause immediate feed failures. Refer to the University of Minnesota Extension guidelines for matching equipment to terrain. Below is a 2026 market breakdown for selecting the correct line before you begin the installation process.
| Diameter | Best Application | Recommended Profile & Brand | Avg. Price (per lb) |
|---|---|---|---|
| .065" - .080" | Light residential weeds, edging along delicate flower beds. | Round (Standard OEM) | $8.00 - $12.00 |
| .085" - .095" | Medium brush, thick fescue, occasional fence-line contact. | Multi-sided / Serrated (e.g., Oregon Gatorline) | $14.00 - $18.00 |
| .105" - .130" | Heavy overgrowth, commercial properties, woody-stemmed weeds. | Copolymer Twist (e.g., Husqvarna TitaniumForce) | $22.00 - $28.00 |
| .155"+ | Pasture clearing, brush cutters (requires 35cc+ engine). | Square / Heavy Copolymer | $30.00+ |
Step-by-Step: How to Install Trimmer Line on a Bump Feed Head
The dual-line bump feed head (like the Stihl AutoCut 25-2 or Echo Speed-Feed 400) relies on precise winding tension. If the line is wound loosely, the centrifugal force will cause the loops to overlap and bind, resulting in a jammed spool.
- Disassemble and Clean: Press the side tabs or unscrew the central bump knob (note: many bump knobs use reverse/left-hand threads—turn clockwise to loosen). Remove the spool and wash out accumulated grass clippings and dirt from the housing.
- Locate the Anchor Hole: Find the small starter hole in the center hub of the spool. Insert the end of your trimmer line into this hole, pushing it through until about 6 inches protrude from the opposite side. This locks the line in place.
- Wind with Maximum Tension: Follow the directional arrows printed on the spool. Pull the line taut with one hand while turning the spool with the other. Critical: The line must be wound tightly and evenly side-by-side. Do not let the line cross over itself, as this guarantees a feed jam later.
- Secure in the Retention Slots: Leave about 8 inches of line unwound. Snap this trailing end into the temporary retention slits on the spool's outer rim to hold the tension.
- Thread the Eyelets: Feed the loose ends through the metal exit eyelets on the trimmer head housing. Pull the line from the retention slits so it slides freely through the eyelets.
- Reassemble and Test: Align the spool back into the housing, ensuring the line is not caught under the spool base. Screw the bump knob back on (counter-clockwise for reverse threads). Tap the head on the ground while the trimmer is off to release the retention slits and verify smooth line extension.
Speed Feed & Quick Load Systems: The 30-Second Method
If you are using a modern Quick Load or Speed Feed head (common on Echo and Milwaukee battery trimmers), you bypass the need to remove the spool entirely. The mechanism is designed for rapid field reloading.
Quick Load Procedure:
- Rotate the top of the trimmer head until the alignment arrows on the spool and the outer housing match perfectly.
- Push a single, continuous 14-foot length of line straight into one of the exit eyelets.
- Keep pushing the line through the housing and out the opposite eyelet until you have an equal length (about 7 feet) protruding from both sides.
- Rotate the top knob clockwise. The internal gears will automatically grab the line and wind it tightly onto the spool without you ever opening the head.
Troubleshooting: Why Won't My Line Advance?
If you know how to install trimmer line correctly but are still experiencing feed failures, the issue is usually mechanical friction or thermal welding. Use this diagnostic list to identify the failure point:
- Thermal Welding (Line Melted Together): If you pull the line and it won't budge, the friction of the line rubbing against the plastic spool or metal eyelet has generated enough heat to melt the nylon, fusing the loops together. Fix: Cut the line out, discard the spool, and upgrade to a high-melt-point copolymer line.
- Eyellet Grooving: Inspect the metal exit holes on the trimmer head. Over time, the spinning line cuts deep, V-shaped grooves into the metal. These grooves pinch the line and prevent it from sliding out when you bump the head. Fix: Replace the trimmer head housing. Do not attempt to file the grooves out, as this alters the geometry and will cause line breakage.
- Spool Drag (Dirty Housing): If the bump spring is weak or the housing is packed with dried mud, the spool cannot drop down far enough to disengage the locking teeth. Fix: Use compressed air and a wire brush to clean the central shaft and apply a dry PTFE lubricant (never use wet grease, which attracts abrasive dirt).
- Over-Tightened Bump Knob: If you used a wrench to tighten the central spool nut, you have likely compressed the internal spring too much, preventing the mechanical release. Hand-tighten only.
Pro Landscaper Tip: To prevent line from welding inside the spool during heavy summer cutting, keep a spray bottle of water or silicone spray in your truck. A quick mist into the spool housing every 2 hours of continuous operation drastically reduces internal friction and keeps the line feeding smoothly through thick, sap-heavy weeds.
Final Maintenance for Maximum Spool Longevity
Proper installation is futile if the equipment is neglected. After every use, blow out the trimmer head with compressed air to remove micro-clippings that act as an abrasive paste against the nylon line. Store your bulk line spools in sealed zip-top bags with a damp paper towel to maintain the hygroscopic moisture balance. By pairing the correct line diameter with meticulous winding tension and routine eyelet inspections, you will eliminate feed jams and reduce your annual trimmer line expenditure by up to 50%.

