
Lawn Care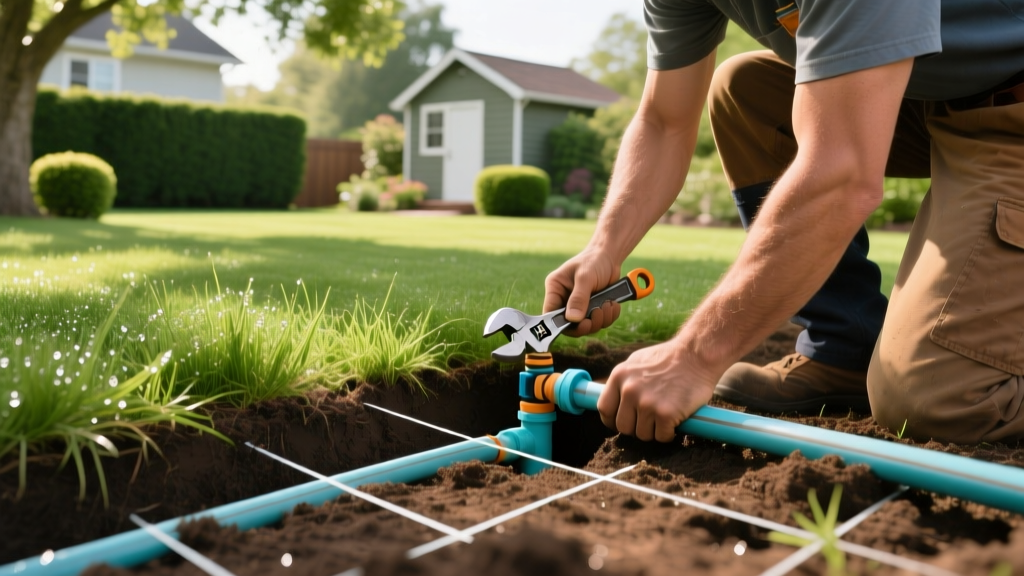
How to Install Sprinklers: Step-by-Step Underground System Guide
Pre-Installation: Flow Rate and Pressure Testing
Learning how to install sprinklers begins long before you dig a single trench. The most critical failure point in DIY irrigation design is skipping the water supply audit. Your home's water meter and service line dictate exactly how many sprinkler heads you can run simultaneously. According to the EPA WaterSense program, an improperly designed system can waste up to 50% of outdoor water through runoff and evaporation.
The 5-Gallon Bucket Flow Test
To determine your available Gallons Per Minute (GPM), place a 5-gallon bucket under your hose bib. Turn the spigot on completely and time how many seconds it takes to fill. Divide 300 by the number of seconds to get your GPM. If it takes 30 seconds, your flow rate is 10 GPM (300 / 30 = 10). Never design zones that exceed 80% of this maximum flow rate to account for pressure drops when other household fixtures are used.
Static Pressure Testing
Attach a pressure gauge (such as the Rain Bird P2A) to your hose bib. Ensure no other water sources in the house are running. Read the static PSI. Most residential rotary nozzles and spray heads operate optimally between 45 and 65 PSI. If your pressure exceeds 75 PSI, you must install a pressure regulator at the point of connection to prevent pipe blowouts and misting.
Hydro-Zoning Your Landscape
Grouping plants by water needs—known as hydro-zoning—is a core principle of modern irrigation. Never place turfgrass and shrubbery on the same valve. Turf requires frequent, shallow watering, while shrubs need infrequent, deep soaking. Furthermore, separate sunny areas from heavily shaded zones. A south-facing bermudagrass lawn will require 30-40% more water than a fescue lawn shaded by mature oak trees.
Pro Tip: Head-to-Head Coverage
Sprinkler heads must be spaced so that the water from one head reaches the adjacent head. If your rotor throws a 25-foot radius, the next rotor must be exactly 25 feet away. Spacing them 30 feet apart creates a dry "donut" in the center of the coverage area.
Material Sourcing and Cost Breakdown
A professional installation typically costs between $4,500 and $8,000 for a standard quarter-acre lot. By sourcing materials yourself and doing the physical labor, you can reduce the cost significantly. Below is a realistic material breakdown for a 6-zone DIY system.
| Component | Recommended Specification | Estimated Cost |
|---|---|---|
| Smart Controller | Rachio 3e (8-Zone) with WiFi | $229.00 |
| Mainline Pipe | 1-inch Schedule 40 PVC | $0.85 / ft |
| Lateral Lines | 1-inch 100 PSI Polyethylene | $0.45 / ft |
| Zone Valves | Hunter PGV-101 (1" w/ Flow Control) | $18.50 each |
| Spray Nozzles | Hunter MP Rotator (MP3000) | $8.00 each |
| Wiring | 14-Gauge UF Irrigation Wire (7-strand) | $0.60 / ft |
| Backflow Preventer | Watts 007 Dual Check Valve | $115.00 |
Step 1: Trenching and Pipe Layout
Before breaking ground, call 811 to have local utility companies mark underground gas, water, and electrical lines. Trenches for lateral lines should be 8 to 12 inches deep. This protects the pipes from aeration tines and minor landscaping work. The mainline, which carries constant pressure from the house to the valves, should be buried at least 12 to 18 inches deep.
Use Schedule 40 PVC for the mainline because it can withstand the constant static pressure of the municipal water supply. For lateral lines (which only pressurize when the valve opens), 100 PSI polyethylene pipe is highly recommended for DIYers. Poly pipe is flexible, forgiving of rocky soil, and uses simple barbed insert fittings with stainless steel clamps, eliminating the need for messy PVC primer and cement in the trench.
Step 2: Assembling the Valve Manifold
The valve manifold is the control center of your system. Build the manifold above ground first, then lower it into a 12-inch deep valve box. Use a manifold with union fittings on both the inlet and outlet sides. This allows you to completely detach the manifold for winterization or repairs without cutting pipes.
Master Valve Integration
Install a master valve on the mainline immediately after the backflow preventer. Wire this to the master valve terminal on your smart controller. The master valve remains closed when the system is idle, preventing slow leaks from a faulty zone valve from flooding your yard or eroding your foundation.
Step 3: Head Placement and Nozzle Selection
According to Penn State Extension, matched precipitation rates are vital for uniform turf health. Never mix traditional spray heads and rotary nozzles on the same zone. Traditional spray heads apply water at roughly 1.5 inches per hour, while MP Rotators apply water at 0.4 inches per hour. If mixed, the spray heads will cause massive runoff before the rotors finish their cycle.
- 0 to 15-foot zones: Use Rain Bird HE-VAN adjustable nozzles or Hunter MP800 short-radius rotators.
- 15 to 30-foot zones: Use Hunter MP3000 rotators. They are highly resistant to wind drift and feature a multi-trajectory stream that penetrates thick turf canopies.
- Narrow Strips: Use matched rectangular side-strip nozzles (e.g., Rain Bird MPR series) rather than trying to overlap quarter-circle sprays, which wastes water on sidewalks.
Step 4: Wiring the Smart Controller
Pull 14-gauge underground feeder (UF) wire through the trench alongside your poly pipe. Leave 3 feet of slack at the manifold and 5 feet at the controller. Each zone valve requires its own dedicated colored wire, plus one shared white "common" wire that connects to the common terminal on every solenoid.
Warning: Waterproof Your Splices
Standard wire nuts will corrode underground within a single season, causing electrical shorts and dead zones. You must use silicone-filled wire connectors, such as the 3M DBR/Y-6 or King Innovation Gel-Mate. Strip the wire, twist the solenoid wire and the UF wire together, and screw on the gel nut until the gel oozes out the bottom, creating a 100% waterproof seal.
Troubleshooting Common Installation Failures
Even meticulously planned systems can exhibit quirks upon first pressurization. Use this diagnostic framework to resolve common issues:
- Symptom: Heads pop up but do not rotate or spray fully.
- Cause: Debris in the solenoid or nozzle filter.
- Fix: Flush the lateral lines by removing the nozzles and running the zone for 30 seconds before reinstalling.
- Symptom: The last head in the zone barely pops up.
- Cause: Pipe diameter is too small, causing excessive friction loss, or the zone exceeds the available GPM.
- Fix: Remove one or two heads from the zone and cap the fittings, or upgrade the lateral pipe from 3/4-inch to 1-inch.
- Symptom: Controller shows a "short circuit" error.
- Cause: A nicked wire in the trench or a failed gel splice.
- Fix: Use a multimeter to test the resistance (ohms) of each wire at the controller. A reading of infinity indicates a cut wire; a reading near zero indicates a short to the common wire.
Final Commissioning and Winterization Prep
Once all zones are tested and adjusted, backfill the trenches, tamping the soil every 4 inches to prevent future settling. Program your smart controller using local evapotranspiration (ET) data rather than arbitrary timers. Modern WiFi controllers automatically adjust run times based on local weather forecasts, ensuring your lawn receives precisely the moisture it needs without wasting municipal water. Finally, ensure your mainline includes a dedicated blow-out port with a hose thread adapter downstream of the backflow preventer, allowing you to connect an air compressor to winterize the system before the first hard freeze.

