
Lawn Care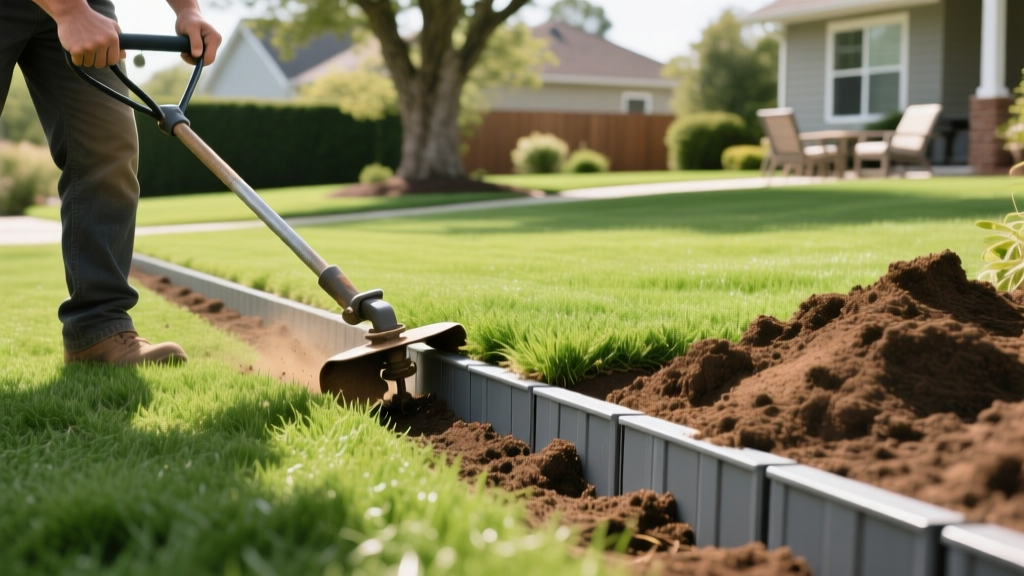
Installing Edging for New Lawns: Material Guide & Trenching Steps
The Critical Role of Edging in Turf Establishment
When establishing a new lawn—whether through sod, seed, or sprigs—installing edging is not merely an aesthetic finishing touch; it is a vital biological and structural boundary. During the first 12 to 18 months of turf establishment, aggressive grasses like Bermuda, Zoysia, and Kentucky Bluegrass send out exploratory rhizomes and stolons. Without a physical subterranean barrier, these new plantings will rapidly invade adjacent mulch beds, gravel paths, and garden borders. Furthermore, properly installed edging dictates the final grade of the lawn, ensuring mower wheels do not scalp the delicate new turf at the perimeter during the critical first mowing cycles.
This guide details the exact specifications, material costs, and trenching protocols required for installing edging that supports long-term turf health and boundary integrity.
Material Comparison Matrix for Lawn Boundaries
Selecting the correct edging material depends on your grass type, soil composition, and budget. Below is a breakdown of the most effective materials used in professional landscape establishment as of 2026.
| Material | Specifications | Avg. Cost (per linear ft) | Lifespan | Best Application |
|---|---|---|---|---|
| Cor-Ten Steel | 14-gauge, 4-inch to 6-inch depth | $4.50 - $6.00 | 20+ years | Modern landscapes, tight curves, aggressive warm-season grasses |
| Extruded Aluminum | 1/8-inch thick, powder-coated | $5.50 - $7.50 | 25+ years | High-end residential, salt-air coastal environments |
| Commercial HDPE | High-density polyethylene, 5-inch depth | $1.50 - $2.50 | 10-15 years | Budget installations, large commercial properties, straight lines |
| Natural Stone/Cobble | Granite or basalt, 4x6 inch blocks | $12.00 - $18.00 | Lifetime | Traditional gardens, heavy clay soils, frost-heave prone zones |
The 5-Step Trenching and Installation Protocol
Improper trenching is the leading cause of edging failure. Follow this exact sequence to ensure a permanent boundary that protects your newly established turf.
Step 1: Utility Clearance and Layout
Before breaking ground, contact your local utility marking service. As mandated by the national Call 811 program, you must have underground lines marked at least 48 to 72 hours before trenching. Once cleared, use a garden hose or marking paint to lay out the boundary. For newly planted sod, set the boundary line exactly 1 inch inside the property line to allow for slight turf expansion without encroaching on public sidewalks.
Step 2: Cutting the Trench
Use a half-moon edger or a mechanical trencher to cut a vertical slice along your marked line. Depth Specifications:
- Cool-Season Grasses (Fescue, Rye): 4-inch deep trench.
- Warm-Season Grasses (Bermuda, Zoysia): 6-inch to 8-inch deep trench to block deep-traveling rhizomes.
The trench should be exactly 1/2 inch wider than your chosen edging material to allow for backfill manipulation.
Step 3: Seating and Staking the Edging
Drop the edging into the trench. For steel or aluminum, overlap joints by at least 4 inches and secure them with the manufacturer's provided locking bolts. Drive the anchoring stakes at a 30-degree angle away from the lawn. This outward angle leverages the soil mass of the garden bed to resist the lateral pressure exerted by the expanding turf root system. Use a rubber mallet to drive stakes until they are flush with the top of the edging.
Step 4: The Grade and Mower Wheel Rule
This is the most critical step for lawn health. The top of the installed edging must sit exactly 0.5 inches below the final soil grade of the new lawn. If the edging is flush with or above the turf, mower wheels will drop off the edge, causing the mower deck to tilt and scalp the new grass. If it is more than 1 inch below, the grass will fold over the edge, creating a ragged appearance and trapping moisture against the turf crown, which invites fungal diseases like brown patch.
Step 5: The Backfill Lock
On the lawn side, backfill with native soil and tamp firmly. On the garden bed side, use a 3:1 ratio of native soil to crushed angular gravel. The angular gravel locks together and provides superior drainage, preventing the frost-heave cycle from pushing the edging upward during winter months. Water the backfill heavily to settle the soil around the stakes.
⚠️ Warning: Mulch Contact
When establishing new beds adjacent to the edging, keep hardwood mulch at least 2 inches away from the turf side of the barrier. Mulch piled against the edging retains excess moisture, creating a microclimate that encourages turfgrass crown rot and attracts turf-destroying pests like chinch bugs.
When establishing new beds adjacent to the edging, keep hardwood mulch at least 2 inches away from the turf side of the barrier. Mulch piled against the edging retains excess moisture, creating a microclimate that encourages turfgrass crown rot and attracts turf-destroying pests like chinch bugs.
Containing Aggressive Grasses: The Rhizome Barrier Strategy
According to turfgrass researchers at NC State University's Center for Turfgrass Environmental Research and Education, warm-season grasses like Tifway 419 Bermuda and Meyer Zoysia can push rhizomes through standard 4-inch plastic edging within two growing seasons.
"For aggressive stoloniferous and rhizomatous species, physical barriers must extend a minimum of 6 inches below the soil surface, and the material must possess enough rigidity to prevent the root tips from exploiting microscopic gaps at the joints."
If you are establishing a Bermuda or Zoysia lawn, you must use 6-inch Cor-Ten steel or a specialized HDPE rhizome barrier with interlocking tongue-and-groove joints. Standard corrugated plastic edging will fail under the hydraulic pressure of a mature Bermuda root system.
Common Installation Failures and Troubleshooting
Even with premium materials, improper technique leads to boundary failure. Watch for these specific edge cases during the first year of establishment:
- Stake Pop-Out: Occurs when stakes are driven straight down (90 degrees) instead of at an outward angle. Fix: Pull the failed stakes, dig a small relief trench, and reinstall them at a 30-degree outward angle using 12-inch galvanized replacements.
- Frost Heave Lift: Common in northern climates with clay-heavy soils. The edging pushes upward in spring. Fix: Ensure the bed-side backfill contains 25% angular gravel to break capillary water action, and verify the trench base was tamped before edging insertion.
- Joint Separation: Happens when thermal expansion pushes steel or plastic joints apart in peak summer heat. Fix: Never butt joints tightly together. Always overlap by 4 inches and use mechanical fasteners (bolts or heavy-duty zip ties for HDPE) rather than relying on friction-fit stakes.
- Scalped Perimeter: The turf along the edge turns brown and dies. Fix: The edging is installed too high. Use a flat spade to shave 0.5 inches of soil off the top of the trench line, lowering the turf grade relative to the barrier.
By integrating these precise trenching depths, material selections, and grading rules into your planting and establishment workflow, you ensure that the boundary of your new lawn remains sharp, biologically contained, and structurally sound for decades.

