
Lawn Care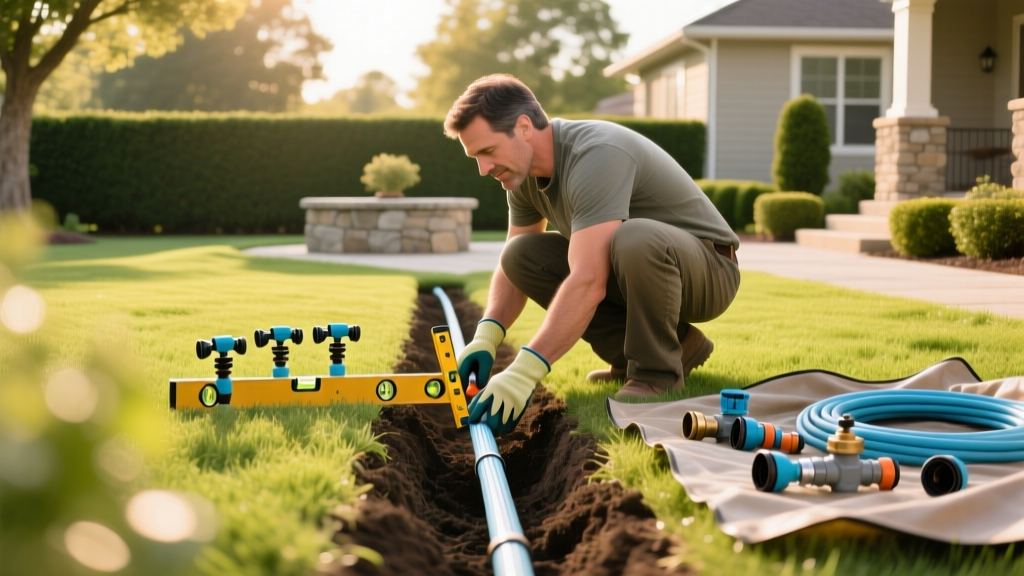
DIY Guide: Installing a Sprinkler System in Your Yard Step-by-Step
The Blueprint: Mapping Your Yard and Calculating Hydraulics
Successfully installing a sprinkler system in your yard begins long before you dig a single trench. The most common point of failure for DIY irrigation projects is designing a layout that exceeds the property's hydraulic capacity. You must determine two critical metrics: static water pressure (measured in PSI) and available flow rate (measured in Gallons Per Minute, or GPM).
The 5-Gallon Bucket Flow Test:
Place a 5-gallon bucket under your main outdoor hose bib. Turn the spigot on completely and time how many seconds it takes to fill the bucket to the 5-gallon line. Divide 300 by the number of seconds to find your GPM. (e.g., 300 / 15 seconds = 20 GPM). This is your absolute maximum flow rate for your entire system.
Place a 5-gallon bucket under your main outdoor hose bib. Turn the spigot on completely and time how many seconds it takes to fill the bucket to the 5-gallon line. Divide 300 by the number of seconds to find your GPM. (e.g., 300 / 15 seconds = 20 GPM). This is your absolute maximum flow rate for your entire system.
According to the EPA WaterSense outdoor irrigation guidelines, efficient system design requires grouping sprinkler heads into zones that do not exceed 80% of your available GPM. If your home supplies 20 GPM, your maximum zone design should cap at 16 GPM to account for pressure friction loss through the pipes and valves.
Material Selection: PVC vs. Polyethylene & Head Types
Choosing the right piping and emission devices dictates the longevity and uniformity of your system. While Schedule 40 PVC is the industry standard for mainlines due to its rigidity and high-pressure tolerance, NSF-rated Polyethylene (poly) pipe is increasingly preferred for lateral lines in regions with heavy clay soils or extreme freeze-thaw cycles, as its flexibility prevents cracking during ground heave.
| Component | Best for DIY | Pros & Cons |
|---|---|---|
| Mainline Pipe | Schedule 40 PVC (1-inch) | Highly durable, handles high PSI. Requires primer/glue and precise cutting. |
| Lateral Pipe | NSF-Poly Pipe (1-inch) | Flexible, freeze-resistant. Uses insert fittings and hose clamps (no glue). |
| Spray Nozzles | Hunter MP Rotator | Low precipitation rate (0.4 in/hr), reduces runoff. Slower watering times. |
| Rotor Heads | Rain Bird 5000 Plus | Covers large areas (25-50 ft radius). Requires higher PSI (45+). |
Critical Zoning Rule: Never mix rotor heads and standard spray nozzles on the same zone. Rotors apply water at roughly 0.2 to 0.4 inches per hour, while traditional sprays apply up to 1.5 inches per hour. Mixing them guarantees either flooded turf under the sprays or drought-stressed grass under the rotors. The University of Minnesota Extension explicitly warns against mismatched precipitation rates within single irrigation zones.
Trenching and Pipe Layout: The Physical Labor
For a standard 5,000-square-foot yard, expect to dig between 600 and 900 linear feet of trench. Renting a walk-behind trencher (like a Ditch Witch 12HP model, typically $150–$180 per day in 2026) will save days of manual labor. Trenches must be dug to a depth of 8 to 12 inches. This places the pipes below the primary aeration and dethatching depth, protecting them from landscaping equipment.
Pro-Tip: Install a Winterization Blowout Port
If you live in a climate where temperatures drop below freezing, installing a blowout port is non-negotiable. Install a brass swing check valve and a hose bib tee fitting immediately downstream of your main shut-off valve, but upstream of the zone manifold. This allows you to connect an air compressor (rated at 80-100 CFM) to evacuate standing water from the lines in late autumn, preventing catastrophic pipe bursts.
Electrical Wiring: Avoiding the Most Common DIY Failures
The solenoid valves in your valve boxes require 24V AC power from the controller. The vast majority of DIY electrical failures stem from moisture infiltration in the wire splices, which causes short circuits that fry the controller's internal transformer.
- Wire Gauge: Use 14-gauge UF-B (Underground Feeder) multi-strand wire for any run exceeding 80 feet to prevent voltage drop. For shorter runs, 18-gauge direct burial wire is sufficient.
- Splicing: Never use standard indoor wire nuts. Strip the wires, twist them tightly, and seal them using silicone-filled grease caps (such as the King Innovation 454 DryConn). These create a 100% waterproof seal that withstands being submerged in muddy valve boxes.
- The Common Wire: All valves share a single "common" wire (usually white or black). Splice the common wire continuously through each valve box, leaving a 12-inch loop in each box for future maintenance. Do not daisy-chain the common wire by cutting it at each valve; a single break will kill all downstream zones.
2026 Cost Breakdown: DIY vs. Professional Installation
Understanding the financial commitment helps set realistic expectations. The pricing below reflects average material and labor costs for a 5,000-square-foot turf area (approximately 1/8 to 1/4 acre) divided into 5 to 6 zones.
| Expense Category | DIY Installation | Professional Contractor |
|---|---|---|
| Smart Controller (e.g., Rachio 3) | $229 | $350 (Marked up) |
| PVC/Poly Pipe & Fittings | $450 - $600 | $800 - $1,100 |
| Valves, Manifolds, & Boxes | $250 | $450 |
| Sprinkler Heads & Nozzles | $300 - $450 | $600 - $900 |
| Equipment Rental (Trencher) | $300 (2 days) | Included |
| Labor & Design | $0 (40+ hours sweat equity) | $2,500 - $4,000 |
| Total Estimated Cost | $1,529 - $1,829 | $4,700 - $6,750 |
Smart Controller Integration and Final Calibration
Once the system is pressurized and backfilled, the final step is programming the controller. Upgrading to a Wi-Fi-enabled smart controller like the Rachio 3 or Hunter Hydrawise is highly recommended. These devices pull real-time hyperlocal weather data to automatically skip watering cycles during rain events and adjust runtimes based on seasonal evapotranspiration (ET) rates.
During calibration, perform a "catch cup test." Place identical flat-bottomed containers (like tuna cans) at various distances from the sprinkler heads across a zone. Run the zone for exactly 15 minutes, then measure the water depth in each cup. This reveals your actual precipitation rate and highlights any dry spots caused by poor head-to-head coverage. Adjust the arc and radius screws on the rotor heads until the distribution uniformity is within 10% across the zone.
Trenching, plumbing, and wiring an underground irrigation network requires meticulous attention to hydraulic math and waterproofing standards. By strictly matching precipitation rates within zones, utilizing silicone-sealed wire connectors, and installing a dedicated blowout port, your DIY system will rival professional installations in both efficiency and lifespan.

