
Lawn Care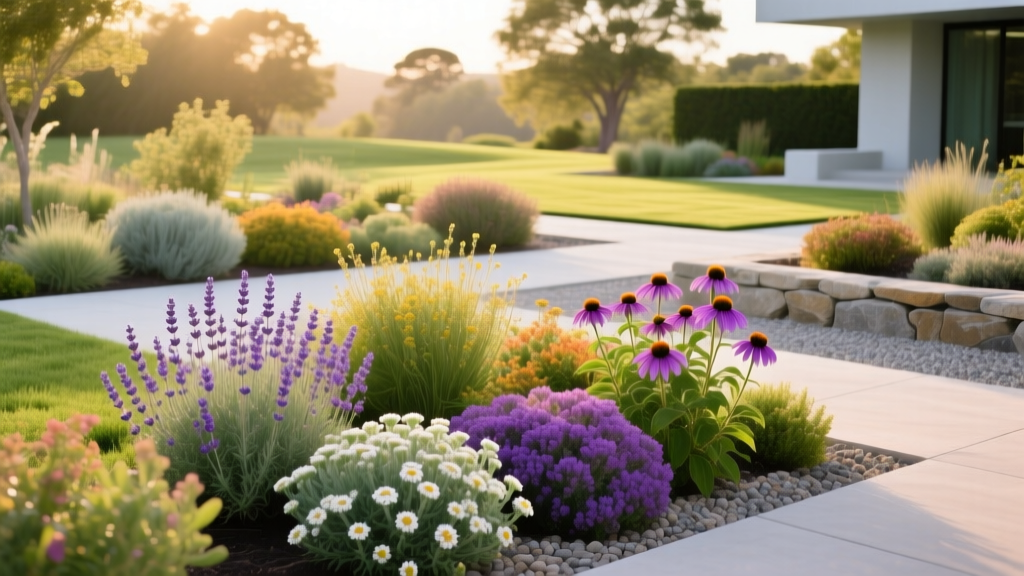
How Drought-Tolerant Perennials Thrive in Hot Weather With Minimal Watering Needs
The Paradox of 'Low Water' Landscaping
The label 'drought-tolerant' is frequently misunderstood by homeowners as synonymous with 'no-water.' In reality, drought-tolerant perennials thrive in hot weather with minimal watering needs only after their root architecture is fully established. During the first 12 to 18 months, these plants require precise, deep-cycle irrigation to drive roots downward. Once mature, their survival mechanisms—such as hydraulic lift, reduced leaf surface area, and deep taproots—allow them to extract moisture from soil profiles that would leave traditional turfgrass dormant or dead.
According to the University of California's WUCOLS database (Water Use Classification of Landscape Species), plants classified as 'Low' or 'Very Low' water use still require strategic supplemental irrigation during extreme heat domes to maintain cellular turgor and bloom production. The secret lies not in the volume of water applied, but in the delivery method and soil hydrology.
The Establishment vs. Maintenance Rule
Months 1-6: Water 2-3 times per week to keep the top 6 inches of soil consistently moist (not saturated).
Months 6-18: Reduce frequency to once a week, but increase duration to push water 12 inches deep.
Year 2+ (Mature): Water only during extended dry spells (14+ days without rain) or extreme heat (above 95°F), applying a deep soak every 10-14 days.
Root Architecture and Water Extraction
To irrigate effectively, you must understand where the plant drinks. Traditional lawn sprinklers wet the top 2-4 inches of soil, encouraging shallow, fibrous root systems that bake in summer heat. Xeric perennials rely on deep taproots or extensive lateral rhizomes.
- Echinacea purpurea (Purple Coneflower): Develops a taproot that can reach 5 to 8 feet deep in uncompacted prairie soils, accessing subsoil moisture entirely unavailable to surface-irrigated plants.
- Lavandula angustifolia (English Lavender): Utilizes a dense, fibrous root system concentrated in the top 12-18 inches, but highly adapted to extracting water from fast-draining, rocky substrates.
- Achillea millefolium (Yarrow): Spreads via aggressive underground rhizomes that can stretch several feet laterally, seeking out micro-pockets of soil moisture.
Because these roots dive deep, overhead sprinkler irrigation is highly inefficient. Evaporation losses in hot weather can exceed 40% before water penetrates the thatch or mulch layer. Subsurface or targeted drip irrigation is mandatory for optimizing water use efficiency (WUE).
Precision Drip Irrigation Specifications
The EPA WaterSense program highlights that drip irrigation systems deliver water directly to the root zone with 90% efficiency, compared to 50-70% for traditional spray heads. For drought-tolerant perennials, you must transition from high-volume spray to low-volume point-source emitters.
| Perennial Species | Mature Root Zone Depth | Emitter Type & Flow Rate | Emitter Spacing / Layout |
|---|---|---|---|
| English Lavender | 12 - 18 inches | 0.5 GPH Drip Emitter | 2 emitters per plant, 6" from crown |
| Purple Coneflower | 24 - 36 inches | 1.0 GPH Drip Emitter | 1 emitter per plant, 8" from crown |
| Sedum 'Autumn Joy' | 8 - 12 inches | 0.5 GPH Drip Emitter | 1 emitter per plant, 4" from crown |
| Yarrow (Achillea) | 18 - 24 inches | 1/4" Inline Drip Tubing | Grid layout, 12" spacing (0.9 GPH) |
Note: GPH stands for Gallons Per Hour. Using low-flow emitters allows you to run the system for longer durations (e.g., 2-4 hours), which is necessary to push water past the 12-inch mark in heavy clay soils without causing surface runoff.
Soil Hydrology: Maximizing Every Drop
You cannot separate irrigation efficiency from soil composition. Drought-tolerant perennials will quickly succumb to crown rot (often caused by Phytophthora pathogens) if water pools around their base. The goal is rapid surface infiltration paired with deep subsoil retention.
The Mulch Matrix
Organic mulch reduces soil surface evaporation by up to 70% and keeps root-zone temperatures 10°F to 15°F cooler than ambient air. However, application technique is critical:
- Material: Use shredded hardwood bark or inorganic decomposed granite (DG). Avoid fine materials like peat moss or sawdust, which become hydrophobic when dry and shed water away from the root zone.
- Depth: Apply exactly 2 to 3 inches. Less than 2 inches fails to suppress evaporation; more than 4 inches restricts oxygen exchange to the roots.
- The 'Donut' Rule: Keep mulch at least 2 to 3 inches away from the plant's crown (the point where stems meet roots). Piling mulch against the stem traps moisture, inviting fungal pathogens and rodent damage.
Amending Heavy Clay
If your soil percolation rate is slower than 1 inch per hour (common in heavy clay), deep watering will result in puddling. Do not attempt to 'fix' this by tilling in massive amounts of compost after planting. Instead, top-dress annually with a 1/2 inch layer of coarse compost and rely on earthworms and root exudates to incorporate it. For immediate drainage improvement around new plantings, mound the planting hole 2-3 inches above the surrounding grade to ensure the crown stays dry while roots penetrate the native soil.
Converting a Sprinkler Zone to Drip
Many homeowners inherit landscapes with spray heads on the same valve as their garden beds. Mixing turfgrass and xeric perennials on a single irrigation zone guarantees one will die: either the lawn burns up, or the perennials drown. Here is the exact protocol to convert a bed zone to drip:
- Step 1: Cap the Spray Heads. Dig down to the sprinkler body, unscrew the nozzle and filter, and thread in a PVC or poly cap. Leave the pipe intact underground.
- Step 2: Install a Conversion Kit. At the valve, install a pressure regulator (reducing PSI from 45+ down to 25-30 PSI for drip lines) and a 120-mesh Y-filter to prevent emitter clogging.
- Step 3: Lay the Poly Tubing. Run 1/2-inch blank poly tubing along the spine of the garden bed.
- Step 4: Punch and Connect. Use a goof-plug punch tool to insert 1/4-inch barbed connectors, running micro-tubing to the base of each perennial.
Critical Irrigation Mistakes to Avoid
Even with the right plants, poor execution will ruin a xeriscape. Watch for these specific failure modes:
Warning: Winter Wetness
The number one killer of Mediterranean perennials (like Lavender, Rosemary, and Salvia) is not summer drought, but winter wetness. When these plants go dormant in late fall, their water requirements drop to near zero. If your drip system runs on an automatic timer that isn't adjusted for seasonal ET (Evapotranspiration) rates, you will waterlog the root zone during cold months, leading to fatal root asphyxiation. Always shut off and winterize xeric zones by late November.
Another common error is 'frequent sipping.' Watering for 10 minutes every day wets only the top inch of soil and the mulch layer. This encourages shallow roots and promotes weed seed germination on the surface. Always default to deep, infrequent soakings that force roots to chase the moisture front downward.
Frequently Asked Questions
Can I use soaker hoses instead of point-source drip emitters?
Soaker hoses (made from recycled rubber or porous vinyl) are acceptable for densely planted groundcovers like creeping thyme or sedum. However, for spaced perennials like coneflowers or lavender, soaker hoses waste water by wetting the empty soil between plants, which only encourages weed growth. Point-source emitters are vastly superior for spaced xeric plantings.
How do I know when my mature perennials actually need water?
Do not rely on visual wilting alone; some plants wilt temporarily in the afternoon heat to reduce transpiration, recovering by evening. Instead, use a 6-inch soil probe or a long screwdriver. Push it into the soil near the root zone. If it slides in easily and comes out with soil clinging to it, moisture is adequate. If it meets hard resistance and comes out clean and dry, it is time to run a deep irrigation cycle.

