
Lawn Care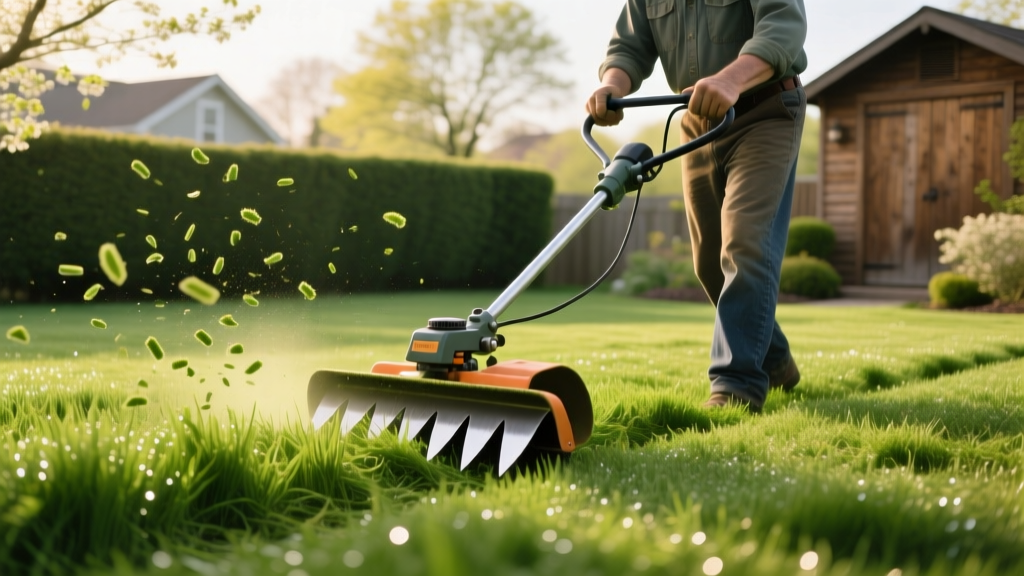
Step-by-Step Guide: Using a Lawn Scalper for Spring Renovation
In professional turf management, a lawn scalper does not refer to the accidental mistake of cutting your grass too short with a rotary mower. Instead, it refers to a specialized piece of heavy-duty mechanical equipment—typically a gas-powered verticutter, power rake, or flail dethatcher—designed to aggressively penetrate the thatch layer, prune lateral stolons, and scratch the soil surface. For homeowners maintaining warm-season grasses like Bermuda, Zoysia, or Centipede, deploying a lawn scalper in early spring is the most effective step-by-step procedure to eliminate winter dormancy buildup, eradicate shallow thatch, and prepare the turf canopy for sand topdressing and leveling.
Tool Clarification: Scalping vs. The Lawn Scalper
Scalping is the practice of lowering a standard reel or rotary mower to its minimum height (often 0.125 to 0.5 inches) to remove dead brown tissue. A lawn scalper (power rake/verticutter) uses vertically spinning steel flail blades or tines that physically strike the ground, slicing through the thatch mat and pulling it to the surface. While mowing removes dead leaf blades, the lawn scalper extracts the decaying organic matter trapped at the soil line.
Equipment Specifications and 2026 Rental Economics
Before initiating the procedure, you must select the correct machine. Standard consumer-grade electric dethatchers lack the torque and blade rigidity required for true spring renovation. You need a Class 1 or Class 2 commercial walk-behind power rake.
| Machine Type | Blade Mechanism | Ideal Grass Type | Avg. Daily Rental (2026) |
|---|---|---|---|
| Flail Power Rake | Freely swinging steel flails | Bermuda, Zoysia | $85 - $115 |
| Fixed Verticutter | Rigid, fixed steel blades | Bermuda, Centipede | $95 - $130 |
| Reel Mower (Scalping) | Helical cutting cylinder | All Warm-Season | $60 - $90 (or Purchase) |
According to turfgrass scientists at Clemson University Extension, mechanical thatch removal via verticutting or power raking should only be performed when the turf is actively entering its spring green-up phase, never during winter dormancy or peak summer heat stress.
Step 1: Timing the Soil Temperature Trigger
The most common failure point in spring renovation is deploying the lawn scalper too early. If you tear up the thatch layer while the grass is still fully dormant, you expose the crown and shallow roots to late-spring frost damage and desiccation.
- The Metric: Wait until the soil temperature at a 2-inch depth consistently reads 65°F (18°C) for three consecutive mornings.
- The Visual Cue: The turf should be showing 20% to 30% green-up at the base of the stems, indicating the root system is actively pulling moisture and preparing for vegetative growth.
- The Tool: Use a digital soil probe thermometer rather than relying on ambient air temperature or regional planting zone calendars, which can be off by up to three weeks during erratic spring weather patterns.
Step 2: Pre-Scalping Canopy Reduction
Do not drive a heavy-duty lawn scalper directly into a lawn that is still at its winter height (often 2 to 3 inches of matted, dead tissue). You will stall the machine's engine and clog the discharge chute.
- Initial Mowing: Set your standard rotary mower to 1.0 inch. Mow the entire lawn in a standard grid pattern.
- Bagging: Attach a bagger or use a lawn sweeper to remove the initial layer of loose, dead leaf blades. This exposes the true thatch mat (the spongy, brown layer of stolons and roots) to the scalper blades.
- Moisture Check: The soil should be slightly moist but not saturated. If the ground is muddy, the scalper flails will tear out live root systems rather than slicing through dry organic matter. Withhold irrigation for 48 hours prior to the procedure.
Step 3: Operating the Lawn Scalper (Depth and Pattern)
Proper calibration of the machine's depth lever is critical. The goal is to fracture the thatch and lightly score the soil, not to rototill the yard.
Calibrating the Depth
Lower the flail blades until they just make contact with a hard surface (like a driveway), then adjust the depth lever so the blades penetrate exactly 1/8 to 1/4 inch into the soil. If you are dealing with a severe thatch layer exceeding 0.75 inches, you may need to make two passes: the first set just above the soil line to extract the bulk thatch, and the second set slightly lower to scarify the dirt.
The Execution Pattern
Drive the machine in straight, parallel lines across the lawn's primary axis. Overlap each pass by 2 inches to ensure no strips of thatch are missed. For lawns with severe lateral compaction or heavy thatch, a second pass in a diagonal (45-degree) direction will create a cross-hatch pattern, drastically improving soil aeration and preparing the surface for sand topdressing.
Step 4: Debris Extraction and Agronomic Recovery
A properly executed scalping procedure on a 5,000 sq. ft. Bermuda lawn will generate an astonishing volume of debris—often 15 to 30 contractor bags of dead thatch. Leaving this debris on the lawn will smother the new shoots and invite fungal pathogens.
Clearing the Canvas
Use a heavy-duty metal leaf rake or a tow-behind lawn sweeper to remove 100% of the extracted thatch. The lawn should look aggressively thin, brown, and dirt-heavy. This is the correct outcome.
The Recovery Protocol
Because you have removed the turf's natural insulation and stressed the plant, immediate agronomic support is mandatory to drive rapid stolon recovery.
- Fast-Release Nitrogen: Apply 0.5 to 0.75 lbs of Nitrogen per 1,000 sq. ft. using a fast-release source like Urea (46-0-0). This translates to roughly 1.1 to 1.6 lbs of product per 1,000 sq. ft. The University of Florida IFAS recommends this immediate nitrogen spike to fuel the lateral spread of newly exposed stolons.
- Irrigation: Apply 0.25 inches of water immediately after fertilization to dissolve the urea and wash it into the scored soil surface, preventing nitrogen volatilization.
- Topdressing (Optional but Recommended): With the thatch removed and the soil scarified, this is the exact window to drag in a 1/4-inch layer of washed river sand or a 70/30 sand-soil mix to level the turf canopy.
Troubleshooting Common Lawn Scalper Mistakes
Even with the right equipment, operator error can derail the renovation process. Watch for these specific failure modes:
- Failure Mode: Trenching the Yard.
Cause: Setting the depth lever too aggressive (1/2 inch or deeper).
Fix: You have effectively tilled the soil, severing the primary root zone. You must immediately overseed or lay sod in the trenched areas, as the existing grass crowns are likely destroyed. - Failure Mode: Machine Clogging and Stalling.
Cause: Operating on wet, saturated soil or failing to pre-mow the winter canopy.
Fix: Stop immediately. Clean the flail chamber with a wire brush and scraper. Allow the lawn to dry for 48 hours before resuming. - Failure Mode: Slow Green-Up Post-Scalping.
Cause: Applying pre-emergent herbicides (like Prodiamine) immediately after scalping.
Fix: Pre-emergents inhibit cell division. If you apply them immediately after tearing up the stolons, you will chemically prevent the grass from recovering and spreading. Wait until the lawn has achieved 80% green-up before applying spring pre-emergents.
Using a lawn scalper transforms a compacted, thatch-choked warm-season lawn into a pristine, level canvas ready for the growing season. By strictly adhering to soil temperature triggers, precise blade depths, and aggressive post-scalping nitrogen recovery, you ensure the turf rebounds thicker and more resilient within 21 to 30 days.

