
Lawn Care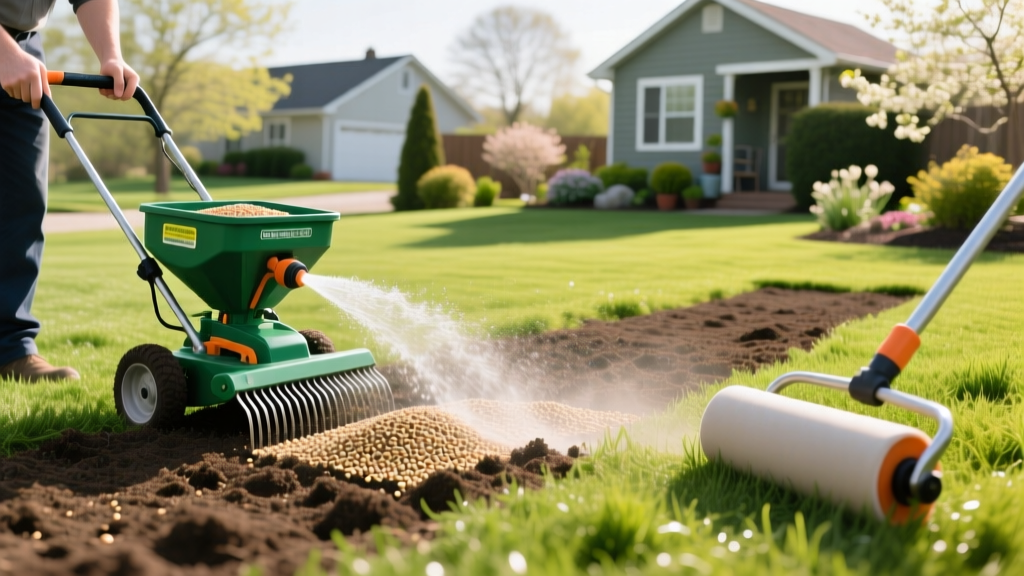
Step-by-Step Lawn Seeding: Application Steps & Lawn Starter Customer Service
The Critical Role of Starter Fertilizer in New Lawns
Establishing a new lawn or overseeding an existing one requires a precise nutrient profile that standard maintenance fertilizers cannot provide. Starter fertilizers are specifically formulated with elevated phosphorus levels (the middle number in the N-P-K ratio, typically 24-25-4) to stimulate rapid root development in germinating seeds. According to Penn State Extension, phosphorus is relatively immobile in soil, meaning it must be present in the top 1 to 2 inches of the seedbed where new roots emerge. However, even with premium products like Scotts Turf Builder Lawn Starter Food for New Grass, application errors, manufacturing anomalies, or environmental factors can lead to failure. When your seed fails to germinate or your new grass suffers chemical burn, knowing how to properly leverage lawn starter customer service becomes just as important as your initial application technique.
Step-by-Step Lawn Starter Application Procedure
To ensure optimal germination and minimize the risk of fertilizer burn, follow this exact application protocol. In 2026, a standard 14 lb. bag of premium starter fertilizer covering 5,000 square feet retails for approximately $28 to $34.
- Conduct a Soil Test: Before applying any starter fertilizer, verify your soil pH. Grass seed thrives in a pH range of 6.0 to 7.0. If your pH is below 5.5, phosphorus becomes chemically locked and unavailable to the seedling, rendering your starter fertilizer useless.
- Grade and Rake the Seedbed: Remove debris and loosen the top 1/4 inch of soil. If overseeding, use a core aerator or dethatcher to break through the thatch layer, ensuring the fertilizer prills make direct soil contact.
- Calibrate Your Spreader: For Scotts Turf Builder Lawn Starter (24-25-4), set a Scotts Classic Drop Spreader to 4.5, or a Scotts Rotary Spreader to 3.5. This delivers the required 3.2 lbs of product per 1,000 square feet.
- Apply in a Crisscross Pattern: Spread half the product walking North-South, and the other half walking East-West. This prevents striping and ensures uniform nutrient distribution.
- Initiate the Watering Schedule: Water immediately after application to dissolve the prills and move the phosphorus into the soil profile. Keep the top 1 inch of soil consistently moist (watering 10-15 minutes, 2 to 3 times daily) until seeds germinate.
Troubleshooting Matrix: Common Lawn Starter Failures
When a newly seeded lawn fails, homeowners often blame the seed or the fertilizer. Use this diagnostic matrix to identify the actual failure mode before contacting support.
| Symptom | Probable Cause | Immediate Corrective Action |
|---|---|---|
| Yellowing or browning of new grass tips | Fertilizer burn from overlapping spreader passes or excessive application rate. | Flush the area with 1 inch of water daily for 3 days to leach excess salts below the root zone. |
| Seed germinates but dies within 14 days | Damping-off disease or shallow watering causing root desiccation. | Increase watering depth; apply a preventative fungicide containing Azoxystrobin if disease is confirmed. |
| Zero germination after 21 days | Pre-emergent herbicide residue (e.g., Prodiamine) in soil, or expired seed. | Check herbicide application history. Pre-emergents block root emergence. You must wait out the residual period. |
| Green algae forming on soil surface | Overwatering combined with poor drainage and high phosphorus surface runoff. | Reduce watering frequency; lightly rake the surface to break the algae crust and allow oxygen to reach seeds. |
Navigating Lawn Starter Customer Service for Warranty Claims
Major turf care manufacturers offer robust satisfaction guarantees. The Scotts No-Quibble Guarantee, for instance, promises a full refund or replacement if you are unsatisfied with the product's performance. However, successfully processing a claim through lawn starter customer service requires specific documentation. Customer service representatives cannot authorize refunds based solely on anecdotal claims of "dead grass."
⚠️ Warning: Phosphorus Runoff Regulations
Many municipalities and states (including New York, Minnesota, and parts of Florida) strictly prohibit the use of phosphorus-containing starter fertilizers unless you can prove via a recent soil test that your soil is deficient in phosphorus, or you are establishing a new lawn from seed or sod. Always check local 2026 environmental ordinances before purchasing starter fertilizer to avoid municipal fines.
What to Prepare Before Calling Customer Service
If your lawn has suffered severe burn or total failure despite following the exact application steps, gather the following data points before dialing the 1-800 number on the back of the bag or submitting an online portal claim:
- The Lot Code and Date Code: Locate the 10-to-12 character alphanumeric string printed on the back seam or bottom gusset of the bag. This allows the manufacturer to trace the exact production run and check for known batch defects (e.g., uneven nutrient coating or moisture intrusion at the packaging facility).
- Proof of Purchase: A digital or physical receipt showing the date of purchase and the retailer. Claims submitted more than 90 days after purchase are frequently denied.
- Calibrated Square Footage: Calculate the exact square footage of the treated area. If you applied a 5,000 sq. ft. bag to a 2,500 sq. ft. lawn, the customer service team will identify this as user error (double-application) and deny the claim.
- Timestamped Photographic Evidence: Take wide-angle photos showing the overall lawn condition, and macro photos showing the specific damage to the grass blades or soil surface. Ensure your camera's location and date metadata are enabled.
"Manufacturers track lot codes to identify if a specific batch of prills was exposed to warehouse humidity, causing the nitrogen to clump and release unevenly. Providing this code is the fastest way to get a replacement approved." — Regional Turf Agronomist
Advanced Edge Cases: Why Starter Fertilizer Might Fail
Even when the product is flawless and customer service confirms the batch is clean, environmental edge cases can sabotage your seeding effort. Understanding these variables separates novice homeowners from turf professionals.
1. Cation Exchange Capacity (CEC) Limitations
Sandy soils have a low CEC, meaning they cannot hold onto nutrients effectively. If you apply starter fertilizer to heavy sand and water heavily, the highly soluble nitrogen and potassium will leach past the root zone within 48 hours. For sandy soils, split your starter application into two half-doses spaced 14 days apart.
2. The Mesotrione Interaction
If you are using a premium seed-starting herbicide containing Mesotrione (e.g., Tenacity) to prevent weeds during germination, be aware that it can cause temporary bleaching (whitening) of new grass tips. Homeowners frequently mistake this herbicide reaction for fertilizer burn and file unwarranted claims with lawn starter customer service. Mesotrione bleaching is cosmetic and resolves after the second mowing.
3. Spreader Hopper Moisture
Leaving leftover starter fertilizer in your spreader hopper overnight allows ambient humidity to dissolve the prill coating. The next morning, the product will clump and drop in massive, concentrated chunks, causing severe localized chemical burn. Always empty and wash your spreader immediately after use.
Final Steps for a Successful Lawn Establishment
Applying lawn starter fertilizer is a highly technical process that sets the foundation for your lawn's long-term health. By adhering to precise spreader settings, understanding the chemistry of phosphorus mobility, and knowing exactly how to document and escalate issues through lawn starter customer service, you protect both your investment and your time. Keep your soil test results, receipts, and lot codes in a dedicated lawn care folder, ensuring that if a manufacturing defect ever occurs, you have the exact data required to secure a fast, no-hassle replacement.

