
Lawn Care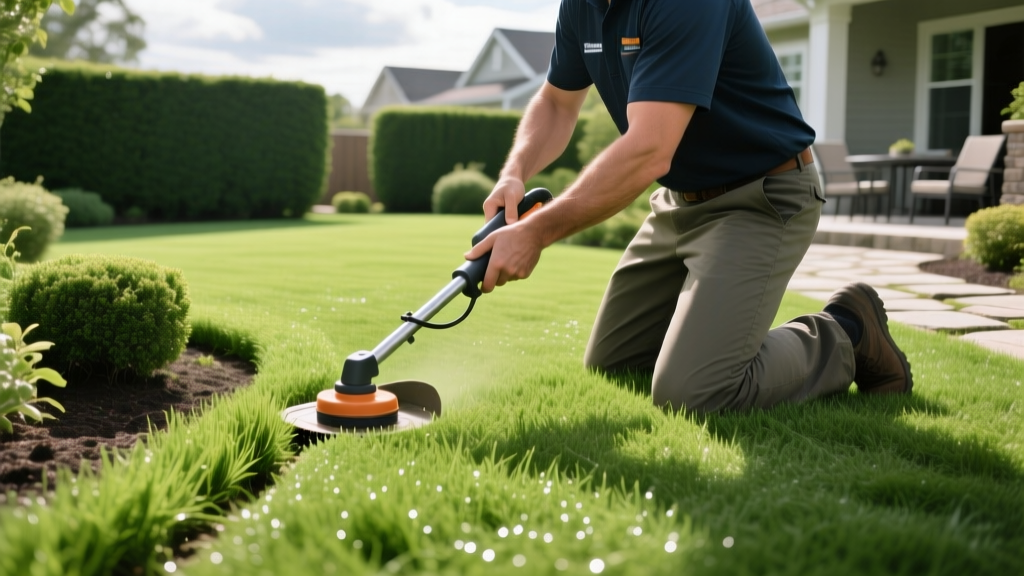
Lawnscaping Mastery: Step-by-Step Turf and Edge Maintenance
The Architecture of Lawnscaping: Beyond Basic Mowing
Lawnscaping is the precise intersection of turfgrass management and landscape architecture. While standard lawn care focuses solely on grass health, lawnscaping dictates how the turf interacts with hardscapes, planting beds, and structural borders. A flawlessly maintained lawn with ragged edges and encroaching turf will always look inferior to a modest lawn with razor-sharp transitions. This guide details the exact step-by-step procedures used by commercial landscape architects to achieve elite-tier lawnscaping results, focusing on edge definition, turf density, and transition zone management.
Pro Insight: The 80/20 Rule of Curb Appeal
Commercial property managers report that 80% of a lawn's perceived aesthetic value comes from the outer 20% of the turf—specifically the edges and transition zones. Prioritizing bedlines and hardscape borders yields the highest visual return on investment for your maintenance time.
Phase 1: Subsurface Preparation and Grading
Elite lawnscaping begins beneath the soil surface. Turf that pools water or slopes incorrectly will inevitably erode bedlines and undermine hardscape borders.
Establishing the 2% Grade Rule
All turf areas must maintain a minimum 2% slope (a 1/4-inch drop per foot) away from foundations and hardscape structures. To correct minor settling near walkways:
- Cut the turf into 12x12 inch squares using a flat spade and peel back the sod.
- Add a 50/50 mix of coarse mason sand and topsoil to the depression.
- Compact the base with a hand tamper to prevent future settling.
- Replace the sod, ensuring the crown sits exactly 1/8 inch below the adjacent hardscape to prevent scalping during mowing.
Phase 2: Precision Mowing and Striping Mechanics
The visual impact of lawnscaping relies heavily on light refraction across the turf canopy. This is achieved through precise mowing heights and mechanical striping.
Calibrating Deck Height by Turf Type
Never guess your mower deck height. Use a tape measure from the hardscape surface to the lowest point of the mower deck lip. According to the UC Davis Turfgrass and Landscape Research program, maintaining the correct canopy height is critical for root-to-shoot ratios and weed suppression.
| Turf Species | Optimal Hardscape-Relative Height | Mower Type Required | Blade Sharpening Angle |
|---|---|---|---|
| Bermudagrass (Hybrid) | 0.75" - 1.5" | Reel Mower | 25-30 degrees |
| Zoysiagrass | 1.0" - 2.0" | Rotary or Reel | 30 degrees |
| Tall Fescue | 3.0" - 4.0" | Rotary with Striping Kit | 35 degrees |
Executing the Striping Pattern
To achieve high-contrast stripes, attach a weighted rubber drag mat or a dedicated striping kit (like the Toro Stripe Kit or Big League Lumber roller) to your mower. The physical weight bends the grass blades. Mowing toward the sun reflects light off the bent blades (light stripe), while mowing away from the sun shows the shaded underside (dark stripe). Alternate your mowing direction by exactly 45 degrees every two cuts to prevent turf grain and soil compaction ruts.
Phase 3: The Art of the Edge (Trenching vs. Mechanical)
The defining feature of professional lawnscaping is the physical separation between turf and non-turf zones. The Penn State Extension Turfgrass Program emphasizes that physical barriers and clean trenches are the most effective methods for preventing rhizomatous grasses from invading landscape beds.
Edging Method Comparison Matrix
| Method | Primary Tool | Trench Depth | Best Application | Maintenance Frequency |
|---|---|---|---|---|
| Manual V-Trench | Half-moon spade | 4 to 6 inches | Curved beds, tree rings | Monthly |
| Mechanical Stick | Stihl FC 91 Edger | 2 to 4 inches | Straight hardscape lines | Bi-weekly |
| Bed Shaper | Tractor PTO bed edger | 6 to 8 inches | Large commercial properties | Seasonally |
Critical Warning: When using mechanical stick edgers along concrete driveways, always angle the blade slightly away from the concrete (about 5 degrees). A perfectly vertical blade will eventually grind against the concrete lip, destroying the edger blade and chipping the hardscape edge.
Phase 4: Transition Zone and Bedline Management
Lawnscaping requires meticulous management of the materials that border the turf. Mulch, gravel, and polymeric sand must be maintained to specific tolerances to prevent them from spilling onto the grass canopy.
Mulch Depth and Containment
Maintain organic hardwood mulch at a strict 2.5 to 3-inch depth. Any deeper, and you risk creating anaerobic soil conditions and promoting root rot in adjacent shrubs. Any shallower, and weed seeds will germinate.
- The Mulch Moat: Keep mulch exactly 2 inches below the top of the hardscape border or trench lip. This prevents wind and heavy rain from washing mulch onto the lawn, which can smother turf and dull mower blades.
- Pre-Emergent Integration: Apply a granular pre-emergent like Prodiamine 65 WDG at a rate of 1.15 lbs per 1,000 square feet to the bedlines in early spring when soil temperatures consistently hit 55°F at a 2-inch depth. This stops crabgrass and spurge from breaking through the mulch and creeping into the lawn.
Phase 5: Hardscape Creep and Heave Remediation
Over time, frost heave and aggressive turf rhizomes will compromise the clean lines of your lawnscaping design. Addressing these issues requires targeted intervention.
Managing Turf Creep on Pavers
Bermudagrass and Zoysia will aggressively push through the joints of interlocking pavers. To remediate this without using non-selective herbicides that could drift and kill the surrounding lawn:
- Use a heat gun or specialized flame weeder to thermally shock the encroaching rhizomes in the paver joints.
- Clear the dead organic matter from the joints using a stiff wire brush or a shop vac.
- Refill the joints with high-quality polymeric sand, misting it lightly with water to activate the binding polymers. This creates a physical, flexible barrier that rhizomes cannot penetrate.
Addressing Frost Heave on Borders
If aluminum or steel landscape edging has heaved above the turf canopy due to winter freeze-thaw cycles, do not simply hammer it back down. This will compact the soil directly beneath the edge, causing water pooling. Instead, excavate a 3-inch trench alongside the heaved section, lift the edging, add 2 inches of crushed gravel base for drainage, and re-secure the edging stakes at a 15-degree outward angle for maximum lateral stability.
Seasonal Lawnscaping Maintenance Calendar
Maintaining the architectural integrity of your lawn requires a strict seasonal cadence. Adhere to this timeline to ensure your turf and borders remain synchronized throughout the year.
- Early Spring (Soil Temp 50°F): Re-cut all bedlines with a half-moon spade. Apply pre-emergent to turf and bed transition zones. Lower mower deck by 0.5 inches for the first 'scalping' cut to remove winter dormancy tissue.
- Late Spring (Peak Growth): Switch to bi-weekly mechanical edging. Monitor hardscape joints for early turf creep. Raise mower deck to optimal summer height to shade out weeds.
- Mid-Summer (Heat Stress): Suspend mechanical edging to prevent stressing the turf margins. Focus on deep, infrequent irrigation (1 inch per week) applied in the early morning to prevent hardscape runoff.
- Early Fall (Recovery): Perform core aeration, ensuring the aerator tines stay at least 4 inches away from hardscape borders to prevent crumbling the edges. Overseed cool-season grasses and top-dress with 1/4 inch of compost.
- Late Fall (Winterization): Perform the final deep V-trench edging before the ground freezes. Blow out all hardscape joints and pavers to prevent organic matter from decomposing and staining the stone over winter.

