
Lawn Care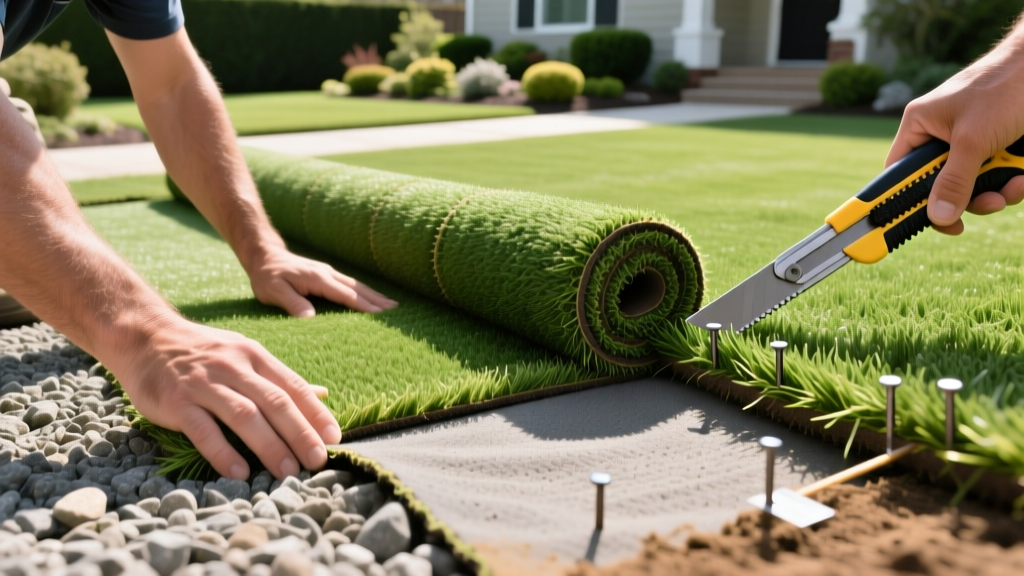
How Do You Lay Artificial Lawn? Step-by-Step Base & Install Guide
The Hidden Cost of Poor Base Preparation
When homeowners ask how do you lay artificial lawn, they usually focus on the turf itself. However, 80% of synthetic turf failures—including wrinkling, pooling water, and seam separation—stem from inadequate sub-base preparation. Unlike natural sod that can adapt to minor soil irregularities, artificial grass is a static membrane that will mirror every flaw in the foundation beneath it. Transitioning from natural grass to synthetic is a major investment, often driven by drought restrictions and water conservation goals outlined in the EPA WaterSense turf replacement guidelines. To ensure your installation lasts 15 to 20 years, you must treat the ground preparation with the same rigor as pouring a concrete slab.
Material Breakdown: What You Actually Need
Before breaking ground, you need to calculate your material loads. The following table outlines the exact specifications and estimated material costs for a standard 1,000-square-foot residential installation in 2026. Expect to spend between $4.50 and $8.00 per square foot on materials alone, excluding specialized equipment rentals.
| Material | Specification | Quantity per 1,000 sq ft | Estimated Cost |
|---|---|---|---|
| Sub-Base Aggregate | Class II Road Base or 3/8-inch minus crushed rock | 15 to 20 tons | $450 - $700 |
| Weed Barrier | 3.2 oz woven geotextile fabric | 1,200 sq ft (includes overlap) | $180 - $250 |
| Seam Tape & Adhesive | 12-inch seam tape & polyurethane glue (e.g., SGW Super Seam Pro) | 4 rolls tape, 3 tubes glue | $220 - $300 |
| Infill | 12/20 mesh silica sand or antimicrobial acrylic (e.g., Envirofill) | 1,500 to 2,000 lbs | $300 - $850 |
| Perimeter Nails | 5-inch or 6-inch non-galvanized landscape spikes | 15 lbs | $40 - $60 |
Step 1: Excavation and Drainage Grading
The first physical step is removing the existing organic material. You must excavate to a depth of 3 to 4 inches below your finished grade. If you are installing over heavy clay soil, increase the excavation depth to 5 inches to accommodate a thicker drainage base. Remove all roots, large rocks, and existing irrigation lines that are no longer needed.
Warning: Clay Soil Expansion
If your native soil is heavy clay, it will expand when wet and contract when dry, causing your base to heave. In these scenarios, lay a 2-inch layer of 3/4-inch drain rock directly on the native soil before adding your primary sub-base to create a capillary break.
Once excavated, establish your grading. Artificial lawns require a minimum slope of 1% (a 1/8-inch drop per linear foot) to facilitate surface runoff. Use a laser level or a string line tied to grade stakes to verify the pitch. Compact the native soil using a vibrating plate compactor with a minimum force of 5,000 pounds to lock the subgrade in place before adding aggregate.
Step 2: Building and Compacting the Sub-Base
Your sub-base is the structural backbone of the lawn. The industry standard is Class II Road Base or a 3/8-inch minus crushed rock. The 'minus' designation means the material includes rock dust and fine particles, which are essential for binding the aggregate together into a hard, concrete-like surface. Avoid using rounded river rock or pea gravel, as these will never lock together and will cause the turf to shift underfoot.
Spread the aggregate in 2-inch lifts (layers). Do not dump all 4 inches at once, as the compactor will not penetrate deeply enough to stabilize the bottom layer. Lightly mist each lift with a garden hose. The moisture content should be around 10% to 15%—damp enough to hold together when squeezed in your fist, but not so wet that it turns to mud. Run the plate compactor over each lift in overlapping passes until the surface is completely rigid and leaves no footprints.
Step 3: Acclimation, Layout, and Seaming
Synthetic turf is manufactured in rolls and will arrive with creases. Unroll the turf and let it acclimate in the sun for at least 24 hours before cutting or seaming. This allows the backing to relax and the fibers to stand up. When positioning the turf, ensure all pieces face the same direction; the fibers have a natural grain, and mixing directions will create stark visual shading differences.
The Seaming Process
Seaming is where most DIY installations fail. Never use standard carpet tape or staples to join turf sections. Follow this precise seaming protocol:
- Trim the Edges: Factory edges are slightly distorted. Trim 2 to 3 inches off the edge of both pieces you intend to join using a sharp utility knife with a fresh hook blade.
- Position the Tape: Lay a 12-inch wide synthetic seam tape centered directly beneath the two edges.
- Apply Adhesive: Use a premium polyurethane artificial turf adhesive (such as SGW Super Seam Pro). Apply the glue in a continuous zigzag pattern across the center of the tape.
- Join and Secure: Carefully fold the turf edges down onto the glue, ensuring the fibers do not get trapped in the adhesive. Use a carpet knee kicker to stretch the turf tightly across the seam, then press down firmly.
- Weight it Down: Place 50-pound bags of sand or infill along the entire seam and leave them for 2 to 4 hours while the glue cures.
Once seamed, secure the perimeter using 5-inch landscape spikes driven every 4 to 6 inches around the edges, hiding them beneath the turf fibers.
Step 4: Infill Selection and Power Brooming
Infill is not optional. It weighs down the turf, protects the primary backing from UV degradation, and keeps the grass blades standing upright. The two most common options are 12/20 mesh silica sand and antimicrobial coated sand (like Envirofill).
For standard residential lawns without heavy pet traffic, 12/20 mesh silica sand is highly effective and costs roughly $0.30 per square foot. If you have dogs, upgrade to an antimicrobial acrylic infill, which prevents the growth of odor-causing bacteria from pet urine. This upgrade pushes the cost closer to $0.85 per square foot but is vital for long-term hygiene. According to regional landscaping data compiled by Water - Use It Wisely, proper infill also aids in temperature regulation and drainage efficiency.
Apply the infill using a drop spreader at a rate of 1.5 to 2 pounds per square foot. Immediately follow up with a gas-powered turf broom or a stiff push broom to brush the infill down to the base and stand the fibers up. Repeat this process until the infill sits about 1/2 inch below the top of the grass blades.
Troubleshooting Common Installation Failures
Even with careful planning, edge cases arise. Here is how to diagnose and fix the most common synthetic turf problems:
- Surface Wrinkling: Caused by thermal expansion if the turf was installed on a cold morning without proper stretching. Fix: Cut the turf loose from the perimeter, use a carpet kicker to re-stretch it toward the edges, and re-nail.
- Visible Seams: Usually the result of mismatched pile heights or trapping fibers in the glue. Fix: If the glue is still wet, pull apart and clean with a solvent. If cured, you must cut out the seam and re-seam with fresh tape.
- Puddling Water: Indicates a failure in the 1% grading slope or a compacted sub-base that lacks permeability. Fix: Lift the turf, scarify the top 1/2 inch of the base with a rake, and verify your laser level grading before relaying.
- Fiber Matting: Occurs when infill levels drop below 1 pound per square foot. Fix: Top-dress the lawn with an additional 0.5 lbs per square foot of infill and power broom annually.

