
Lawn Care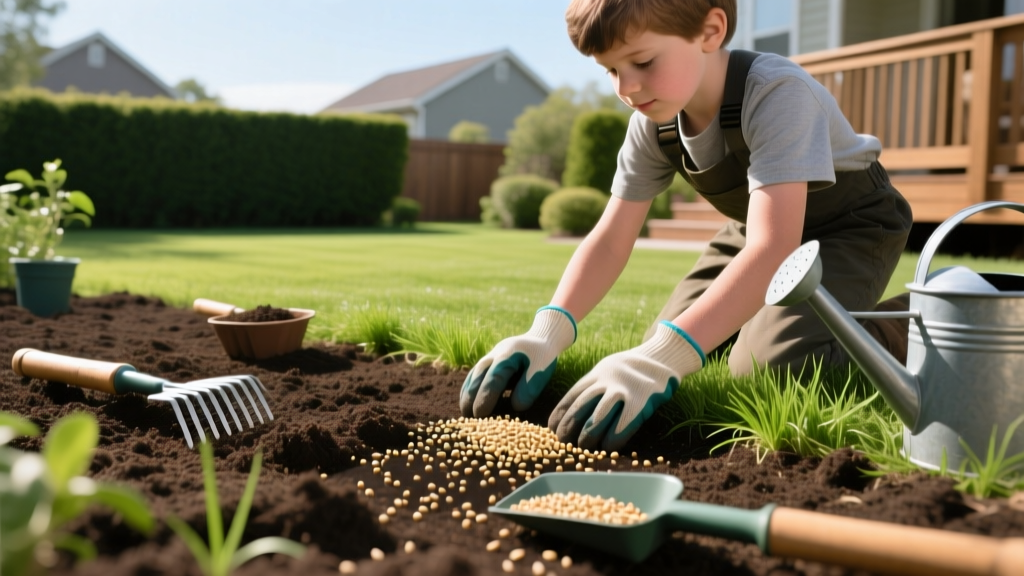
How to Lay a Lawn From Seed: A Step-by-Step Establishment Guide
The Hidden Math of Soil Preparation
Successful turfgrass establishment begins weeks before the first seed touches the dirt. The most common point of failure when learning how to lay a lawn from seed is inadequate soil preparation. Grass roots require a loose, well-aerated environment to penetrate deeply; compacted subsoil will restrict root growth to the top inch, resulting in a lawn that burns out during the first summer heatwave.
Expert Callout: The Ribbon Test
Before tilling, perform a soil texture ribbon test. Take a handful of moist soil and squeeze it into a ribbon. If it breaks immediately, you have sandy loam (ideal). If it forms a ribbon longer than 2 inches, you have heavy clay. For clay soils, you must incorporate 2 to 3 cubic yards of compost per 1,000 square feet and till it into the top 6 inches to permanently alter the soil structure.
Grading and Tilling Specifications
According to the University of Minnesota Extension, proper grading is non-negotiable for drainage and foundation protection. You must establish a slope that drops exactly 1 inch for every 10 feet of horizontal distance away from your home's foundation. Use a laser level or a string line to verify this gradient.
- Tilling Depth: Rototill the area to a strict depth of 4 to 6 inches. Shallow tilling (1-2 inches) creates a hardpan layer just below the surface.
- Debris Removal: Rake out all rocks, roots, and construction debris larger than 1.5 inches in diameter. Leaving drywall chunks or concrete pieces will alter local soil pH and create dead zones.
- Soil Amendment: Based on a professional soil test, apply pelletized lime if your pH is below 6.0, or elemental sulfur if it is above 7.2. Turfgrass optimizes nutrient uptake between a pH of 6.2 and 6.8.
Seed Selection Matrix: Matching Grass to Your Climate
Choosing the wrong seed cultivar for your USDA hardiness zone guarantees failure. Cool-season grasses thrive in northern climates (zones 3-7) and grow best at soil temperatures between 50°F and 65°F. Warm-season grasses dominate the south (zones 8-10) and require soil temperatures above 70°F for germination.
| Grass Type | Climate Zone | Seeding Rate (lbs/1,000 sq ft) | Germination Window | Days to First Mow |
|---|---|---|---|---|
| Kentucky Bluegrass | Cool | 2.0 - 3.0 | 14 - 21 Days | 45 - 60 |
| Tall Fescue | Cool / Transition | 6.0 - 8.0 | 7 - 14 Days | 30 - 45 |
| Perennial Ryegrass | Cool | 5.0 - 7.0 | 5 - 10 Days | 21 - 30 |
| Bermudagrass | Warm | 1.0 - 2.0 (Hulled) | 10 - 21 Days | 45 - 60 |
| Centipedegrass | Warm | 0.5 - 1.0 | 14 - 21 Days | 60+ |
The 5-Phase Sowing and Establishment Protocol
Once your seedbed is raked smooth and firm (you should not sink more than half an inch when walking on it), it is time to execute the sowing protocol. UMass Amherst Extension emphasizes that seed-to-soil contact is the single most critical variable in germination success.
Phase 1: Starter Fertilizer Application
New seedlings lack the root mass to forage for nutrients. Apply a high-phosphorus starter fertilizer (such as a 10-18-10 N-P-K ratio) at a rate that delivers exactly 1.0 lb of actual nitrogen per 1,000 square feet. Note: Check your local municipal codes; several states and counties have strict phosphorus bans on established lawns, but usually grant exemptions for new lawn establishment if a soil test proves phosphorus deficiency.
Phase 2: Precision Seeding (The Cross-Hatch Method)
Never dump seed into a spreader and walk randomly. Divide your total seed volume in half. Load the first half into a calibrated drop spreader and walk in parallel lines running North to South. Load the second half and walk in parallel lines running East to West. This cross-hatch pattern eliminates streaking and ensures uniform density.
Phase 3: Raking and Rolling
After sowing, use a flexible leaf rake to gently drag the seed into the top 1/8 inch of soil. Do not bury the seed deeper than 1/4 inch, or it will exhaust its energy reserves before reaching the surface. Follow this by running a lightweight, water-filled lawn roller over the entire area to press the seed firmly against the soil particles.
Phase 4: Mulching for Moisture Retention
Apply a thin layer of clean, weed-free straw (not hay, which contains agricultural weed seeds). The rule of thumb is 50 to 80 lbs of straw per 1,000 square feet. You should still be able to see the soil through the straw matrix; if you lay it too thick, you will block sunlight and smother the emerging cotyledons.
Phase 5: The 21-Day Watering Micro-Schedule
Germinating seed cannot survive a single hour of desiccation. Your watering strategy must shift as the root system develops.
- Days 1 to 14 (Germination Phase): Water 2 to 3 times daily for 5 to 10 minutes per zone. The goal is to keep the top 1/2 inch of soil consistently moist but not waterlogged. Overwatering at this stage will cause seed rot and algae crusting.
- Days 15 to 21 (Seedling Phase): As roots anchor, reduce frequency to once daily, but increase the duration to apply roughly 0.25 inches of water. This encourages roots to chase the moisture deeper.
- Days 22+ (Establishment Phase): Transition to the standard deep-watering model: 1 to 1.5 inches of water per week, applied in two or three heavy sessions to force roots down to the 4-inch mark.
Troubleshooting Germination Failures
Even with meticulous preparation, environmental variables can disrupt establishment. Here is how to diagnose and correct the three most common failure modes:
Warning: Soil Crusting and Algae
If you notice a green, slimy layer on the soil surface or a hard, cracked crust, you are overwatering and the soil lacks surface aeration. Stop watering immediately for 24 hours. Once the surface dries slightly, use a push broom to gently break up the crust. Switch to a cycle-and-soak watering method (watering for 3 minutes, waiting 10 minutes, then watering again) to improve infiltration.
- Washouts on Slopes: If heavy rain washes seed into low spots, do not simply throw more seed on top of the dried mud. Rake the bare area to loosen the top 1/4 inch, re-sow at 50% of the original rate, and cover with a rolled erosion control blanket (jute mesh) rather than loose straw.
- Bird Predation: If birds are stripping your lawn, your seed was likely left exposed on the surface. Ensure you are using the raking and rolling steps mentioned in Phase 3. Avoid using chemical bird repellents, as they can inhibit seed germination.
- Patchy Emergence: Usually caused by an uncalibrated spreader or overlapping errors. Wait until the surrounding grass reaches 2.5 inches, then spot-seed the bare patches using a hand-crank broadcaster, gently raking the new seed into the existing turf canopy.
First Mow and Post-Emergence Weed Control
Patience is required for the first mow. Wait until at least 30% of the new grass blades reach a height of 3.5 inches. Set your mower deck to 2.5 inches and ensure the blade is freshly sharpened; a dull blade will rip tender seedlings out by the roots. Never remove more than one-third of the leaf blade in a single pass. Leave the clippings on the lawn to return nitrogen to the soil.
Weeds will inevitably germinate alongside your turfgrass. Do not apply broadleaf herbicides (like 2,4-D or dicamba) or pre-emergents (like prodiamine) to a newly seeded lawn. These chemicals will severely stunt or kill juvenile turfgrass. You must wait until the new lawn has been mowed at least three to four times before applying any selective post-emergent herbicides. For the first season, rely on manual pulling for large broadleaf weeds and let the thickening turf canopy naturally outcompete minor weed pressure.
'The success of a seeded lawn is 80% determined by the quality of the seedbed preparation and the precision of the first 21 days of irrigation. Seed is cheap; the labor of fixing a failed establishment is expensive.' — Turfgrass Management Field Notes

