
Lawn Care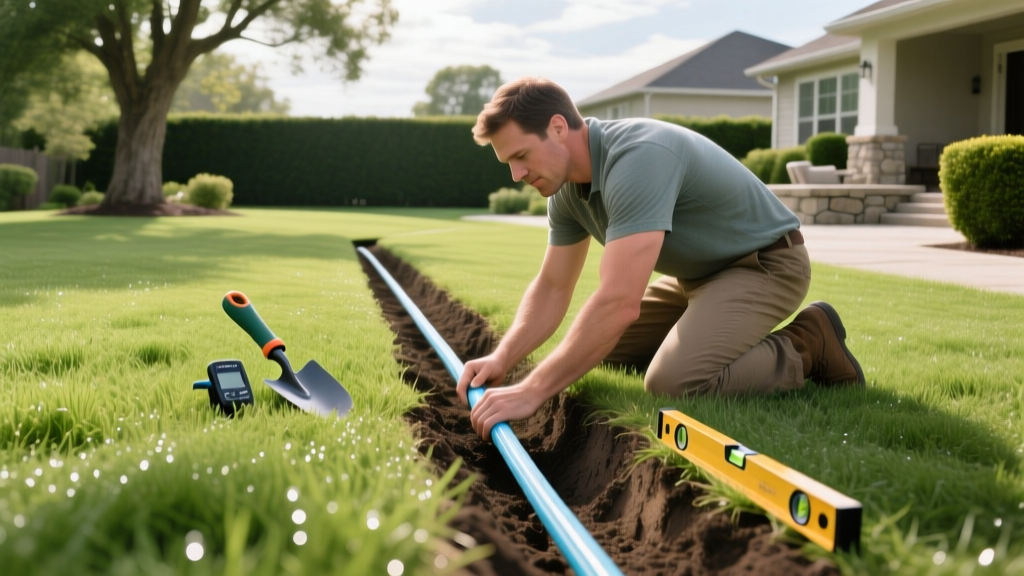
How to Lay a Sprinkler System: DIY Trenching & Layout Guide
The Economics of DIY Irrigation Installation
Learning how to lay a sprinkler system is one of the highest-ROI landscaping projects a homeowner can undertake. For a standard 5,000-square-foot lawn, professional irrigation contractors typically charge between $3,500 and $5,500, factoring in labor, materials, and markup. By executing the trenching, pipe routing, and wiring yourself, you can complete the same footprint for $1,200 to $1,800. The primary cost variables are your local PVC pricing, the number of zones required, and whether you rent a mechanical trencher ($150-$250 per day) or dig by hand.
However, the financial savings evaporate if the system is hydraulically unbalanced. A poorly designed layout results in dry spots, overspray onto hardscapes, and severe pressure drops. Success requires calculating your water supply limits before drawing a single zone line.
Step 1: Calculate Your Water Supply (GPM and PSI)
Every municipal water supply or private well has a hard limit on how much water it can deliver simultaneously. This is defined by Gallons Per Minute (GPM) and static Pounds per Square Inch (PSI). You cannot design zones that exceed your available GPM.
The 5-Gallon Bucket Test
- Locate the outdoor spigot closest to your water meter or well pump.
- Ensure no other water fixtures (showers, washing machines) are running inside the house.
- Open the spigot fully and time how many seconds it takes to fill a standard 5-gallon bucket.
- Calculate GPM: Divide 300 by the number of seconds. (e.g., 300 / 15 seconds = 20 GPM).
For PSI, attach a standard pressure gauge (available for $10 at any hardware store) to the spigot. Most residential systems operate between 45 and 65 PSI. If your static pressure exceeds 70 PSI, you must install a pressure regulator at the point of connection to prevent pipe blowouts and misting spray heads.
CRITICAL WARNING: Before breaking ground, you must call 811 to have underground utility lines marked. Hitting a gas or fiber-optic line can result in catastrophic injury and tens of thousands of dollars in fines. Visit call811.com to initiate a free locate request at least three business days before you plan to dig.
Step 2: Zone Design and Head Selection
The most common mistake beginners make when figuring out how to lay a sprinkler system is mixing different types of emission devices on the same zone. Spray heads, rotors, and drip lines have drastically different precipitation rates. If you put a rotor and a spray head on the same valve, the spray head will flood its immediate area long before the rotor finishes watering its larger radius.
According to the EPA WaterSense program, matching precipitation rates within a zone is essential for minimizing water waste and preventing runoff.
| Device Type | Precipitation Rate | Spacing / Radius | Best Application |
|---|---|---|---|
| Standard Spray (e.g., Rain Bird VAN) | 1.5 to 2.5 in/hr | 8 to 15 ft | Small, rectangular turf strips and narrow side yards. |
| Gear-Driven Rotor (e.g., Hunter PGP-Ultra) | 0.4 to 1.2 in/hr | 20 to 45 ft | Large, open turf areas. Requires longer run times. |
| Multi-Stream Rotator (e.g., Hunter MP Rotator) | 0.4 in/hr | 13 to 35 ft | Retrofitting spray zones to reduce runoff on clay soils. |
| Subsurface Drip Line | 0.2 to 0.6 GPM/emitter | 12 to 18 in grid | Shrub beds, groundcover, and non-turf garden areas. |
Head-to-Head Coverage Rule: Sprinkler heads must be spaced at a distance equal to their radius of throw. If a rotor throws 30 feet, the next rotor must be exactly 30 feet away. The water from one head must physically hit the adjacent head. This compensates for wind drift and the natural drop-off in water distribution at the edge of the spray pattern.
Step 3: Trenching and Lateral Pipe Routing
Once your zones are mapped, you must physically route the water from the main supply to the valve manifolds, and from the manifolds to the individual heads.
Material Selection: PVC vs. Polyethylene
The Irrigation Association notes that regional climate dictates pipe material.
- Schedule 40 PVC: Use this for the mainline (the pipe running directly from the water source to the valves). It handles high constant pressure and resists crushing from soil weight.
- Class 200 PVC or 100 PSI Polyethylene: Use these for lateral lines (the pipes running from the valves to the sprinkler heads). Polyethylene is highly recommended in regions with deep frost lines, as its flexibility allows it to expand and contract without shattering during freeze-thaw cycles.
Trenching Depth and Technique
Lateral lines should be buried 8 to 12 inches deep. This depth protects the pipes from core aeration tines (which typically penetrate 3 to 4 inches) and shallow root growth, while remaining accessible for future repairs. When cutting PVC, always use a ratcheting PVC cutter rather than a hacksaw to ensure perfectly square cuts. Deburr the inside and outside edges with a reaming tool. Apply a liberal coat of purple PVC primer to both the pipe and the fitting, followed by Oatey Heavy Duty Clear PVC cement. Hold the joint firmly for 15 seconds to prevent the pipe from pushing out of the fitting as the solvent cures.
Pro-Tip for Repairs: Install 'Slip-Fix' expansion couplings at every valve manifold and at the end of long lateral runs. When a pipe inevitably cracks in the future, a Slip-Fix allows you to cut out the damaged section and expand the fitting to bridge the gap without having to dig a massive trench to bend rigid PVC.
Step 4: Valve Wiring and Controller Setup
Modern irrigation requires low-voltage wiring to communicate between the smart controller and the zone valves. Use 18-gauge, 8-conductor UF (Underground Feeder) irrigation wire. Bury the wire in the same trench as the PVC lateral lines, resting it a few inches above the pipe.
Never use standard twist-on wire nuts for underground valve connections; soil moisture will corrode the copper within a single season, causing the zone to fail. Instead, use gel-filled waterproof wire connectors (such as DryConn or 3M UR2). These connectors are filled with a dielectric silicone gel that completely seals out moisture.
When wiring the manifold, designate one color (usually white or black) as the 'common' wire. This common wire connects to the same terminal on every single valve solenoid and runs back to the 'C' or 'COM' terminal on the controller. The remaining colors are assigned to the individual 'hot' wires for each zone.
Common Installation Failures and Edge Cases
Even with meticulous planning, DIY installers frequently encounter these specific failure modes:
- Sunken Heads After Settlement: When backfilling trenches, the soil directly beneath the sprinkler head is often loose. After a few heavy rains, the head sinks below the grass canopy, creating a dry spot. Fix: Pack a 4-inch base of crushed gravel tightly beneath the head's swing joint before backfilling to create a stable, draining pedestal.
- Pressure Drop at End of Line: If the last rotor in a zone barely pops up, the lateral pipe diameter is too small. Running 1/2-inch pipe for a zone that requires 8 GPM will cause massive friction loss. Fix: Use 1-inch pipe for the first half of the lateral run, stepping down to 3/4-inch, and finally 1/2-inch only for the final short riser to the head.
- Misting and Fogging: If your spray heads produce a fine mist that blows into the street, your static pressure is too high for the nozzle. Fix: Swap standard spray bodies for pressure-regulating models, such as the Hunter Pro-Spray PRS30, which contain an internal diaphragm that automatically caps output pressure at an optimal 30 PSI.
Laying an in-ground sprinkler system is a test of hydraulic logic and physical endurance. By strictly adhering to GPM limits, maintaining head-to-head spacing, and utilizing waterproof subterranean connections, your DIY installation will outperform and outlast many contractor-grade systems.

