
Lawn Care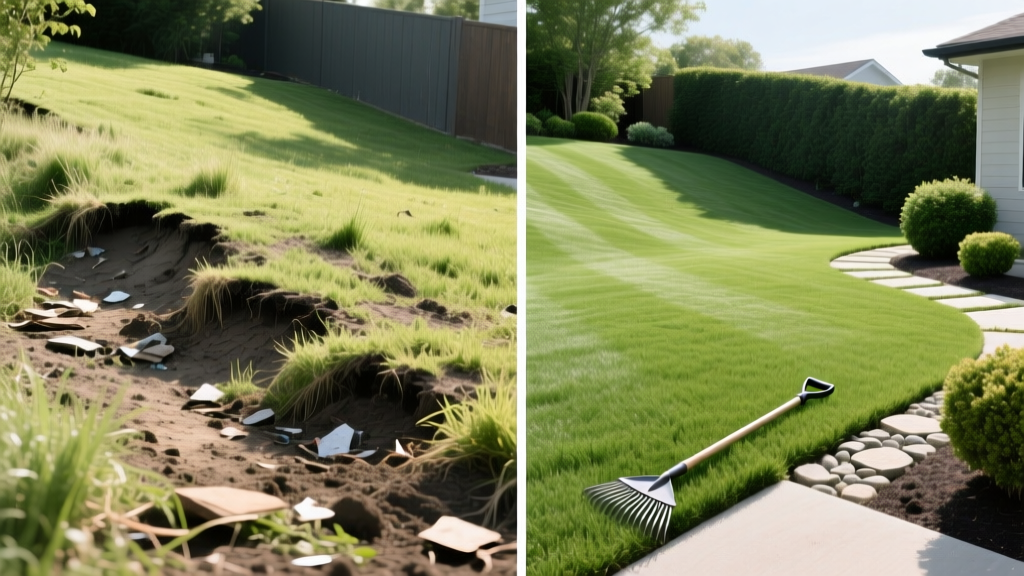
Leveling a Sloped Yard Before and After: Step-by-Step Guide
The Mechanics of Yard Grading: Why Slope Matters
A sloped yard presents two primary challenges: unusable outdoor living space and severe water management issues. When water pools against your foundation or erodes your topsoil, the structural integrity of your home and the health of your turf are compromised. The process of leveling a sloped yard before and after the renovation requires precise geometric planning, an understanding of soil mechanics, and the right earthmoving equipment. According to the USDA Natural Resources Conservation Service (NRCS), improper surface drainage is a leading cause of residential soil erosion and foundation water intrusion.
This guide details the exact step-by-step procedures for regrading a sloped landscape, moving beyond generic advice to provide specific soil ratios, compaction metrics, and equipment requirements for a permanent fix.
CRITICAL SAFETY WARNING: Before breaking ground or altering the grade of your property, you must contact your local utility notification center. In the US and Canada, dial 811 at least 48 to 72 hours before digging to have underground gas, water, and electrical lines marked. Striking a utility line can result in fatal injuries and massive financial liability.
Assessing the Grade: Calculating Rise and Run
Before moving a single cubic yard of dirt, you must quantify the slope. Professional landscapers use a rotary laser level (such as the Bosch GRL400HCK) to establish a benchmark elevation at the home's foundation. For DIYers, a string line, line level, and tape measure will suffice.
The 1/4-Inch Rule for Foundation Drainage
Building codes universally require a minimum positive slope of 1/4 inch per foot for the first 10 feet extending away from a home's foundation. This translates to a 2.5-inch drop over 10 feet. If your yard slopes toward the house, or if the slope exceeds 1 inch per foot (making mowing dangerous and causing rapid runoff), regrading is mandatory.
- Measure the Run: Distance from the foundation to the property line or drainage exit (in feet).
- Measure the Rise: Vertical distance from the ground at the foundation to the ground at the end of the run (in inches).
- Calculate Slope Percentage: (Rise / Run) x 100. A slope greater than 8% typically requires terracing or retaining walls rather than simple cut-and-fill grading.
Choosing the Right Leveling Method
The technique you employ depends entirely on the severity of the slope and the volume of soil that must be displaced. Documenting your leveling a sloped yard before and after progress is crucial for tracking soil settlement and ensuring the final grade matches your engineering plan.
| Method | Ideal Slope Severity | Estimated Cost (per 1,000 sq ft) | DIY Feasibility |
|---|---|---|---|
| Topdressing | Minor (< 2 inches) | $150 - $300 | High (Wheelbarrow & Rake) |
| Cut and Fill | Moderate (2 - 12 inches) | $800 - $2,500 | Medium (Requires Skid Steer) |
| Terracing / Retaining | Steep (> 12 inches) | $3,000 - $8,000+ | Low (Requires Engineering) |
Step-by-Step Procedure: The Cut and Fill Method
The cut and fill method is the industry standard for moderate slopes. It involves excavating soil from the high side of the yard (the cut) and using it to build up the low side (the fill). This minimizes the need to import or export soil, drastically reducing material costs.
Step 1: Strip the Existing Topsoil
Never bury existing topsoil or organic matter under your fill dirt. As organic matter decomposes, it creates air pockets that lead to severe settling and sinkholes months after the project is complete. Use a skid steer equipped with a Harley rake (e.g., Paladin HD108) or a sod cutter to remove the top 3 to 4 inches of grass and organic topsoil. Stockpile this material on-site for later use.
Step 2: Establish the Subgrade and Cut the High Side
Set up your laser level to project the desired finish grade. Begin excavating the high side of the slope. If you are moving more than 5 cubic yards of soil, rent a compact track loader (CTL) rather than a mini-excavator; CTLs offer superior flotation and won't tear up the subsoil as aggressively.
Step 3: Distribute the Fill and Compact in Lifts
Move the excavated subsoil to the low side of the yard. The most common failure point in DIY grading is failing to compact the fill dirt. Soil must be compacted in 'lifts' (layers) no thicker than 6 inches. Use a walk-behind vibratory plate compactor (such as a Multiquip Mikasa) to achieve 90% to 95% Standard Proctor Density. If you dump 2 feet of fill dirt and only compact the top, the bottom will settle over the next three years, destroying your lawn's surface.
Step 4: Replace and Amend the Topsoil
Once the subgrade is compacted to the correct elevation, spread your reserved topsoil back over the area. If the native topsoil is heavy clay, amend it heavily. The ideal turf topsoil mix consists of 60% to 70% coarse washed sand and 30% to 40% high-quality compost or loam. This ensures rapid water infiltration while retaining enough nutrients to support deep root growth.
Managing the Transition Zones and Edges
When leveling a sloped yard, the transition between the newly graded area and existing landscape features (fences, patios, property lines) requires careful detailing.
- Swales and Berms: If the new grade directs water toward a neighbor's property or a public sidewalk, you must construct a shallow swale (a depressed channel) or a berm (a raised ridge) to intercept the water and route it to a storm drain or dry well.
- Retaining Soil at Fences: Never pile fill dirt directly against a wooden fence. Maintain a minimum 2-inch clearance between the soil grade and the bottom of the fence pickets to prevent premature rot and termite ingress.
- Tree Root Protection: Do not add more than 2 inches of fill soil over the existing drip line of mature trees. Burying the root flare suffocates the root system and will kill the tree within 3 to 5 years.
Real-World Metrics: Leveling a Sloped Yard Before and After
Project Scope: 4,500 sq. ft. backyard with a 14-inch negative slope toward the foundation.
- Before: Standing water within 5 feet of the foundation after 1 inch of rain; basement moisture intrusion.
- Earth Moved: 42 cubic yards of native clay subsoil (cut and fill).
- Material Imported: 15 cubic yards of 70/30 sand-compost topsoil mix.
- After: Achieved a consistent 3% positive slope (approx. 3/8 inch per foot) away from the house. Zero standing water during subsequent storm events.
- Total Timeline: 3 days of heavy equipment work, 2 days of soil amendment and final raking.
Post-Grading Lawn Renovation
Once the soil is leveled and raked smooth, immediate stabilization is required to prevent wind and water erosion. You have a narrow window to establish vegetation.
Hydroseeding vs. Sod: For large, leveled areas, hydroseeding is the most cost-effective stabilization method, typically costing $0.10 to $0.15 per square foot. The slurry contains grass seed, mulch, fertilizer, and a tackifier (a natural glue that binds the mulch to the soil). If the project is completed in late fall or early spring when temperatures are too low for rapid seed germination, you must lay sod (costing $0.40 to $0.80 per square foot) or apply an erosion control blanket to secure the soil through the winter months.
Properly executed, regrading your property not only solves drainage nightmares but dramatically increases the functional square footage of your outdoor living space, providing a high return on investment when it comes time to sell your home.

