
Lawn Care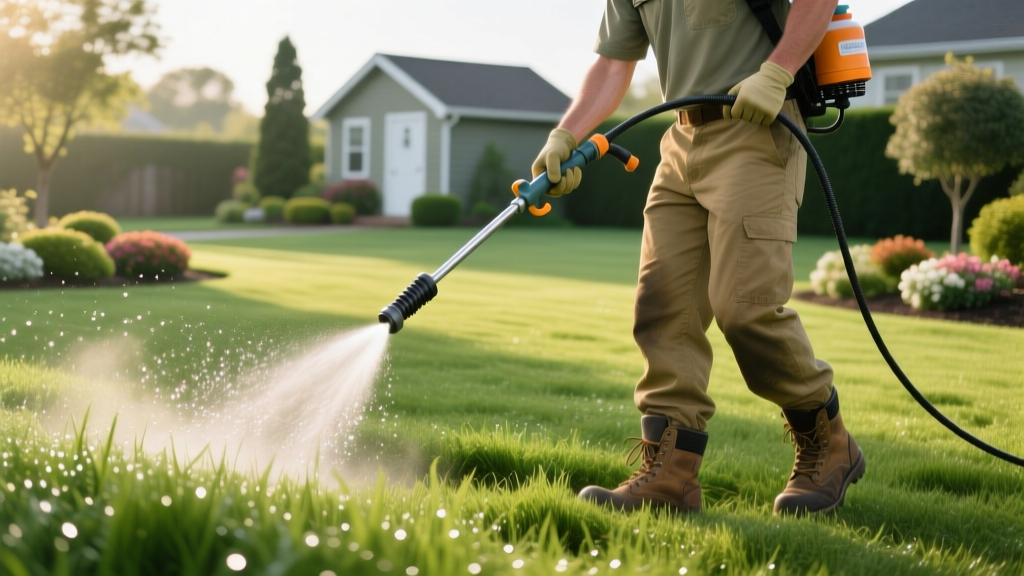
How to Use a Liquid Dethatcher: Step-by-Step Lawn Maintenance Guide
The Science: How Liquid Dethatchers Actually Work
Mechanical dethatching (power raking) is an aggressive, stressful process that tears at the soil and can damage healthy turf crowns. Liquid dethatchers offer a biological alternative. Rather than physically ripping the thatch layer apart, liquid formulations utilize concentrated surfactants, molasses, and specific enzymes to stimulate indigenous soil microbes—primarily Bacillus bacteria and saprophytic fungi. These microorganisms digest the lignin and cellulose in dead grass stems, converting the thatch layer into nutrient-rich organic matter.
According to turfgrass researchers at Penn State Extension, a moderate thatch layer (under 0.5 inches) is beneficial for moisture retention, but excessive thatch blocks water infiltration and harbors pathogens. Liquid dethatchers bridge the gap by accelerating natural decomposition without the mechanical trauma of a vertical mower.
Phase 1: The Core Sample Thatch Test
Before purchasing any product, you must quantify your thatch depth. Guessing leads to wasted money and misdiagnosed soil compaction issues.
- Use a sharp spade or a dedicated soil probe to extract a 3-inch deep core sample from your lawn.
- Identify the three distinct layers: green grass blades at the top, the spongy brown thatch layer in the middle, and the dark mineral soil at the bottom.
- Measure the brown thatch layer with a ruler.
| Thatch Depth | Diagnosis | Required Action |
|---|---|---|
| Less than 0.5 inches | Healthy | Maintain current mowing and watering habits; no dethatching needed. |
| 0.5 to 1.0 inches | Moderate Buildup | Ideal candidate for liquid dethatcher application and microbial stimulation. |
| 1.0 to 1.5 inches | Severe Buildup | Requires two liquid applications spaced 14 days apart, combined with liquid aeration. |
| Over 1.5 inches | Critical Failure | Liquid will not penetrate. Mechanical core aeration and power raking are mandatory first steps. |
Phase 2: Selecting Your Liquid Dethatcher Formulation
Not all liquid dethatchers use the same chemistry. Your choice should depend on your soil's underlying deficiencies and your budget.
1. Simple Lawn Solutions Liquid Dethatcher
Mechanism: Relies on molasses (a simple carbon food source) and proprietary enzymes to feed thatch-digesting bacteria.
Cost & Coverage: Approximately $28 for a 32oz bottle, covering up to 3,200 square feet.
Best For: Lawns with biologically active soil that just need a carbon kickstart to break down seasonal clippings.
2. N-EXT Air-8
Mechanism: Combines humic acid, fulvic acid, and advanced surfactants. It focuses on loosening compacted soil beneath the thatch while providing carbon chains for microbial digestion.
Cost & Coverage: Around $45 for 32oz, covering 3,200 square feet.
Best For: Lawns suffering from both thatch buildup and heavy clay soil compaction.
3. PetraTools Liquid Dethatcher
Mechanism: Utilizes natural saponins (biodegradable foaming agents) and biological stimulants to penetrate the hydrophobic thatch layer and reach the soil interface.
Cost & Coverage: Roughly $22 for 32oz, covering 3,200 square feet.
Best For: Budget-conscious homeowners dealing with hydrophobic (water-repelling) thatch mats.
Phase 3: The 5-Step Application Protocol
Follow this exact sequence to ensure the biological agents survive and reach the thatch-soil interface.
Step 1: Mow Low and Bag
Drop your mower deck to 2 inches (or the lowest safe setting for your specific grass type). You must use a bagging attachment. Leaving clippings on the lawn will add to the thatch layer you are actively trying to eliminate and block the liquid from reaching the soil.
Step 2: Pre-Hydrate the Thatch Layer
Thatch is notoriously hydrophobic. 24 hours before application, water your lawn deeply with at least 0.5 inches of irrigation. Moisture is the primary catalyst for microbial activation; applying biological liquids to bone-dry thatch will result in the microbes dying before they can digest the lignin.
Step 3: Calibrate and Mix
The standard application rate for most concentrated liquid dethatchers is 3 ounces per 1,000 square feet. Fill a pump sprayer or hose-end sprayer with water first, then add the liquid dethatcher to prevent excessive foaming. If using a hose-end sprayer, set the dial to the 3oz per gallon setting and walk at a steady pace of 3 feet per second.
Step 4: Spray During Low UV Hours
Apply the liquid in the early evening or on an overcast day. Direct, midday UV radiation can degrade the complex enzymes and kill the biological stimulants before they penetrate the canopy. Ensure you are spraying when wind speeds are below 5 mph to prevent drift onto garden beds.
Step 5: Water In Immediately
Within 30 minutes of application, run your irrigation system for 10 to 15 minutes (approximately 0.1 inches of water). This washes the active ingredients off the grass blades and forces them down into the thatch layer and the upper soil profile where the decomposing microbes live.
Phase 4: Microbial Synergy and Post-Application Care
A liquid dethatcher is only half the equation. The microbes require specific environmental conditions to process the thatch efficiently over the next 14 to 21 days.
Pro Tip: The Nitrogen Bridge
Microbes require nitrogen to break down high-carbon materials like thatch. If your soil is nitrogen-deficient, the microbes will steal nitrogen from your living grass, causing temporary yellowing (chlorosis). Apply a slow-release, high-nitrogen fertilizer (such as a 24-0-6 formulation) at half the normal rate 48 hours after your liquid dethatcher application to keep the microbial colony fed without burning the turf.
Furthermore, the Clemson Home & Garden Information Center notes that soil pH heavily dictates microbial activity. If your soil pH is below 6.0, the bacteria responsible for thatch decomposition become dormant. Test your soil pH before starting a dethatching program; if it is acidic, apply pelletized lime at a rate of 50 lbs per 1,000 square feet to raise the pH into the optimal 6.5 to 7.0 range.
Troubleshooting: Why Your Thatch Isn't Breaking Down
If you have completed the application protocol but the thatch layer remains unchanged after 30 days, evaluate the following failure modes:
- Temperature Extremes: Soil microbes require temperatures between 55°F and 85°F to metabolize thatch. Applications made during winter dormancy or peak summer heat waves will stall biological activity.
- Chemical Interference: Applying broad-spectrum fungicides or harsh synthetic pre-emergents within 14 days of a liquid dethatcher will wipe out the very fungal and bacterial colonies you are trying to stimulate.
- The 'Dead Mat' Scenario: If your thatch layer is heavily matted and lacks soil contact, the biological agents cannot bridge the gap. In this edge case, perform shallow core aeration (2 inches deep) immediately after the liquid application to physically introduce soil microbes into the thatch canopy.
'Liquid dethatching is a biological management strategy, not a chemical eraser. You are farming microbes, and those microbes require moisture, moderate temperatures, and a balanced pH to consume the thatch layer effectively.' — Turfgrass Soil Management Principles
By treating your lawn's thatch layer as a biological ecosystem rather than physical debris, you can maintain a porous, healthy soil profile year-round without the mechanical damage associated with traditional power raking.

