
Lawn Care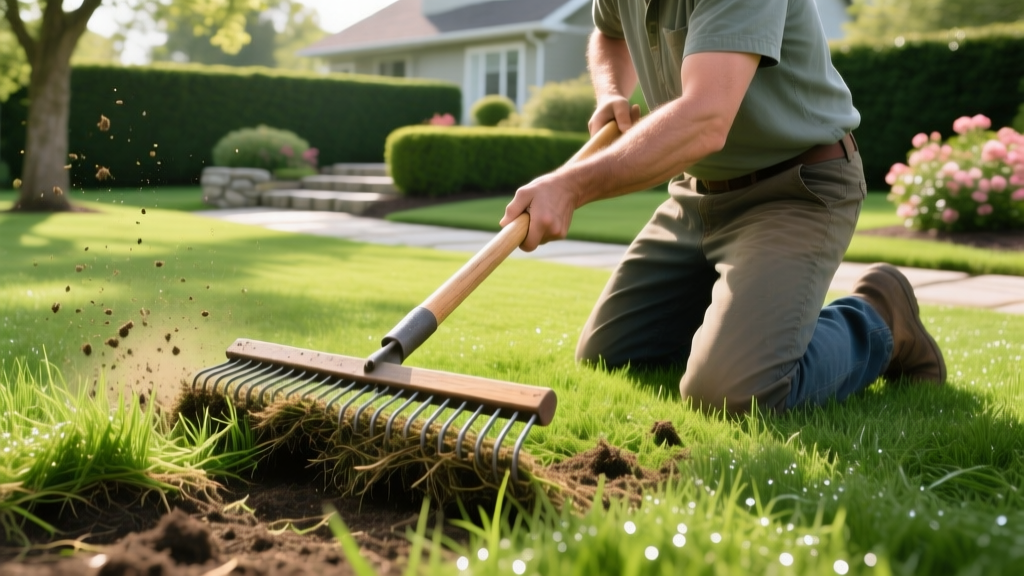
Manual Lawn Dethatcher Guide: Step-by-Step Thatch Removal
A manual lawn dethatcher is the most precise, eco-friendly, and cost-effective tool for removing thatch from lawns under 1,500 square feet or for targeted spot treatments. While power dethatchers and verticutters are necessary for massive commercial properties, they often cause unnecessary turf tearing and soil compaction on smaller residential yards. When used correctly, manual tools sever dead stolons and rhizomes without destroying the living crown of your grass.
This guide details the exact procedures, tool specifications, and agronomic metrics required to successfully dethatch your lawn by hand, ensuring optimal water penetration and nutrient uptake for the upcoming growing season.
Assessing Your Lawn: Do You Actually Need to Dethatch?
Thatch is a tightly intermingled layer of living and dead stems, roots, and leaves that accumulates between the zone of green vegetation and the soil surface. A thin layer (under 0.5 inches) acts as beneficial insulation. However, when thatch exceeds half an inch, it creates a hydrophobic barrier that blocks water, fertilizer, and air from reaching the root zone, leading to shallow roots and increased disease susceptibility.
The Screwdriver Test for Thatch Depth
Do not guess your thatch depth by looking at the surface. Take a standard 6-inch flathead screwdriver and push it directly into the turf. Pull it out and measure the spongy, brown, fibrous layer clinging to the shaft. If the thatch layer measures 0.5 inches or less, skip dethatching and focus on core aeration. If it measures 0.75 inches or more, manual dethatching is immediately required.
According to the University of Minnesota Extension, excessive thatch is often caused by over-fertilization with quick-release nitrogen and over-watering, which outpaces the natural decomposition rate of soil microbes.
Choosing the Right Manual Lawn Dethatcher
Not all manual rakes are created equal. Using a standard flexible leaf rake will only scratch the surface and fail to penetrate the thatch mat. You need a tool specifically engineered with rigid or semi-rigid tines designed to slice through organic matter.
| Tool Type | Specific Model Example | Price Range | Best Application |
|---|---|---|---|
| Spring-Tine Thatch Rake | Ames True Temper 15-Tine (Model 19200) | $25 - $35 | Light thatch (0.5 - 0.75 inches); cool-season grasses like Fescue and Kentucky Bluegrass. |
| Serrated Thatch Swoe | Bully Tools 12-Inch Thatch Rake (Model 92312) | $45 - $60 | Heavy thatch (1+ inches); cutting thick stolons in warm-season grasses like Bermuda. |
| Rolling Push Dethatcher | Yardwise Manual Push Dethatcher Roller | $80 - $120 | Medium lawns (1,000 - 2,500 sq ft); users seeking to reduce back strain from repetitive raking. |
Step-by-Step Procedure: Dethatching with a Manual Tool
Timing is critical. Dethatch cool-season grasses (Fescue, Bluegrass, Ryegrass) in early fall or early spring. Dethatch warm-season grasses (Bermuda, Zoysia, Centipede) in late spring or early summer, precisely when they are entering their peak growth phase. Never dethatch a dormant lawn; the grass will not recover from the crown stress.
Step 1: Preparation and Mowing
Mow your lawn to a height of 1.5 to 2 inches, which is roughly half its normal recommended height. This exposes the thatch layer and prevents the grass blades from tangling in the rake tines. Bag the clippings immediately. Two days before dethatching, apply exactly 0.5 inches of water. The soil should be moist but not saturated; muddy soil will cause the rake to pull up living grass roots instead of dead thatch.
Step 2: Marking Obstacles
Walk the yard and mark all shallow sprinkler heads, valve boxes, and hidden landscape lighting wires with high-visibility flags. Manual dethatchers, particularly serrated swoes, can easily slice through shallow irrigation lines if struck at a downward angle.
Step 3: The Raking Technique
- Angle and Depth: Hold the manual lawn dethatcher at a 45-degree angle. Drive the tines down so they penetrate the thatch layer and barely scratch the topsoil (about 0.25 inches into the dirt).
- The Pull: Pull the rake toward you in short, aggressive 2-foot strokes. You should hear a distinct tearing sound as the tines sever the dead organic matter.
- Overlapping Passes: Complete your first pass in a north-to-south direction. For the second pass, rake in an east-to-west direction. Cross-hatching ensures you lift the thatch from all angles, preventing matting.
Step 4: Extraction and Cleanup
Do not leave the extracted thatch on the lawn, as it will smother the remaining grass and invite fungal pathogens. Use a wide, flat landscape rake or a commercial-grade leaf blower (set to medium velocity) to gather the debris. A healthy 1,000-square-foot lawn with 0.75 inches of thatch will yield approximately 8 to 12 heavy contractor bags of debris.
Post-Dethatching Recovery Protocol
Dethatching is highly stressful to turf. The recovery protocol is just as important as the physical removal. According to Clemson University Cooperative Extension, the exposed soil and severed stolons create an ideal seedbed, making this the optimal time for lawn renovation.
Expert Overseeding Tip:
If overseeding after dethatching, apply a starter fertilizer with a high phosphorus content (e.g., 10-18-10 N-P-K ratio) at a rate of 1 pound of nitrogen per 1,000 square feet. The open soil contact drastically increases seed-to-soil germination rates by up to 40% compared to broadcasting seed over an undethatched lawn.
Watering and Fertilization Metrics
- Immediate Watering: Apply 0.25 inches of water immediately after dethatching (and seeding, if applicable) to settle the soil and prevent the exposed grass crowns from desiccating in the sun.
- First 14 Days: Water lightly twice a day (morning and early afternoon) for 10 minutes per zone to keep the top inch of soil consistently moist.
- Follow-up Fertilizer: Wait 14 days, then apply a slow-release nitrogen fertilizer (like Milorganite or a polymer-coated urea) to fuel the aggressive vegetative regrowth without causing a rapid, thatch-producing flush of top growth.
Common Mistakes and Edge Cases
Even with the best manual lawn dethatcher, poor technique can ruin a lawn. Avoid these critical errors:
- Scalping the Crown: If you pull up chunks of green grass with white roots attached, your rake angle is too steep, or the soil is too wet. You are ripping out living turf, not just thatch.
- Dethatching St. Augustine Grass: St. Augustine relies heavily on above-ground stolons for lateral spread. Aggressive manual dethatching can sever these vital runners, leaving bare patches that take months to fill. For St. Augustine, use a gentle spring-tine rake and only remove the very top layer of debris.
- Ignoring Soil pH: Thatch accumulation is often a symptom of acidic soil (pH below 6.0), which inhibits the microorganisms responsible for breaking down organic matter. Always perform a soil test before dethatching. If pH is low, apply pelletized lime at 50 lbs per 1,000 sq ft concurrently with your dethatching efforts, as noted by University of Missouri Extension.
By following these precise measurements and utilizing the correct manual tool for your specific grass type, you can restore your lawn's biological health, eliminate hydrophobic barriers, and achieve a dense, drought-resistant turf canopy.

