
Lawn Care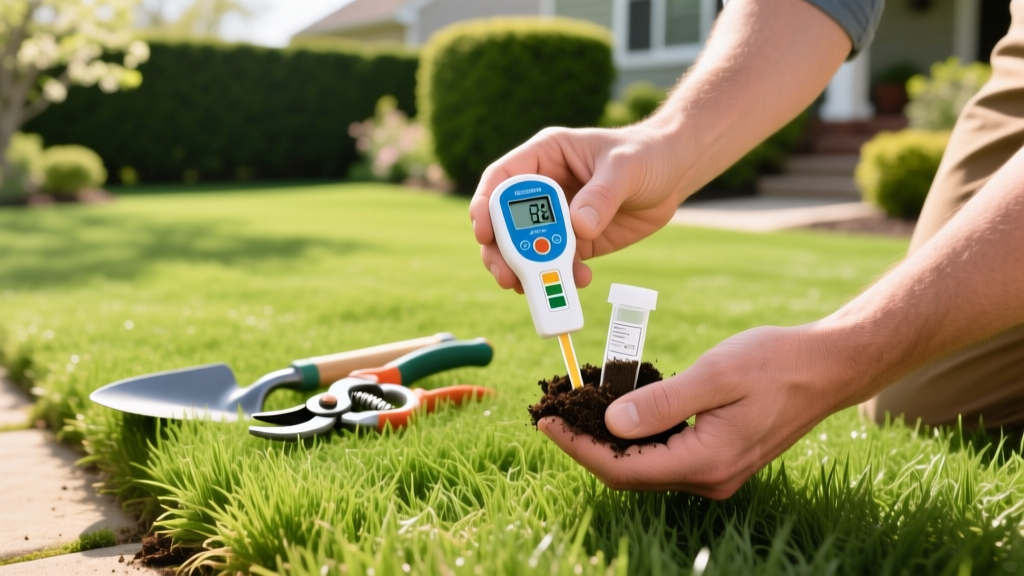
How to Measure Soil pH in Your Lawn: DIY vs Lab Tests
Applying premium compost, top-dressing, or expensive synthetic fertilizers without first testing your soil is a financial gamble. Soil pH dictates the chemical availability of every nutrient you apply. If your turfgrass is sitting in highly acidic or alkaline dirt, nutrient lockout occurs, rendering your soil amendments entirely ineffective. Understanding how to measure soil pH accurately is the mandatory first step in any professional-grade lawn renovation or mulching strategy.
The Chemistry of Nutrient Lockout
The pH scale measures hydrogen ion concentration, ranging from 0 (highly acidic) to 14 (highly alkaline). Most common turfgrasses—such as Kentucky Bluegrass, Tall Fescue, and Bermuda—thrive in a slightly acidic range between 6.0 and 7.0. According to Clemson University Extension, when soil pH drops below 5.5, essential macronutrients like phosphorus bind tightly with aluminum and iron, forming insoluble compounds that grass roots cannot absorb. Conversely, when pH exceeds 7.5, micronutrients like iron, manganese, and zinc become chemically locked, leading to severe chlorosis (yellowing) even in heavily fertilized lawns.
Expert Insight: Organic mulches and amendments like peat moss or pine bark slowly decompose and release humic acids. While they improve soil structure, they can gradually lower the pH of the topsoil over several seasons. Baseline pH testing allows you to predict and counteract this acidification before it damages your turf.
Evaluating pH Measurement Methods
Homeowners generally choose between three testing methodologies. Each varies drastically in cost, accuracy, and the level of actionable data provided.
| Method | Estimated Cost | Accuracy | Best Use Case |
|---|---|---|---|
| DIY Chemical Dye Kits | $12 - $20 | Low (± 0.5 to 1.0 pH) | Rough seasonal baseline checks |
| Digital Pocket Meters | $50 - $110 | Medium (± 0.1 to 0.2 pH) | Frequent monitoring of specific beds |
| University Lab Analysis | $25 - $45 | High (± 0.01 pH + Buffer) | Pre-renovation & precise amendment mapping |
Method 1: DIY Chemical Dye Kits
Products like the Luster Leaf Rapitest 4-Way Analyzer (~$15) use colorimetric chemistry. You mix a soil sample with a provided barium sulfate powder and distilled water, then compare the resulting color change to a printed chart. While inexpensive, these kits are highly susceptible to user error, poor lighting conditions during color matching, and degradation of the chemical reagents if stored in humid garden sheds.
Method 2: Digital Pocket Meters
Digital probes offer immediate readings, but cheap "stick" meters with unbranded analog dials are notoriously inaccurate and often measure electrical conductivity rather than actual pH. For reliable digital testing, invest in a lab-grade pocket tester like the Apera Instruments PH60F (~$55) or the BlueLab pH Pen (~$105). These feature replaceable glass electrodes and require regular calibration using 4.01 and 7.00 buffer solutions. If you skip calibration, sensor drift will render your readings useless within weeks.
Method 3: Professional Lab Testing (The Gold Standard)
Sending a sample to a university extension or private agronomic lab (such as the UMass Amherst Soil Testing Lab) is the only way to get a comprehensive chemical profile. Crucially, labs perform an SMP Buffer Test. While a standard pH test tells you your current acidity, the SMP buffer test measures your soil's Cation Exchange Capacity (CEC) and buffering capacity—telling you exactly how many pounds of lime are required to change the pH. A sandy soil and a heavy clay soil might both read 5.5 pH, but the clay will require three times as much lime to reach 6.5 due to its higher buffering capacity.
Step-by-Step: Collecting a Composite Soil Sample
A single scoop of dirt from near the driveway is statistically meaningless. You must create a composite sample that represents the entire turf zone. Follow the protocols outlined by Michigan State University Extension for optimal accuracy:
- Map the Zone: Divide your property into distinct management zones (e.g., front yard, shaded backyard, heavily mulched garden beds). Test each zone separately.
- Clear the Surface: Brush away surface debris, thatch, and organic mulch. You want to test the mineral soil where the roots actually live.
- Core at the Right Depth: Using a stainless-steel soil probe or a clean spade, extract cores exactly 3 to 4 inches deep. This is the primary active root zone for most turfgrasses.
- Use a Zig-Zag Pattern: Walk the zone in a zig-zag or W pattern, taking 10 to 15 subsamples per 1,000 square feet. Avoid anomalous areas like old burn pits, pet waste zones, or the immediate drip line of concrete foundations.
- Mix in Plastic: Combine all subsamples in a clean plastic bucket. Never use galvanized metal or brass tools, as zinc and copper will leach into the soil and contaminate the micronutrient analysis.
- Air Dry and Bag: Let the soil air-dry on a newspaper for 24 hours. Break up clods, remove stones and root fragments, and place 2 cups of the mixed soil into the lab's provided ziplock or paper bag.
Warning: Never use tap water when creating soil slurries for DIY digital or chemical tests. Municipal tap water is often treated with alkaline compounds and has its own pH (typically 7.5 to 8.5), which will artificially skew your soil reading. Always use distilled or deionized water.
Translating pH Data into Amendment Strategies
Once you have your verified pH data, you can calculate the precise amendments needed. Below is a standard baseline framework for correcting soil pH in loamy soils. Always defer to your specific lab report's lime/sulfur recommendations, as they account for your soil's unique CEC.
| Current pH | Target pH | Required Amendment | Est. Rate per 1,000 sq ft |
|---|---|---|---|
| 5.0 (Highly Acidic) | 6.5 | Pelletized Calcitic Lime | 80 - 100 lbs |
| 5.8 (Mildly Acidic) | 6.5 | Pelletized Calcitic Lime | 30 - 40 lbs |
| 7.8 (Alkaline) | 6.5 | Elemental Sulfur (90%) | 10 - 15 lbs |
The Mulch Buffer Effect
When integrating soil amendments with landscape mulching, timing is critical. If you apply elemental sulfur to lower pH in a garden bed, do not immediately cover it with 3 inches of fresh hardwood mulch. The microbial breakdown of high-carbon mulches consumes soil nitrogen and creates localized organic acids. This can cause the top inch of soil to fluctuate wildly in pH and moisture, slowing the chemical reaction of the sulfur. Apply your pH amendments, water them in thoroughly to activate the soil chemistry, and wait 14 to 21 days before laying down your final mulch layer.
Common Testing Mistakes to Avoid
- Testing Immediately After Fertilization: Synthetic fertilizers like ammonium sulfate create a temporary acidic halo in the soil. Wait at least 6 to 8 weeks after any chemical application before pulling a soil sample.
- Ignoring Soil Texture: Applying 50 lbs of lime per 1,000 sq ft might raise the pH of a sandy coastal soil by a full point, but it will barely move the needle on heavy, clay-dominant soils. Texture dictates amendment volume.
- Over-liming: Raising soil pH above 7.2 in turfgrass environments triggers severe iron chlorosis. It is much easier and cheaper to gradually raise pH over two seasons than to attempt to lower an accidentally over-limed lawn with sulfur.

