
Lawn Care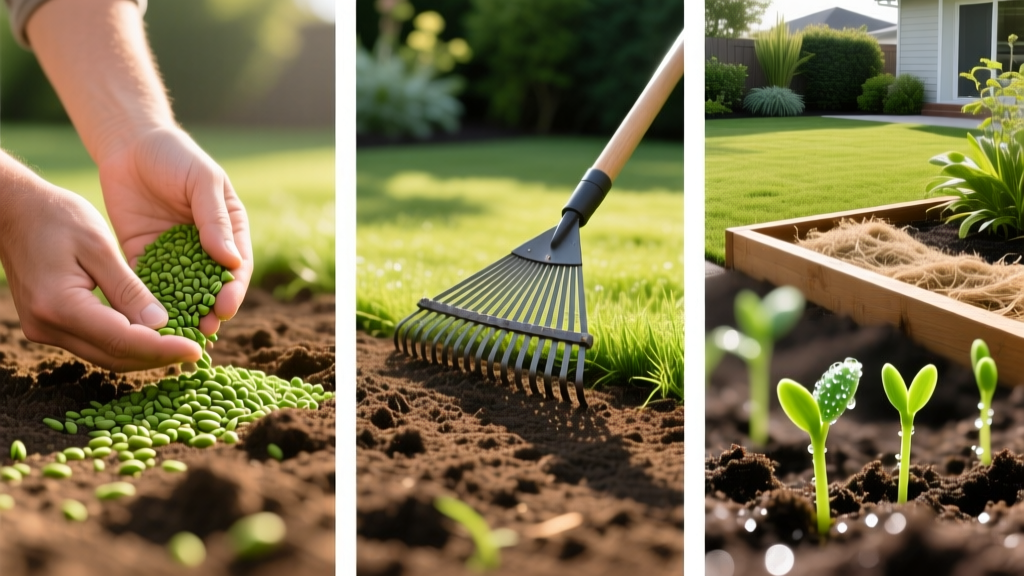
How to Plant a New Lawn From Seed: Soil Prep to First Mow Guide
The Hidden Cost of Skipping Soil Prep
Most lawn establishment failures trace back to the first 48 hours of the project. Planting premium grass seed over untested, compacted subsoil guarantees shallow root systems, chronic drought stress, and severe weed infiltration. Before purchasing a single bag of seed, you must understand your soil's chemical and physical baseline.
Data Highlight: A standard university extension soil test costs between $15 and $30. This single investment prevents homeowners from wasting an average of $400 to $800 on unnecessary lime, gypsum, or starter fertilizers that actively hinder seed germination.
Collect 10 to 15 core samples from the top 4 inches of your yard using a soil probe, mix them in a clean plastic bucket, and send a 1-cup composite sample to your local cooperative extension. You are specifically looking for a pH between 6.2 and 6.8. If your pH falls below 6.0, apply pelletized limestone at a rate of 50 lbs per 1,000 square feet to raise it by roughly 0.5 points. If your soil test indicates low organic matter (below 3%), incorporate a 1-inch layer of screened, aged compost into the top 4 inches of soil using a rototiller or a tractor-mounted Harley rake.
Phase 1: Site Preparation and Grading
Water drainage dictates the long-term survival of your turf. Improper grading leads to pooling water, which drowns germinating seeds and invites Pythium blight. According to Penn State Extension, the gold standard for residential lawn grading is a 2% slope, which translates to a 1/4-inch drop per linear foot moving away from your home's foundation.
Execution Steps for Perfect Grading
- Clear and Kill: Apply a non-selective herbicide like glyphosate 14 days before tilling to eliminate existing weeds. Do not skip this step; tilling live weeds brings dormant weed seeds to the surface.
- Rough Grade: Use a box scraper or heavy steel bow rake to move soil from high spots to low spots. Fill deep depressions with subsoil, not topsoil, to maintain structural integrity.
- Fine Grade: Run a lawn leveling rake (such as the Rocklin Industry Leveling Rake) over the surface. For large properties, rent a laser level to verify your 2% slope. Remove all rocks larger than 1 inch in diameter.
- Final Roll: Use a water-filled lawn roller (weighing roughly 250 lbs) to firm the seedbed. The soil should be firm enough that your footprints are no deeper than 1/4 inch.
Phase 2: Seed Selection Matrix
Choosing the right seed requires matching the cultivar to your specific USDA hardiness zone, sunlight exposure, and traffic levels. Avoid generic 'contractor mixes' sold at big-box stores, which often contain cheap annual ryegrass fillers that die off after one season. Always check the seed tag for a germination rate above 90% and a weed seed content of 0.0%.
| Grass Type | Seeding Rate (lbs/1,000 sq ft) | Germination Time | Avg. Cost (50lb Bag) |
|---|---|---|---|
| Tall Fescue (TTTF) | 8 - 10 lbs | 7 - 14 days | $160 - $220 |
| Kentucky Bluegrass | 2 - 3 lbs | 14 - 28 days | $250 - $350 |
| Bermudagrass | 1 - 2 lbs (hulled) | 10 - 21 days | $180 - $250 |
| Zoysiagrass | 2 - 3 lbs | 14 - 21 days | $300 - $450 |
For cool-season lawns in transition zones, a mix of 90% Turf-Type Tall Fescue and 10% Kentucky Bluegrass provides the deep drought resistance of fescue with the self-repairing rhizome spread of bluegrass.
Phase 3: Sowing and Starter Fertilizer
New grass seedlings require immediate access to phosphorus for rapid root development, but standard lawn fertilizers often contain zero phosphorus due to environmental runoff regulations. You must use a dedicated starter fertilizer. A formulation like Scotts Turf Builder Starter Food for New Grass (24-25-4) provides the exact NPK ratio required for establishment.
Pro-Tip for Weed Prevention: Standard pre-emergents like Prodiamine will kill your new grass seed. If you are planting in early fall and need weed control, apply a liquid pre-emergent containing mesotrione (brand name Tenacity) on the exact day of seeding. It suppresses crabgrass and broadleaf weeds without harming germinating cool-season turf.
The Cross-Hatch Sowing Method
Never dump seed into a spreader and walk randomly. Divide your total seed volume exactly in half. Load the first half into a rotary spreader (like the Scotts EdgeGuard Mini) and walk in parallel North-South lines. Load the second half and walk in perpendicular East-West lines. This cross-hatch pattern eliminates striping and guarantees uniform coverage. Finally, lightly drag a piece of chain-link fence or a specialized seed roller over the area to ensure seed-to-soil contact, which UMass Amherst Extension identifies as the most critical factor in preventing seed desiccation.
Phase 4: The 21-Day Germination Watering Protocol
Watering a newly seeded lawn is entirely different from watering an established one. Grass seed must remain continuously moist but never waterlogged. If the seed dries out even once during the first 14 days, the germinal root dies instantly.
- Days 1 to 10 (Germination Phase): Water 3 to 4 times daily for 5 to 10 minutes per zone. The goal is to keep the top 1 inch of soil consistently damp. Use an automated irrigation timer with multiple daily start times to prevent forgetting.
- Days 11 to 17 (Root Establishment): As seedlings reach 1 inch in height, reduce frequency to once daily, but increase the duration to 20 to 30 minutes. This encourages the fragile roots to chase the moisture deeper into the soil profile.
- Days 18 to 30 (Hardening Off): Transition to deep, infrequent watering. Apply 1/2 inch of water every third day. By day 30, you should be applying 1 to 1.5 inches of water per week in a single, deep session.
Troubleshooting Common Establishment Failures
Seed Washes Away After Heavy Rain
If you experience severe seed washout, your grading is too steep or your soil lacks organic matter to absorb water. For immediate remediation, apply a hydraulic mulch or a specialized straw blanket (like Curlex) over the affected slopes. Avoid standard straw, which often contains viable agricultural weed seeds that will hijack your new lawn.
Yellowing Seedlings at Day 14
Pale or yellowing grass tips shortly after germination usually indicate a nitrogen deficiency or a pH lockout. If your soil test confirmed proper pH, apply a quick-release liquid nitrogen source, such as 28% UAN (Urea Ammonium Nitrate), diluted at 1 ounce per gallon of water per 1,000 square feet. This provides an immediate foliar nitrogen boost to fuel the next stage of vertical growth.
When to Execute the First Mow
Do not mow based on a calendar schedule; mow based on height. Wait until the new grass reaches 3.5 to 4 inches tall. Set your mower deck to 3 inches, ensuring your blades are freshly sharpened to prevent tearing the fragile, shallow-rooted seedlings out of the ground. Never remove more than 1/3 of the leaf blade during this initial cut.

