
Lawn Care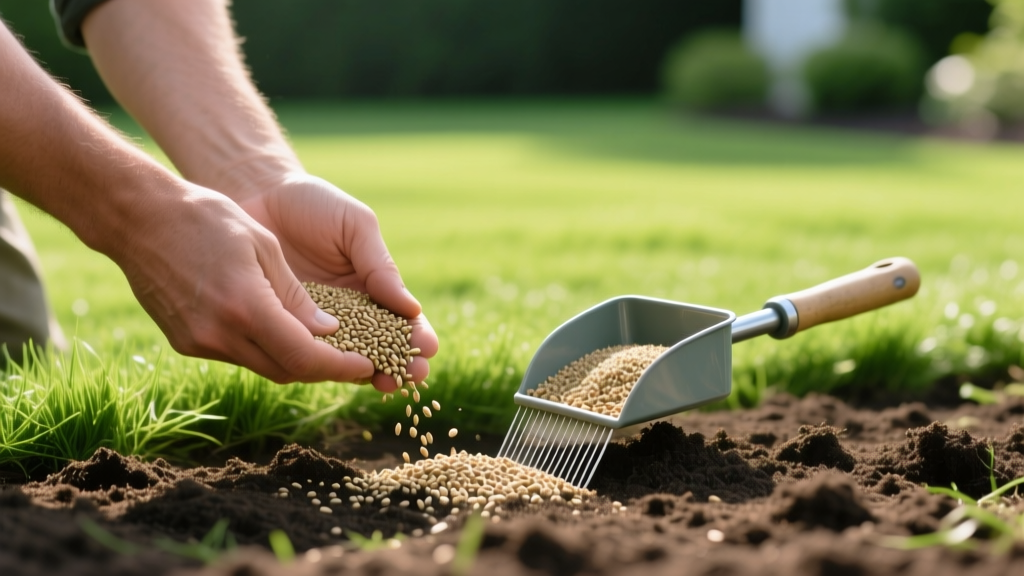
Planting Grass with Seeds: Step-by-Step Establishment Guide
Establishing a new lawn from seed is a high-reward project that demands precise timing, exact measurements, and strict adherence to soil science. Unlike laying sod, which provides instant gratification, planting grass with seeds requires managing a delicate biological process where moisture, temperature, and soil contact dictate success or failure. A single miscalculation in watering or seeding depth can result in patchy germination, invasive weed intrusion, or total seed loss to erosion. This guide provides the exact agronomic frameworks, product specifications, and timelines required to cultivate a dense, resilient turfgrass canopy from raw seed.
The Science of Seed Germination and Soil Thresholds
Grass seed will not germinate based on the air temperature you feel; it responds strictly to soil temperature at the top 2 inches of the seedbed. Cool-season grasses (Tall Fescue, Kentucky Bluegrass, Perennial Ryegrass) require consistent soil temperatures between 50°F and 65°F. Warm-season grasses (Bermudagrass, Zoysia, Centipedegrass) demand soil temperatures of at least 65°F to 70°F to trigger the enzymatic breakdown of the seed endosperm.
Pro Tip: The Soil Thermometer Rule
Never guess soil temperature. Insert a digital probe soil thermometer 2 inches into the ground at 9:00 AM for three consecutive days. If you are planting Kentucky Bluegrass and the soil reads 72°F, you have missed the optimal spring window and must wait for early fall. Attempting to force germination outside these thermal windows results in seed dormancy or fatal fungal diseases like Pythium blight.
Selecting the Right Seed Blend and Coating Technology
Modern turfgrass seed is rarely sold raw. Most premium blends feature proprietary coatings (such as Pennington Smart Seed or Scotts Watersmart Plus) that include fungicides, moisture-retaining polymers, and biostimulants. While these coatings increase seedling survival rates by up to 30%, they also mean that 40% to 50% of the bag's weight is coating material, not actual seed. You must adjust your spreader calibration accordingly to avoid under-seeding.
| Grass Species | Climate Zone | Raw Seeding Rate (lbs/1,000 sq ft) | Coated Seeding Rate (lbs/1,000 sq ft) | Days to Germinate |
|---|---|---|---|---|
| Tall Fescue | Cool / Transition | 6 - 8 lbs | 10 - 12 lbs | 7 - 12 Days |
| Kentucky Bluegrass | Cool | 1 - 2 lbs | 2 - 3 lbs | 14 - 28 Days |
| Perennial Ryegrass | Cool / Transition | 5 - 7 lbs | 8 - 10 lbs | 5 - 10 Days |
| Bermudagrass | Warm | 1 - 2 lbs | 2 - 3 lbs | 10 - 21 Days |
For authoritative regional recommendations on cultivar selection, consult the UC Agriculture and Natural Resources Lawn Guide or your local university extension office, as specific cultivars like 'Titan Ultra' Tall Fescue or 'Mazama' Kentucky Bluegrass perform vastly differently depending on local pathogen pressures.
Site Preparation: The Make-or-Break Phase
The most common reason for establishment failure is inadequate seed-to-soil contact. Seed resting on top of compacted dirt or thatch will desiccate within hours of germination.
Grading and Tilling
Begin by rototilling the top 4 to 6 inches of soil to break up compaction and integrate organic matter. If your native soil is heavy clay, incorporate 2 cubic yards of compost per 1,000 square feet. Grade the surface to ensure a 1% to 2% slope away from your home's foundation to prevent water pooling. After grading, use a lawn roller filled halfway with water (providing roughly 150 lbs of pressure) to firm the seedbed. This prevents the soil from settling unevenly after the first heavy rain, which can create low spots that drown emerging seedlings.
Sowing and Starter Fertilization Chemistry
When planting grass with seeds, uniform distribution is critical. Calibrate a broadcast spreader (like the Scotts EdgeGuard Mini) and apply half of your total seed volume walking in horizontal passes, and the other half in vertical passes. This cross-hatch pattern eliminates striping and bare spots.
Immediately after seeding, apply a high-phosphorus starter fertilizer. Phosphorus (the middle number in the N-P-K ratio) is the primary driver of early root development. A standard 18-24-12 or 10-18-10 starter fertilizer provides the necessary phosphorus burst. Apply at the rate specified on the bag, typically around 3 to 4 lbs per 1,000 square feet. According to Penn State Extension, starter fertilizers are one of the few exceptions to phosphorus application bans in many municipalities, as new turf requires immediate root establishment to prevent nutrient runoff.
Warning: The Pre-Emergent Conflict
Never apply a standard pre-emergent herbicide (like Prodiamine or Dithiopyr) before or immediately after seeding. Pre-emergents create a chemical barrier that stops cell division in germinating seeds. If you must control weeds during establishment, use a product containing Mesotrione (e.g., Tenacity), which is safe for most cool-season grasses at the time of seeding. Always check the label for specific grass type compatibility.
Mulching for Moisture Retention
Cover the seeded area with a thin layer of certified weed-free straw or a recycled paper mulch (like Penn Mulch). Apply straw at a rate of one bale per 1,000 square feet. The goal is to lightly dapple the soil so that roughly 50% of the soil is still visible through the straw. This protects the seed from UV desiccation, bird predation, and rain washouts without suffocating the emerging shoots.
The 21-Day Watering Matrix
Watering is where most homeowners fail. New seed lacks a root system and will die if the top 1/2 inch of soil dries out, but it will rot if left in standing water. Follow this exact watering matrix for the first three weeks:
- Days 1 to 10 (Germination Phase): Water 3 to 4 times per day for 5 to 10 minutes per zone. The objective is to keep the seed and topsoil constantly damp, not muddy. Avoid watering in the late evening to prevent fungal pathogens.
- Days 11 to 21 (Root Establishment): Reduce frequency to once per day, but increase duration to 15 to 20 minutes. This encourages the emerging roots to stretch downward to seek moisture, anchoring the seedling.
- Days 22 and Beyond (Maturation): Transition to deep, infrequent watering. Apply 1 to 1.5 inches of water per week, split across two sessions. This trains the turf to develop deep, drought-resistant root profiles.
Mowing the New Turf and Troubleshooting Failures
Do not mow the new lawn until the majority of the grass blades have reached 3.5 to 4 inches in height. For the first cut, set your mower deck to 3 inches and ensure the blade is razor-sharp. A dull blade will rip the shallow-rooted seedlings entirely out of the soil. Leave the clippings on the lawn to return nitrogen to the soil, and avoid heavy foot traffic for at least 60 days.
Common Establishment Failure Modes
If your lawn is failing to establish, diagnose the issue using these common failure modes:
- Damping Off Disease: Seedlings sprout but suddenly collapse and turn brown at the soil line. This is caused by Pythium fungi due to overwatering and poor air circulation. Fix: Reduce watering frequency immediately and apply a systemic fungicide containing Azoxystrobin.
- Washouts and Clumping: Seeds have pooled in low areas, creating thick, competing clumps while leaving bare spots. Fix: This is a grading failure. You must let the area dry, rake out the dead clumps, re-grade the soil with topdressing sand, and reseed.
- Stalled Germination: Seeds swell but do not sprout after 21 days. Fix: Check soil temperature. If the soil is too cold, the seeds are dormant. If the soil is warm enough, the seed lot may have been stored improperly and lost viability. Perform a wet paper towel germination test on a sample from the bag to confirm.
By adhering to precise seeding rates, leveraging starter fertilizer chemistry, and strictly managing soil moisture, planting grass with seeds transforms from a gamble into a predictable, highly rewarding agronomic process.

