
Lawn Care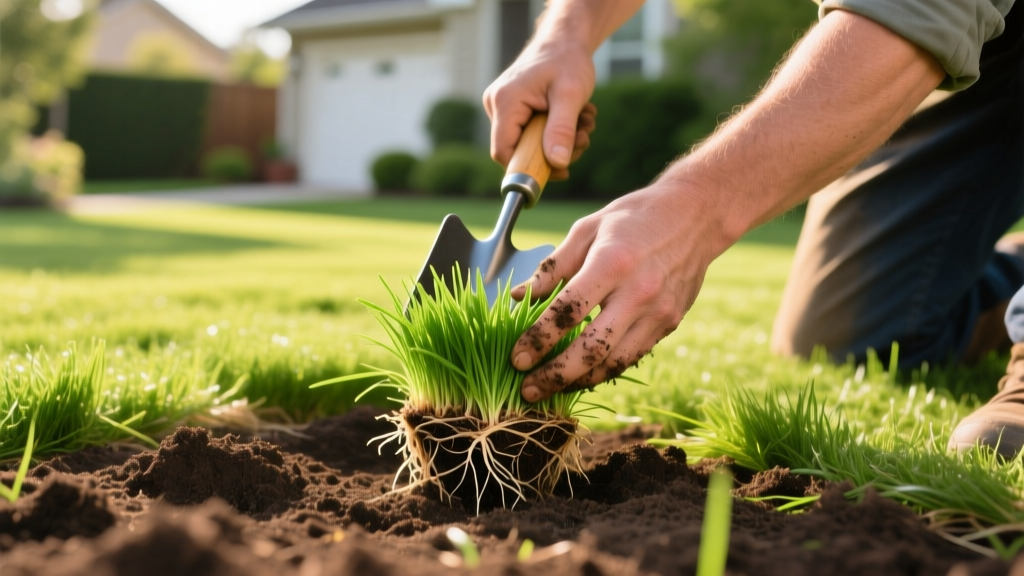
How to Plant Plug Grass: Step-by-Step Lawn Repair & Setup Guide
The Strategic Advantage of Plug Grass Establishment
Grass plugs are 2-to-3-inch cylindrical sections of mature turfgrass, complete with intact root systems and soil cores. While seeding is the cheapest establishment method and sod provides an instant lawn, planting plug grass occupies the highly efficient middle ground. Plugs typically cost between $0.45 and $0.85 per unit in 2026 markets, offering a 40% to 60% cost reduction compared to full sod installations, while establishing a fully rooted, durable lawn significantly faster than seed.
However, the plug method is strictly limited to warm-season grasses that spread aggressively via above-ground stolons and below-ground rhizomes. Zoysia, Bermuda, St. Augustine, and Centipede grasses are ideal candidates. Attempting to plug cool-season bunchgrasses like Tall Fescue will result in permanent, disconnected clumps that never fill the gaps. According to the Texas A&M AgriLife Extension, warm-season turfgrasses require specific soil-to-root contact and precise watering schedules to trigger lateral stolon growth from the plug margins.
Phase 1: Soil Preparation and Site Clearing
The success of your plug grass relies entirely on the soil interface. Plugs will not send out lateral runners across compacted clay or weed-choked topsoil.
- Eradicate Existing Vegetation: Apply a non-selective systemic herbicide (such as a 41% glyphosate solution) to the target area 14 days prior to planting. Wait for complete browning and desiccation of existing weeds.
- Core Aeration and Tilling: Rototill the soil to a depth of 4 to 6 inches. If your soil is heavy clay, incorporate 2 cubic yards of organic compost per 1,000 square feet to improve drainage and cation exchange capacity (CEC).
- Grade and Level: Use a heavy landscaping rake to level the soil. Remove all rocks, roots, and debris larger than 1 inch in diameter. A smooth grade is critical; if the soil is uneven, the plugs will sit at varying depths, leading to inconsistent watering.
- Pre-Plant Moisture: Water the bare soil deeply 24 hours before planting. The soil should be moist but not muddy when you begin drilling holes.
Pro-Tip: Skip the Manual Dibber
Do not use a manual hand dibber or trowel for large areas. Attach a 3-inch diameter bulb auger to a modern 20V brushless cordless drill. This reduces physical fatigue by over 80% and ensures every hole is exactly 3 inches deep with perfectly vertical walls, preventing the plug from tilting after insertion.
Phase 2: Spacing Strategy and Coverage Math
Plug spacing dictates both your upfront budget and the time required for the lawn to achieve 100% coverage. The standard measurement is taken from the center of one plug to the center of the next. According to turf establishment guidelines from the University of Georgia Extension, tighter spacing accelerates canopy closure, which naturally suppresses weed germination by blocking sunlight.
| Spacing Pattern | Plugs per Sq. Ft. | Plugs per 1,000 Sq. Ft. | Est. Time to Full Coverage |
|---|---|---|---|
| 9 x 9 Inches (Premium) | 1.78 | 1,780 | 8 - 10 Weeks |
| 12 x 12 Inches (Standard) | 1.00 | 1,000 | 12 - 14 Weeks |
| 15 x 15 Inches (Budget) | 0.64 | 640 | 16 - 20 Weeks |
Phase 3: Step-by-Step Planting Procedure
Once your grid is mapped out using string lines or a laser level, execute the planting process systematically to prevent soil compaction around freshly drilled holes.
- Drill the Holes: Using your 3-inch auger, drill straight down to a depth of 3 inches. Pull the auger out while it is still spinning to clear the soil core efficiently.
- Apply Starter Fertilizer: Drop a half-teaspoon of high-phosphorus starter fertilizer (e.g., 10-18-10 NPK) or a specialized mycorrhizal root-stimulating gel into the bottom of each hole. Phosphorus is critical for early root development and is immobile in soil, meaning it must be placed directly in the root zone.
- Insert the Plug: Remove the plug from its tray. Gently squeeze the sides of the plastic tray cell to loosen the root ball—never pull by the grass blades, as this detaches the crown from the roots.
- Set the Grade (Critical Step): Drop the plug into the hole. The crown of the grass (the pale tissue where the green blades meet the white roots) must sit exactly level with the surrounding soil grade. Burying the crown causes fatal stem rot; leaving it exposed causes rapid desiccation.
- Eliminate Air Pockets: Use your hands or the flat end of a trowel to firmly tamp the surrounding soil against the sides of the plug root ball. Air pockets will dry out the roots and kill the plug within 48 hours.
Phase 4: The Critical 30-Day Watering Protocol
Plugs have a severely restricted root mass compared to sod. They cannot access deep soil moisture until their lateral roots establish. The first 30 days dictate survival.
Week 1: Constant Surface Moisture
Water for 10 to 15 minutes, two to three times per day (morning, midday, and early afternoon). The goal is not deep saturation, but keeping the top 1 inch of soil and the plug root ball perpetually moist. If the grass blades fold or show a bluish-gray tint, water immediately.
Week 2: Root Encouragement
Reduce frequency to once per day (early morning only), but increase the duration to 20 minutes. This forces the roots to begin chasing the moisture slightly deeper into the soil profile, anchoring the plug.
Weeks 3 and 4: Transition to Deep Soaking
By week three, give the plugs a gentle "tug test." If you feel resistance, the roots have anchored. Transition to watering every other day, applying roughly 0.5 inches of water per session. By week four, shift to a standard 1 inch of water per week, applied in one or two deep sessions.
Warning: Pre-Emergent Herbicide Restrictions
Do not apply pre-emergent herbicides (like prodiamine or dithiopyr) to a newly plugged lawn. These chemicals create a barrier that stops cell division in germinating seeds, but they also severely stunt the lateral stolon growth required for your plugs to spread and fill the gaps. Wait at least 60 to 90 days after planting, or until the lawn has achieved 80% canopy coverage, before applying pre-emergents.
Troubleshooting Common Plug Failure Modes
Even with meticulous preparation, environmental variables can cause issues. Use this diagnostic framework to correct problems early.
- Symptom: Plugs turning brown and crispy at the leaf margins.
Cause: Desiccation or wind burn. The root ball is not making proper contact with the surrounding soil, or watering frequency is too low.
Fix: Re-tamp the soil around the plug and increase watering frequency to twice daily until the center of the plug pushes new green growth. - Symptom: Plugs turning yellow, mushy, and pulling out easily.
Cause: Crown rot. The plug was planted too deep, burying the crown, or the soil is heavily compacted clay retaining too much water.
Fix: Unfortunately, rotted plugs cannot be saved. Dig them out, amend the specific hole with coarse sand to improve drainage, and replant with fresh plugs, ensuring the crown is perfectly level. - Symptom: Plugs physically pushing out of the ground.
Cause: Frost heave (if planted too late in the fall before ground temperatures stabilize) or heavy earthworm activity pushing the root ball upward.
Fix: Step on the plug with a flat-soled shoe to press it back into the cavity, add a thin layer of topsoil around the edges, and water heavily to settle the soil. - Symptom: Weeds overtaking the gaps between plugs.
Cause: Slow stolon growth due to low soil nitrogen or wide plug spacing.
Fix: Hand-pull weeds immediately to prevent them from shading the grass stolons. Apply a light dose of liquid nitrogen (e.g., urea at 0.25 lbs per 1,000 sq ft) to accelerate lateral runner growth.

