Lawn Care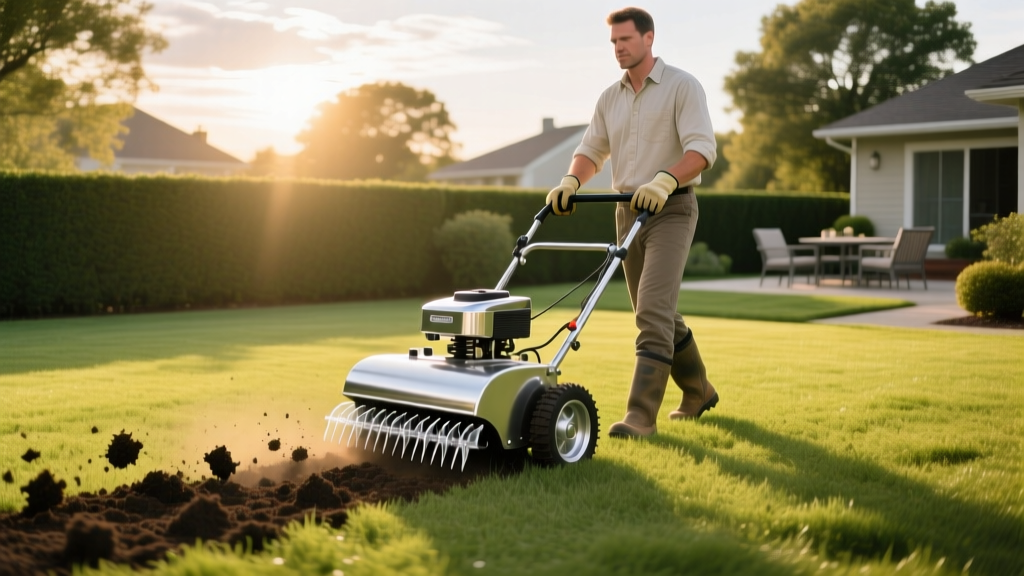
How to Use a Pull Behind Aerator: Step-by-Step Lawn Care Guide
The Mechanics of Soil Decompaction
Soil compaction is the silent killer of turfgrass health. Over time, foot traffic, heavy rainfall, and the natural settling of clay-heavy soils compress the pore spaces required for oxygen, water, and nutrient exchange. While spike aerators merely punch holes that can further compact the sidewalls of the soil, a pull behind aerator (specifically a core or plug aerator) physically extracts 2-to-3-inch cylindrical plugs of soil. This process, known as core aeration, relieves compaction, breaks down thatch layers, and stimulates deep root growth. According to the University of Minnesota Extension, core aeration is the single most effective mechanical practice for revitalizing heavily trafficked lawns and improving drought tolerance in cool- and warm-season grasses.
For homeowners managing properties between 0.5 and 2 acres, a tow-behind plug aerator attached to a lawn tractor or zero-turn mower (using a compatible hitch) offers the ideal balance of efficiency and cost-effectiveness. In 2026, residential-grade 40-inch to 48-inch pull-behind models typically retail between $180 and $350, offering a rapid return on investment compared to hiring professional landscaping crews at $150 to $250 per visit.
Equipment Matrix: Choosing Your Tow-Behind Aerator
Not all pull-behind aerators are engineered equally. The depth of penetration and the durability of the tines dictate your success. Below is a comparison of the leading residential models currently dominating the market.
| Model / Brand | Working Width | Tine Material & Design | Max Hopper Weight | Approx. Price (2026) |
|---|---|---|---|---|
| Agri-Fab 45-0544 | 40 Inches | Galvanized Steel, 32 spoons | 150 lbs | $210 - $240 |
| Brinly-Hardy PA-40BH | 40 Inches | Heat-Treated Steel, 24 spoons | 150 lbs | $190 - $220 |
| Ohio Steel 42CP | 42 Inches | Heavy-Gauge Steel, 28 spoons | 200 lbs | $280 - $320 |
Expert Insight: Always prioritize heat-treated or galvanized steel tines. Standard stamped steel will blunt and bend after a single season in rocky or heavy clay soils. Furthermore, ensure the hopper tray is constructed from welded steel or high-density UV-resistant polyethylene to prevent cracking under heavy loads.
Phase 1: Pre-Aeration Lawn Preparation
CRITICAL WARNING: Before making a single pass, you must identify subterranean hazards. Shallow irrigation lines, invisible dog fences, and buried cable TV wires are easily severed by aerator tines. Always call 811 (the national call-before-you-dig number) at least 48 hours prior to aeration to have public utility lines marked. For private lines, use a metal detector or consult your original landscaping blueprints.
The Soil Moisture Test
The most common failure mode for DIY aeration is attempting to pull tines through bone-dry, sun-baked soil. Dry clay acts like concrete; the tines will simply scrape the surface or bend. Conversely, aerating saturated, muddy soil destroys soil structure and creates deep ruts.
The Protocol: Apply exactly 1 inch of water to your lawn 24 to 48 hours before aeration. To test readiness, use the screwdriver test: push a 6-inch flathead screwdriver into the soil. It should slide in with moderate resistance and come out with moist soil clinging to the shaft. If it refuses to penetrate, water again. If it slides in effortlessly and pulls up mud, wait 12 hours for the soil to dry slightly.
Additionally, mow your lawn to a height of 1.5 to 2 inches before starting. Shorter grass allows the extracted soil plugs to reach the soil surface more easily and ensures better seed-to-soil contact if you plan to overseed immediately afterward.
Phase 2: The Core Aeration Execution Protocol
Operating a pull behind aerator requires specific weight distribution and driving patterns to ensure uniform decompaction. Follow these exact steps for optimal core extraction.
- Load the Hopper for Downforce: The tines on a tow-behind aerator rely entirely on downward pressure to penetrate the earth. An empty hopper will result in shallow, 0.5-inch scratches. Load the hopper with 150 to 200 lbs of weight. Use dry sandbags, concrete cinder blocks, or bags of pelletized lime (which you can use later in the season) to achieve this mass. Secure the weight with bungee cords to prevent shifting during turns.
- Configure the Hitch and Tension: Attach the aerator to your tractor's sleeve hitch or standard tow bar. Ensure the hitch pin is secured with a linchpin. The aerator frame should sit perfectly level when the tractor is on flat ground. If the front of the aerator lifts, lower the tractor's hitch point.
- Engage the Tines and Begin the Grid Pattern: Lower the tines into the soil before engaging the tractor's throttle. Drive at a slow, steady pace (2 to 3 MPH). To achieve the recommended 3-to-4-inch spacing between aeration holes, you must use a crisscross grid pattern. Make your first pass North-to-South, then make a second pass East-to-West.
- Navigate Turns Carefully: Never turn the tractor sharply while the tines are engaged in the soil; this will torque and snap the tine axles. Before reaching the end of a row, lift the aerator (if using a sleeve hitch with a lift lever) or drive forward until the tines naturally disengage at the turnaround point, make a wide loop, and re-engage on the next pass.
- Leave the Plugs on the Lawn: Do not rake up the extracted soil cores. According to Penn State Extension, these plugs contain vital microorganisms that will break down the thatch layer as they disintegrate over the next two to three weeks. Regular mowing and rainfall will naturally pulverize them back into the turf canopy.
Phase 3: Post-Aeration Recovery and Overseeding
Aeration is rarely a standalone procedure; it is the critical first step in a broader lawn renovation protocol. The open holes created by your pull behind aerator are prime real estate for seed germination and nutrient delivery.
- Overseeding Rates: Apply turfgrass seed within 24 hours of aeration. For Tall Fescue, apply 6 to 8 lbs of seed per 1,000 square feet. For Kentucky Bluegrass, apply 2 to 3 lbs per 1,000 square feet. The seeds will fall directly into the aeration holes, protecting them from birds and wind while providing direct access to subsoil moisture.
- Starter Fertilizer Application: Immediately follow seeding with a high-phosphorus starter fertilizer (e.g., a 10-18-10 NPK ratio). Phosphorus is immobile in the soil and is critical for rapid root establishment. Apply at a rate of 0.5 lbs of actual nitrogen per 1,000 square feet.
- Topdressing (Optional but Recommended): For severely uneven lawns, drag a thin layer (0.25 inches) of screened compost or topsoil over the aerated surface using a heavy drag mat. This fills the holes with organic matter, permanently improving the soil profile.
Troubleshooting Common Pull-Behind Aerator Failures
Even with proper preparation, mechanical and environmental variables can disrupt the aeration process. Use this decision tree to diagnose and fix issues in real-time.
- Symptom: Tines are penetrating less than 1 inch deep.
Cause & Fix: Insufficient downforce or soil is too dry. Add 50 lbs of weight to the hopper. If maximum weight is already applied, halt operations and water the lawn for an additional 4 hours. - Symptom: Tines are clogging with mud and grass.
Cause & Fix: The soil is overly saturated, or the thatch layer exceeds 0.75 inches. Stop immediately. Allow the lawn to dry for 48 hours. If thick thatch is the culprit, rent a power dethatcher and remove the thatch layer before attempting aeration again. - Symptom: The aerator hitch is dragging on the ground during turns.
- Symptom: Extracted plugs are crumbling into dust immediately.
Cause & Fix: The soil is too dry and sandy. Increase your pre-aeration watering volume to 1.5 inches to ensure adequate cohesion for core extraction.
Expert FAQ
Can I use a pull behind aerator on a lawn with a sprinkler system?
Yes, but only if the sprinkler heads and shallow PVC supply lines are properly marked. Most modern sprinkler heads are installed 4 to 6 inches below grade, which is deeper than the 3-inch penetration of standard residential aerator tines. However, lateral supply lines running to the heads may be buried shallower. Always mark them with landscape flags before driving over them.
How often should I pull a plug aerator across my lawn?
For high-traffic lawns or those with heavy clay soil profiles (common in the Southeast and Midwest), annual aeration in the early fall (for cool-season grasses) or late spring (for warm-season grasses) is mandatory. Sandy soils or low-traffic properties may only require aeration every two to three years. The Texas A&M Agrilife Extension recommends adjusting frequency based on annual soil compaction tests rather than a rigid calendar schedule.
Is a 40-inch pull behind aerator wide enough for a 1-acre lawn?
A 40-inch working width is highly efficient for a 1-acre property. Assuming a standard overlap of 4 inches per pass, you will cover approximately 3 feet of new ground per pass. A 1-acre lawn (43,560 square feet) will take roughly 2.5 to 3 hours to complete a single pass, and about 5 to 6 hours for the recommended double-pass crisscross grid. Ensure your lawn tractor has adequate towing torque and transmission cooling for this duration.