
Lawn Care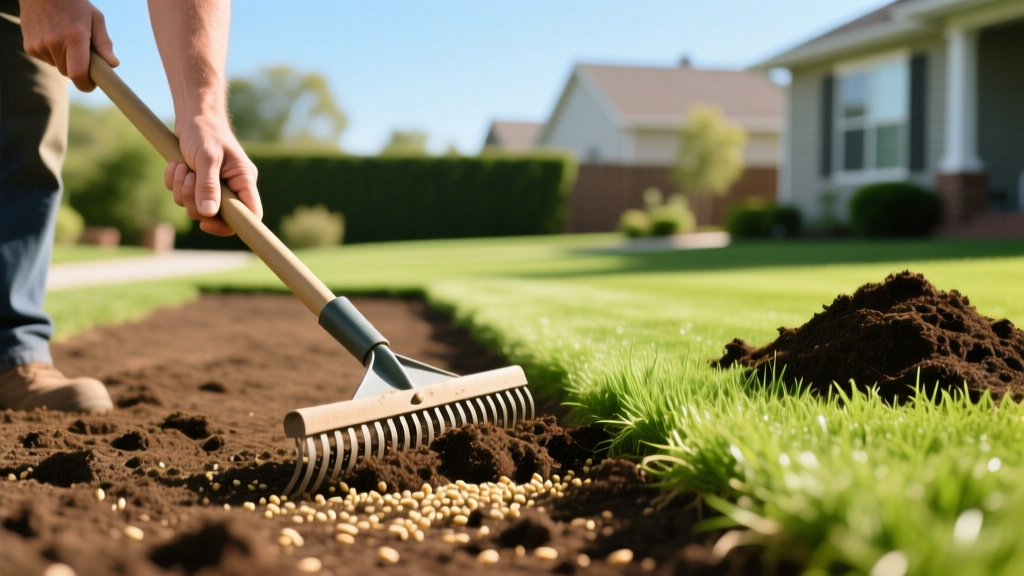
Raking Soil for Grass Seed: The Beginner's Step-by-Step Prep Guide
Many novice gardeners make a critical mistake when establishing a new lawn: they confuse raking leaves with raking soil. While a flexible leaf rake is designed to skim the surface and gather debris, raking soil is a deliberate mechanical process meant to alter the physical structure of the earth. When you are preparing a seedbed, the goal is to create a specific micro-environment that encourages rapid germination and deep root penetration. According to turfgrass researchers at the University of Minnesota Extension, proper seed-to-soil contact is the single most important factor in successful lawn establishment, and achieving it requires the right raking technique.
The Science of Seed-to-Soil Contact
Grass seed requires three things to germinate: moisture, warmth, and oxygen. If seed is simply broadcast over hard, compacted dirt, it will dry out in the sun or be eaten by birds. If it is buried too deeply, the emerging shoot will exhaust its energy reserves before reaching the surface. Raking soil creates shallow micro-trenches—typically 1/8 to 1/4 of an inch deep—that cradle the seed. These grooves protect the seed from wind and desiccation while allowing the radical (first root) to easily penetrate the loose earth below. Furthermore, breaking the surface crust prevents water runoff, ensuring that your irrigation actually reaches the root zone rather than pooling on top of glazed clay.
Choosing the Right Rake for Soil Preparation
Using a flimsy polypropylene leaf rake to prep a seedbed will yield frustrating results. You need tools with rigid tines capable of fracturing compacted earth. Here is a comparison of the primary tools used for raking soil, along with their specific applications and current market pricing.
| Rake Type | Best Use Case | Tine Material | Avg. Cost (2026) |
|---|---|---|---|
| Forged Steel Bow Rake (14-16 teeth) | Breaking heavy clay, leveling topsoil, mixing amendments | Forged Steel | $35 - $55 |
| Thatching Rake (Curved tines) | Creating seed trenches, removing shallow thatch, aerating crust | Spring Steel | $40 - $65 |
| Landscape Rake (Aluminum, wide head) | Final grading, spreading compost, light surface leveling | Extruded Aluminum | $60 - $90 |
| Bamboo or Poly Leaf Rake | Post-seeding coverage (flipped upside down), clearing debris | Bamboo / Plastic | $15 - $25 |
For most beginners tackling a standard suburban lawn (under 5,000 square feet), a standard 14-tooth forged steel bow rake (such as the True Temper 1880800 model) paired with a spring-steel thatching rake will handle 95% of your soil preparation needs.
Step-by-Step: How to Properly Rake Soil for Seeding
Timing and moisture levels dictate the success of your soil prep. Never rake soil when it is saturated; this destroys soil structure and creates hard, concrete-like clods upon drying. Perform the "squeeze test": grab a handful of dirt. It should form a loose ball that easily crumbles when poked with one finger. If water drips out, wait two days. If it turns to dust, water the area lightly and wait 24 hours.
- Clear and Scalp the Area: Mow existing vegetation as low as your mower deck allows (usually 1 to 1.5 inches). Use a leaf rake to remove all clippings, rocks larger than a golf ball, and surface debris.
- The Fracture Pass (Bow Rake): Grip the bow rake near the base of the handle. Pull it toward you with enough downward pressure to fracture the top 1/4 inch of the soil crust. Work in a grid pattern, making two passes at perpendicular angles to ensure uniform loosening.
- Amendment Integration: If your soil test indicates poor organic matter, spread a 1/4-inch layer of screened compost or high-quality topsoil over the area. Use the bow rake to aggressively mix this amendment into the top 1 inch of your native soil.
- The Leveling Pass (Back of the Rake): Flip your bow rake upside down so the flat metal bar is facing the ground. Drag it backward across the soil to fill in deep grooves and create a smooth, level seedbed. This prevents water from pooling in low spots after germination.
Warning: The Over-Raking Trap
Beginners often over-work the soil, turning it into a fine, powdery dust. This destroys the soil's aggregate structure and leads to severe crusting after the first heavy rain. Your goal is a crumbly, pebble-sized texture (resembling coarse oatmeal), not fine powder. Leave small clods intact; they will break down naturally with watering.
Beginners often over-work the soil, turning it into a fine, powdery dust. This destroys the soil's aggregate structure and leads to severe crusting after the first heavy rain. Your goal is a crumbly, pebble-sized texture (resembling coarse oatmeal), not fine powder. Leave small clods intact; they will break down naturally with watering.
Raking Soil vs. Tilling: A Decision Framework
Many homeowners assume they need to rent a heavy-duty rototiller before seeding. Tilling is highly disruptive and can bring dormant weed seeds to the surface while destroying beneficial mycorrhizal fungal networks. Use this framework to decide between deep tilling and surface raking:
- Choose Raking Soil If: You are overseeding an existing lawn, repairing bare patches, or preparing a relatively flat area where the top 2 inches of soil can be adequately fractured with a bow rake. This is the preferred method for maintaining soil ecology and minimizing weed flushes.
- Choose Tilling If: You are starting a lawn on heavily compacted builder's fill (common in new construction), the ground has severe grading issues requiring the movement of large volumes of dirt, or you are incorporating deep layers of organic matter into heavy, unamended clay. If you must till, only go 2 to 3 inches deep, and allow the soil to settle for a week before your final raking and seeding pass.
Post-Seed Raking Techniques
Once your seedbed is prepped and the grass seed is broadcast, you are not finished raking. The seed must be lightly incorporated. The Royal Horticultural Society advises against burying seed deeply, as many turfgrass species require some light exposure to trigger germination.
Instead of using a heavy steel rake, take a flexible bamboo or poly leaf rake and flip it upside down so the tines point toward the sky. Gently drag the flat back of the tines over the seeded area. This lightly covers the seed with a dusting of soil (no more than 1/8 inch deep) without dragging the seed into concentrated piles. Alternatively, you can use a thatching rake with a very light, sweeping pull to drop soil over the seed.
Expert Tip: After your final post-seed rake, use a lightweight lawn roller (filled only 1/3 with water) or simply walk the area in flat-soled shoes to press the seed firmly into the micro-trenches. This final compression step is the secret to a uniform, carpet-like germination.
Frequently Asked Questions
Can I rake soil when it is wet?
No. Raking wet clay or loam causes the soil particles to bind together tightly, creating a hard, impermeable crust once it dries. This crust will physically block delicate grass shoots from emerging. Always wait until the soil is moist but friable (crumbly) before attempting to break the surface.
Do I need to rake soil if I am using a slit-seeder?
If you are using a mechanical slit-seeder (which cuts grooves and drops seed simultaneously), heavy pre-raking is unnecessary. However, you should still perform a light pass with a thatching rake to remove surface debris and thatch that could clog the machine's blades or prevent the seed from reaching the soil.
How deep should my rake tines penetrate the soil?
For standard seedbed preparation, you only need to fracture the top 1/4 to 1/2 inch of soil. Grass seed should never be buried deeper than 1/4 inch. Penetrating too deeply with your rake will create trenches that are too large, causing the seed to fall too deep and suffocate before it can sprout.

