
Lawn Care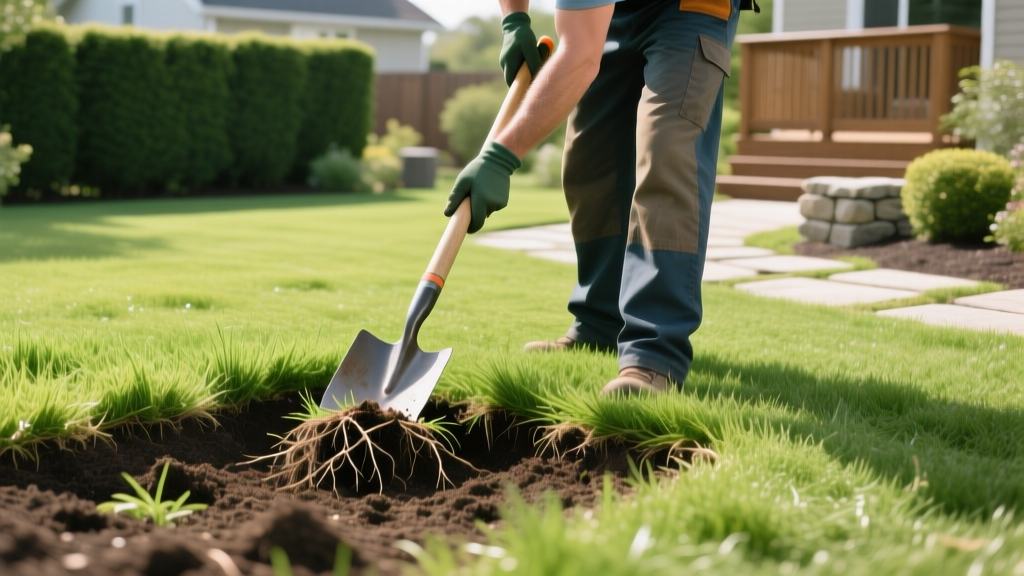
How to Remove Grass from Lawn Areas for Garden Bed Expansion
The Rhizome Trap: Why Tilling Live Grass Fails
When expanding garden beds or installing hardscaping, the existing turf transitions from a desirable lawn to an invasive weed. The most common and catastrophic mistake homeowners make is using a rear-tine tiller to break up live grass before planting. While this works for shallow-rooted annual weeds, it is disastrous for rhizomatous and stoloniferous grasses like Bermuda (Cynodon dactylon), Zoysia, and Quackgrass (Elymus repens).
Tilling these grasses chops their underground rhizomes into hundreds of individual nodes. Each node contains enough stored carbohydrate energy to generate a new, aggressive plant. Instead of removing the grass, you have effectively multiplied it, guaranteeing a relentless weed battle in your new garden beds for the next three to five years. To properly remove grass from lawn areas, you must either extract the root system entirely, starve it, or cook it before disturbing the soil profile.
⚠️ Playbook Warning: Never rototill live Bermuda, Zoysia, or Quackgrass. If your lawn contains these species, you must use systemic chemical eradication or deep mechanical extraction before any soil cultivation occurs.
Method 1: Soil Solarization (The Biological Eradication Route)
Soil solarization leverages the sun's radiant energy to heat the top 6 to 12 inches of soil to temperatures lethal to turfgrass roots, weed seeds, and soil-borne pathogens. This method is highly effective, chemical-free, and leaves behind a sterilized, nutrient-rich seedbed.
The Solarization Protocol
- Mow and Hydrate: Scalp the existing lawn to a height of 0.5 inches. Water the area deeply to a depth of 12 inches. Moist soil conducts heat significantly better than dry soil, increasing the thermal kill depth.
- Select the Correct Plastic: Use 1.5 to 2-mil clear, UV-stabilized polyethylene sheeting. Do not use black plastic; black plastic blocks light but does not trap radiant heat effectively, failing to reach the 110°F+ temperatures required to kill deep rhizomes.
- Seal the Perimeter: Dig a 6-inch deep trench around the entire border of the treatment zone. Lay the plastic flat, ensuring tight contact with the soil (any air gaps will create cool spots where grass survives). Bury the edges in the trench and pack the soil tightly to create an airtight seal.
- Bake: Leave the plastic undisturbed for 4 to 6 weeks during the peak summer months (June through August). According to the University of California Integrated Pest Management program, soil temperatures under clear plastic routinely reach 140°F in the top two inches and 105°F at the 18-inch depth, thoroughly cooking the turf root system.
Method 2: Mechanical Sod Cutting (The Immediate Extraction Route)
If you need to plant immediately and cannot wait six weeks for solarization, mechanical removal is the only viable physical option. This involves slicing the turf below the root zone and physically hauling it away.
Equipment and Execution
Rent a walk-behind sod cutter (such as a Billy Goat SC18 or Ryan Classen). These machines feature an oscillating horizontal blade that slices beneath the turf.
- Blade Depth Setting: Set the blade depth to 1.5 to 2.0 inches. Setting it too shallow will leave rhizomes behind; setting it too deep will remove valuable topsoil and make the sod rolls impossibly heavy.
- Cutting Pattern: Cut in parallel strips, overlapping slightly to ensure no ribbons of grass are missed.
- Removal and Disposal: Roll the cut strips and remove them. A 100-square-foot area will yield approximately 400 to 500 pounds of sod and soil. Haul it to a municipal green waste facility or use it to patch bare spots in other areas of your property.
- Cost Analysis: Expect to pay $85 to $130 per day for a sod cutter rental in 2026, plus $40 for a ramp and truck rental if you do not own a pickup.
Method 3: Systemic Herbicide Application (The Fast-Track Chemical Route)
For large-scale renovations where physical removal is cost-prohibitive and solarization is out of season, a targeted systemic herbicide application is the most efficient playbook. The goal is to translocate the active ingredient down into the rhizomes before planting.
Chemical Formulation and Timing
Use a commercial-grade 41% glyphosate solution (such as Roundup Pro or generic Eraser AQ). Consumer-grade "weed and grass killers" often contain only 18% glyphosate mixed with fast-acting contact herbicides like diquat, which burns the leaf tissue before the glyphosate can reach the roots.
- Mix Rate: Mix 2.5 ounces of 41% glyphosate per gallon of water.
- Surfactant Addition: Add a non-ionic surfactant at a rate of 0.5% v/v (roughly 1/2 teaspoon per gallon). This breaks the surface tension of the waxy grass cuticle, ensuring maximum foliar absorption.
- Application Window: Spray when the grass is actively growing, daytime temperatures are between 65°F and 85°F, and no rain is forecast for 24 hours. Avoid spraying during drought stress, as the grass will not translocate the chemical to its roots.
- The Waiting Period: Wait a minimum of 10 to 14 days. The grass will turn yellow, then brown. Do not mow or disturb the dying grass during this window; the plant needs its leaves to pull the poison into the root crown.
Once the grass is completely brown and brittle, it is safe to till. The dead root mass will act as an initial source of organic matter as it decomposes in the new garden bed.
Comparative Matrix: Eradication Methodologies
| Method | Time to Plant | Estimated Cost (per 100 sq ft) | Labor Intensity | Rhizome Kill Rate |
|---|---|---|---|---|
| Soil Solarization | 4 - 6 Weeks | $15 - $25 (Plastic & staples) | Low (Setup only) | 95% - 99% |
| Mechanical Sod Cutting | Immediate | $90 - $150 (Rental & disposal) | Very High | 85% - 90% |
| Systemic Herbicide | 2 - 3 Weeks | $10 - $20 (Chemical & sprayer) | Low | 98% - 100% |
Post-Removal Soil Rehabilitation
Removing grass heavily disrupts the local soil microbiome and physical structure. Whether you used solarization (which sterilizes the topsoil) or mechanical cutting (which strips the top layer of organic matter), you must rehabilitate the bed before introducing high-value perennials or vegetables.
According to soil health guidelines from the USDA Natural Resources Conservation Service, rebuilding the soil food web is critical after major disturbance. Incorporate 2 to 3 inches of fully finished, OMRI-listed compost into the top 6 inches of the exposed soil. This reintroduces beneficial mycorrhizal fungi and bacteria that were killed during the eradication process. Follow this with a broad-spectrum soil test to adjust pH and baseline N-P-K levels before planting.
Frequently Asked Questions
Can I just lay cardboard and mulch over the grass (Sheet Mulching)?
Sheet mulching works for suppressing annual weeds and weak, clump-forming grasses like Fescue. However, it routinely fails against aggressive rhizomatous grasses. Bermuda and Zoysia will easily penetrate overlapping cardboard seams and push through 4 inches of wood mulch within a single growing season. For these species, you must use one of the three primary eradication methods detailed above before applying mulch.
How deep do grass roots actually go?
While the majority of turfgrass feeder roots reside in the top 4 to 6 inches of soil, drought-adapted species like Tall Fescue and Bermuda can send taproots and deep rhizomes down to 24 inches or more. This is why shallow tilling or inadequate solarization often results in late-season regrowth from deep, surviving nodes.

