
Lawn Care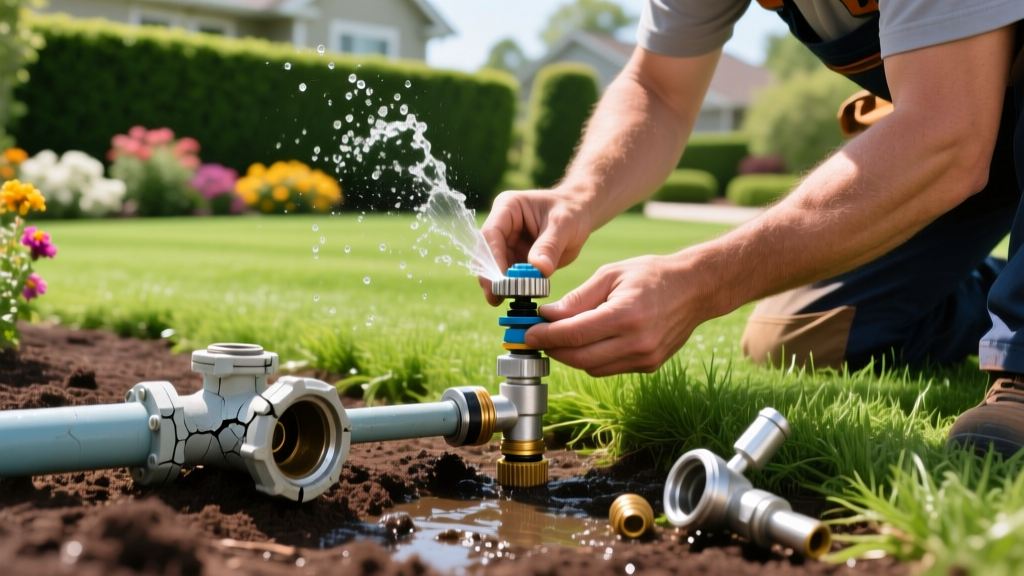
How to Repair Sprinkler System Leaks, Valves, and Broken Heads
An undetected irrigation leak can waste thousands of gallons of water annually, creating soggy dead zones in your turf while inflating utility bills. According to EPA WaterSense, outdoor water use accounts for nearly 30% of total household water consumption, with inefficient or broken sprinkler systems being a primary driver of waste. Learning how to repair sprinkler system components yourself saves the $75 to $150 hourly service call fees charged by irrigation contractors and restores uniform water distribution to your lawn.
Irrigation Diagnostic Framework: Identify the Failure Point
Before digging, map the symptoms to the specific component failure. Irrigation systems operate in a sequence: controller, wiring, solenoid, valve, lateral pipe, and sprinkler head. A failure at any node produces distinct visual clues.
- Geyser at the Sprinkler Head: The head housing is cracked, or the internal riser threads are stripped. Water bypasses the nozzle seal.
- Low Pressure in a Single Zone: The zone valve diaphragm is torn (preventing full opening), or there is a massive leak in the lateral PVC line starving the downstream heads.
- Standing Water in the Valve Box: The anti-siphon or inline valve is weeping due to debris trapped under the diaphragm, a loose solenoid, or a failing rubber seal.
- Zone Will Not Turn On Manually or Automatically: A wiring fault, a burnt-out solenoid coil (requires 24-28 VAC to operate), or a seized valve bleed screw.
Essential Tools and Materials for Irrigation Repair
Standard plumbing tools are insufficient for irrigation repair due to the shallow, dirt-packed nature of the components. Assemble this specific kit before starting.
| Tool / Material | Specific Recommendation | Purpose | Est. Cost |
|---|---|---|---|
| Expansion Coupling | Dura Slip-Fix 14400-007 (3/4") | Splices broken PVC without requiring pipe flexing | $8.50 |
| Thread Sealant | Oatey #31238 PTFE Tape (Pink) | Seals riser threads; pink tape is thicker for plastic | $3.00 |
| PVC Primer & Cement | Oatey Medium Clear (All-Weather) | Chemical welds schedule 40 PVC lateral lines | $9.00 (set) |
| Sprinkler Head Wrench | Rain Bird SW-1 or Channellock 440 | Grips the head housing without crushing the plastic | $12.00 |
| Multimeter | Klein Tools MM400 | Tests solenoid voltage (must read 24V-28V AC) | $45.00 |
Step-by-Step Repair: Replacing a Broken Sprinkler Head
Pop-up heads like the Rain Bird 1800 series or Hunter Pro-Spray are highly susceptible to damage from lawnmowers and soil settling. When a head cracks at the base, it must be replaced along with the flexible swing joint or rigid riser.
1. Excavate the Work Area
Use a narrow trenching shovel to dig a 6-inch radius around the broken head. Remove soil to a depth of 8 inches below the pipe connection. Do not pull on the sprinkler head to extract it; this will snap the lateral PVC pipe underground, turning a $5 repair into a $30 trenching job.
2. Extract and Inspect the Riser
Grip the base of the broken sprinkler body with channel-lock pliers and turn counterclockwise. If the internal threaded PVC riser remains intact, clean the threads with a wire brush. If the riser is cracked, unscrew it from the lateral line elbow using a 1/2-inch socket or specialized riser extraction tool.
3. Install the Replacement Head
Wrap the male threads of the new riser or swing joint with three layers of pink PTFE tape, applied clockwise. Screw the new Rain Bird 1800 or Hunter Pro-Spray body onto the riser by hand until snug, then give it a quarter-turn with pliers. Warning: Overtightening plastic irrigation fittings will cause micro-fractures that leak under 60 PSI of static water pressure.
4. Flush and Backfill
Before attaching the nozzle, turn on the zone manually from the controller to flush dirt out of the open pipe. Turn the zone off, install the nozzle and filter screen, and backfill the soil, tamping it down to prevent future settling.
Repairing a Leaking PVC Lateral Line
When a shovel strikes a 3/4-inch or 1-inch PVC lateral line, the resulting crack will flood the zone. Traditional repairs require cutting out the damaged section and using two standard couplings, which forces you to dig a massive trench to bend the rigid pipe enough to slide the new piece in. The modern solution is an expansion coupling (Slip-Fix).
Pro Tip for PVC Repair: Always use an all-weather, medium-body PVC cement. Thin-body cements cure too quickly in shallow, humid trenches, leading to weak joints that blow apart when the zone pressurizes.
- Cut out the damaged section of the PVC pipe using a PVC ratcheting cutter, ensuring straight, square cuts.
- Dry the inside and outside of the existing pipe ends with a clean rag. Moisture prevents PVC cement from chemically welding the joints.
- Apply purple primer to the pipe ends and the inside of the Slip-Fix fittings.
- Apply a uniform coat of PVC cement to both surfaces. Push the Slip-Fix onto one side of the cut pipe, twist a quarter-turn to spread the cement, and hold for 15 seconds.
- Extend the Slip-Fix to bridge the gap, apply cement to the opposite side, and push it onto the remaining pipe stub.
- Wait a minimum of 2 hours before pressurizing the system to allow the solvent weld to achieve full structural strength.
Rebuilding a Leaking Anti-Siphon or Inline Valve
If water constantly weeps from the valve exhaust port or seeps into the valve box, the internal diaphragm is compromised. Valves like the Feb 2800 or Hunter PGV-100 are designed to be rebuilt rather than replaced.
- Shut off the main water supply to the irrigation system to relieve static pressure.
- Remove the solenoid by twisting it counterclockwise. Place it in a dry location to prevent shorting.
- Unscrew the valve bonnet (the top dome) using a Phillips screwdriver or hex key, depending on the model. Note the orientation of the bonnet to ensure proper alignment during reassembly.
- Extract the diaphragm and spring. Inspect the rubber diaphragm for pinholes, tears, or calcification. Check the small brass or plastic restrictor pin in the center; if it is missing, the valve will not close.
- Clean the valve body seat with a soft cloth to remove sand or grit that prevents a watertight seal.
- Install the rebuild kit (typically $12 to $18 for OEM Hunter or Feb parts), ensuring the diaphragm bead seats perfectly in the groove of the valve body before tightening the bonnet screws in a star pattern.
DIY vs. Professional Repair: Cost and Time Analysis
While basic head and pipe repairs are straightforward, electrical faults and mainline leaks require specialized equipment. Use this matrix to decide when to call a licensed irrigator.
| Repair Scenario | DIY Cost (Parts) | DIY Time | Pro Cost (Avg) | Recommendation |
|---|---|---|---|---|
| Broken Sprinkler Head | $5 - $12 | 30 mins | $85 - $125 | Strictly DIY |
| Lateral PVC Pipe Leak | $15 - $25 | 1.5 hours | $150 - $250 | Strictly DIY |
| Valve Diaphragm Rebuild | $12 - $20 | 45 mins | $125 - $175 | DIY if comfortable |
| Solenoid / Wiring Fault | $15 - $40 | 2+ hours | $150 - $300 | Pro if wire is buried |
| Mainline Leak (Pre-Valve) | $50+ | Half Day | $350 - $600+ | Hire Professional |
Preventative Maintenance and Winterization
According to Penn State Extension, proper seasonal maintenance drastically reduces the frequency of catastrophic irrigation failures. The most common cause of cracked PVC lateral lines and shattered valve bodies in freezing climates is improper winterization.
Never rely on manual drain valves to completely empty an irrigation system. Compressed air blow-outs, utilizing a compressor capable of delivering 20 to 50 CFM at a maximum of 80 PSI, are required to evacuate trapped water from low-lying pipe bellies and prevent freeze-expansion damage.
Additionally, inspect and clean sprinkler head filters every spring. Debris flushed from municipal water mains during spring hydrant testing frequently clogs the tiny 40-mesh screens inside rotor and spray heads, causing localized dry spots that homeowners often misdiagnose as low water pressure. By mastering these targeted repair techniques, you maintain optimal irrigation efficiency, protect your turf health, and eliminate unnecessary water waste.

