
Lawn Care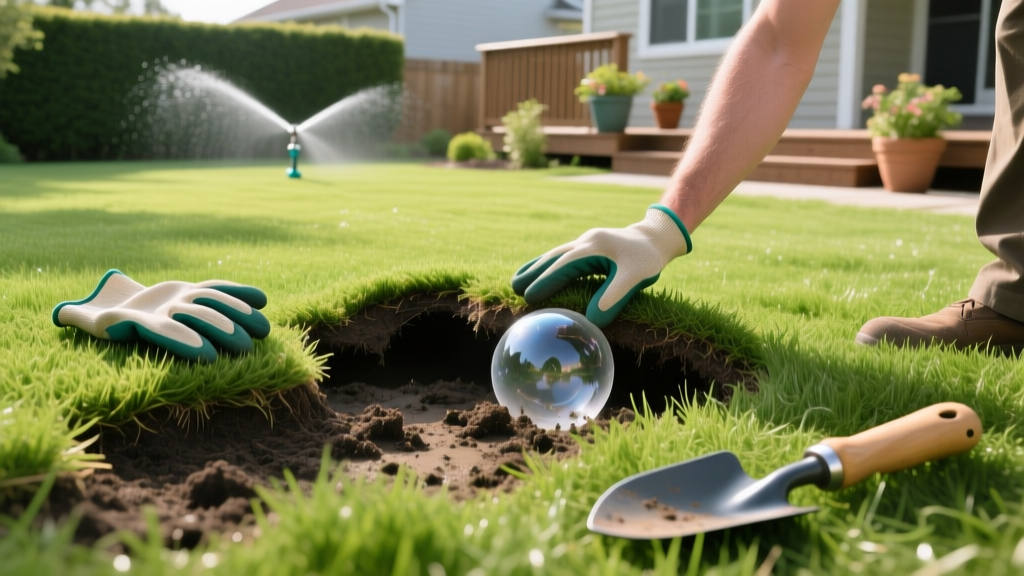
How to Fix a Squishy Lawn Bubble: Step-by-Step Repair Guide
A squishy, raised blister on your turf—commonly known as a lawn bubble or grass bubble—is one of the most alarming sights for a homeowner. Unlike general sponginess caused by overwatering, a true lawn bubble is a localized, water-filled dome where the grass and root mat have physically detached from the underlying soil. When you step on it, the ground shifts like a waterbed.
This phenomenon is not a fungal disease or a pest infestation. It is a structural drainage failure caused by hydrostatic pressure. Heavy rainfall or excessive irrigation hits an impermeable sub-surface barrier, trapping water directly beneath the sod layer. If left untreated, the trapped water will suffocate the grassroots, leading to localized necrosis, anaerobic soil conditions, and eventual turf death.
The Soil Science: Why Lawn Bubbles Form
To properly repair a lawn bubble, you must understand the 'perched water table' effect. In many residential landscapes, especially new builds, contractors scrape away the nutrient-rich topsoil and lay sod directly over heavily compacted subsoil or clay hardpan. Clay particles are microscopic and pack tightly together, creating an almost impermeable barrier to downward water percolation.
When water infiltrates the sandy loam of the sod layer but cannot penetrate the clay hardpan below, it pools at the interface. Surface tension and the dense root mat of the sod act like a flexible membrane. As hydrostatic pressure builds, the sod lifts, creating the visible bubble. In some severe cases, particularly in newly constructed homes, the impermeable layer is actually buried plastic sheeting, geotextile fabric, or construction debris left behind by builders.
Warning: If you slit a lawn bubble and encounter resistance from a synthetic material 2 to 4 inches below the surface, you likely have buried construction plastic or landscape fabric. This must be physically excavated and removed, or the bubble will reform after the next heavy rain.
Step-by-Step Procedure to Drain and Repair
Do not simply jump on the bubble or roll it with a lawn roller. This will force the trapped, stagnant water laterally into the surrounding healthy soil, spreading anaerobic bacteria and potentially drowning adjacent root zones. Follow this surgical extraction method instead.
Step 1: Map the Perimeter and Locate the Apex
Walk the perimeter of the bubble to determine its exact boundaries. Identify the highest point (the apex) of the dome. You will perform your primary extraction slit here, as it represents the point of maximum hydrostatic pressure.
Step 2: The Surgical Cross-Slit
Using a sharp, stainless steel Hori Hori garden knife or a specialized sod cutting knife, make a precise 'X' shaped incision at the apex. Each arm of the 'X' should be roughly 4 to 6 inches long. Cut only through the thatch and root mat—do not dig deeply into the soil below yet. The goal is to pierce the 'membrane' without destroying the structural integrity of the sod so it can lay flat again once drained.
Step 3: Extract the Trapped Water
Once the membrane is pierced, water will immediately begin to seep out. For small bubbles (under 3 feet in diameter), gently press from the outer edges toward the center to force the water out through the slit. For massive bubbles spanning 10 feet or more, use a wet/dry shop vacuum. Place the vacuum hose directly over the slit to extract the stagnant water rapidly. Dispose of this water in a storm drain or garden bed; do not let it pool elsewhere on the lawn.
Step 4: Shatter the Hardpan (Sub-Surface Aeration)
Draining the water is only a temporary fix. If the impermeable layer remains, the bubble will return. Insert a heavy-duty manual deep-tine fork or a soil probe directly into the cross-slit. Drive the tines down 6 to 8 inches to physically shatter the clay hardpan beneath the bubble. Rock the fork back and forth to create fissures that will allow future water to percolate deep into the subsoil.
Step 5: Backfill and Topdress
Once the water is gone and the hardpan is fractured, the sod will collapse back onto the soil. However, a void may remain. Create a topdressing mix of 70% coarse builder's sand and 30% screened compost. Work this mixture into the cross-slit and over the surface of the repaired area using a stiff push broom. The sand will keep the newly created fissures open, while the compost introduces microbial life to break down anaerobic compounds.
Diagnostic Matrix: Lawn Bubble vs. Other Squishy Turf Issues
Homeowners frequently misdiagnose squishy lawns. Use this matrix to confirm you are dealing with a true hydrostatic lawn bubble before beginning repairs.
| Condition | Primary Symptom | Root Cause | Corrective Action |
|---|---|---|---|
| Lawn Bubble | Localized, raised, water-filled dome; shifts like a waterbed. | Trapped hydrostatic pressure above clay hardpan or plastic. | Cross-slit, extract water, deep-tine fracture. |
| Severe Thatch | Spongy feel across the entire lawn; dry soil beneath wet surface. | Organic layer >0.5 inches blocking water infiltration. | Power rake or verticut to physically remove thatch. |
| White Grub Damage | Squishy turf that peels back easily like a loose carpet. | Larvae consuming the root system, detaching sod from soil. | Apply Dylox (curative) or Acelepryn (preventative). |
| Overwatering | Uniformly soft, muddy ground; footprinting remains for hours. | Irrigation exceeding soil percolation rates. | Reduce irrigation frequency; install smart rain sensors. |
Long-Term Prevention: Soil and Drainage Protocols
Repairing a single bubble solves the immediate aesthetic issue, but the underlying soil compaction likely affects the entire yard. To prevent widespread hydrostatic lifting and ensure long-term turf health, implement these preventative maintenance procedures.
Core Aeration Specifications
According to turfgrass research from Penn State Extension, core aeration is the most effective mechanical method to alleviate soil compaction and improve water infiltration. However, timing and depth are critical. Aerate cool-season grasses (Kentucky Bluegrass, Tall Fescue) in early fall, and warm-season grasses (Bermuda, Zoysia) in late spring. The aerator tines must penetrate a minimum of 3 inches into the soil, pulling cores at a spacing of 2 to 3 inches apart. Shallow aeration (under 2 inches) fails to reach the hardpan layer where the perched water table forms.
Strategic Topdressing
Following aeration, topdress the entire lawn with a coarse sand and compost blend. The University of Wisconsin-Madison Extension notes that dragging a mat over the aerated lawn forces the sand into the core holes, creating permanent vertical drainage columns that bypass the clay layer. For heavy clay soils, apply roughly 1/4 inch of topdressing material, which equates to about 1 cubic yard of material per 1,000 square feet of turf.
French Drain Installation for Severe Hardpan
If your lawn features multiple recurring bubbles or stays saturated for days after a rain event, the hardpan may be too thick for aeration alone. In these scenarios, you must install a subsurface French drain. Dig a trench 12 to 18 inches deep, sloping at a 1% grade (1 inch of drop per 8 feet of length) toward a storm drain or dry well. Line the trench with non-woven geotextile fabric, lay a 4-inch perforated PVC pipe, and cover with 3/4-inch washed drainage gravel. This intercepts lateral groundwater before it can build hydrostatic pressure beneath the sod.
Tool and Cost Breakdown for DIY Repair
Executing this repair requires specific tools designed for precision turf surgery and deep soil fracturing. Below is a realistic cost breakdown for homeowners tackling this project in 2026.
- Fiskars Softgrip Hori Hori Knife ($25 - $35): Essential for making clean, surgical slits in the sod membrane without tearing the root mat. The serrated edge easily cuts through dense thatch.
- Manual Deep-Tine Fork / Broadfork ($80 - $150): Used to fracture the hardpan below the bubble. Look for models with 10 to 12-inch solid steel tines rather than hollow core aerator spikes, which can further compact clay soils.
- Ridgid 12-Gallon Wet/Dry Shop Vac ($120 - $160): If you do not already own one, a wet vac is the fastest way to extract stagnant, anaerobic water from large bubbles without destroying the turf.
- Coarse Builder's Sand & Screened Compost ($40 - $60 per cubic yard): Purchased from local landscape supply yards. Avoid fine masonry sand or play sand, as the particles are too small and will bind with clay, worsening the drainage issue.
- Billy Goat PL1800H Plug Aerator (Rental: $80 - $110 per day): For whole-yard preventative aeration. Ensure the rental yard provides the additional weight bars to ensure deep tine penetration into compacted subsoils.
By addressing the hydrostatic pressure surgically and implementing deep-soil drainage protocols, you can permanently eliminate lawn bubbles and restore a firm, healthy, and deeply rooted turf profile.

