
Lawn Care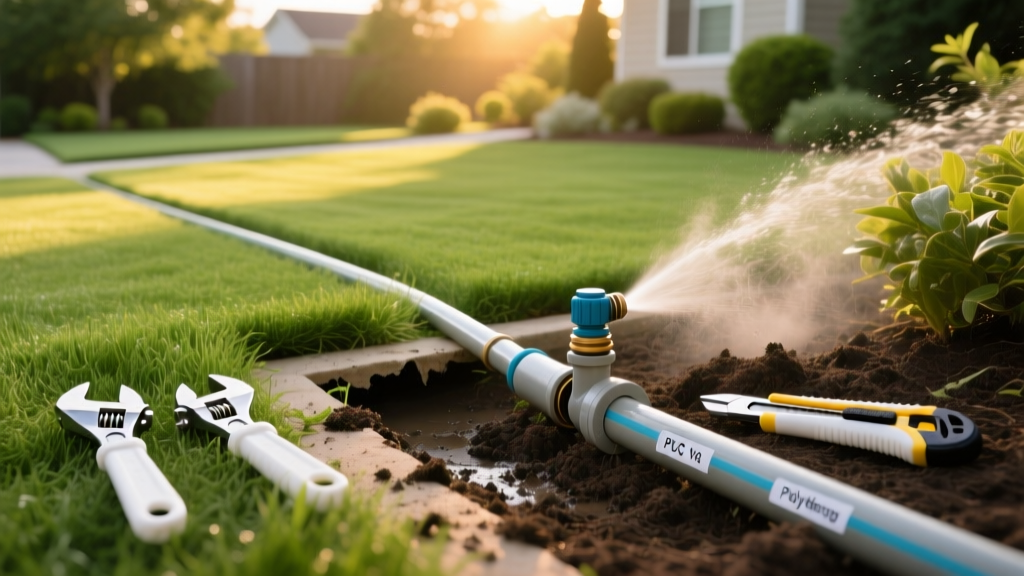
Repairing Sprinkler Line Breaks: PVC and Poly Pipe Fixes
Diagnosing the Break: Surface Symptoms vs. Underground Reality
A fractured underground irrigation pipe is one of the most common yet wasteful failures in residential landscaping. According to EPA WaterSense, a single 1/8-inch leak in a sprinkler line operating at 60 PSI can waste over 2,500 gallons of water per month. Before you start digging, you must accurately isolate the break to avoid tearing up healthy turf unnecessarily.
Surface symptoms usually manifest in three ways: a persistent soggy depression (sinkhole effect), a sudden drop in pressure causing sprinkler heads in a specific zone to fail to pop up, or a literal geyser erupting through the soil. To pinpoint the exact location, manually activate the suspected zone from your irrigation controller. Walk the perimeter of the zone and look for the area where the soil is most saturated or where water is actively seeping to the surface. The break is almost always located directly upstream (closer to the valve manifold) from the lowest-pressure sprinkler head in that zone.
CRITICAL SAFETY WARNING: Before breaking ground, always call 811 to have your local utility companies mark underground gas, water, and electrical lines. Hitting a buried utility line can result in severe injury and thousands of dollars in liability.
Material Matrix: Identifying Your Pipe Type
The repair methodology changes drastically depending on the material of your mainline and lateral pipes. Residential systems installed between the 1980s and early 2000s predominantly use rigid PVC, while modern installations and retrofit systems frequently utilize flexible Polyethylene (Poly) pipe. Below is a breakdown of the materials and 2026 retail pricing to help you source the correct replacement parts.
| Pipe Material | Common Use | Pressure Rating | 2026 Avg. Cost (per 10ft) |
|---|---|---|---|
| Schedule 40 PVC (White) | Mainlines, high-pressure zones | 280 - 480 PSI | $3.50 - $5.00 |
| Class 200 PVC (Thin-wall) | Lateral lines to sprinkler heads | 200 PSI | $2.00 - $3.00 |
| Poly Pipe SDR-9 (Black) | Mainlines, cold climates | 200 PSI | $18.00 / 100ft roll |
| Poly Pipe SDR-11 (Black) | Lateral lines, drip conversions | 160 PSI | $14.00 / 100ft roll |
Step-by-Step Guide to Repairing PVC Sprinkler Lines
Rigid PVC is brittle and prone to cracking from soil shifting, root intrusion, or accidental shovel strikes. The most efficient way to repair a broken PVC line without digging an extra two feet of trench to flex the pipe is by using a telescoping expansion coupling, commonly known by the brand name Slip-Fix.
1. Excavate and Clean the Work Area
Dig a trench extending at least 12 inches on both sides of the fracture. Create a small sump hole beneath the break to allow groundwater to pool away from the pipe. The pipe must be completely dry for PVC cement to cure properly. Use a shop vac or a sponge to remove standing water, and wipe the pipe clean with a dry rag.
2. Cut Out the Damaged Section
Using a PVC ratcheting cutter or a fine-tooth hacksaw, cut out the fractured section. Make your cuts as straight as possible. If using a hacksaw, bevel the outer edges of the cut pipe slightly with a utility knife to prevent the sharp edge from scraping off the PVC cement when you insert the fitting.
3. Prime and Cement the Expansion Coupling
Apply a liberal coat of Oatey Medium-Duty Purple Primer to the outside of the existing pipe and the inside of the Slip-Fix fitting. Follow immediately with Oatey Medium-Duty PVC Cement. Push the fitting onto the pipe and give it a quarter-turn to distribute the cement evenly. Hold for 15 seconds to prevent the pipe from pushing back out due to hydraulic pressure.
4. Extend, Glue, and Cure
Pull the telescoping inner sleeve of the Slip-Fix to bridge the gap to the other side of your cut. Prime and cement the opposite side. Allow the joint to cure for a minimum of 30 minutes before repressurizing the system, though a 2-hour cure time is recommended for lines operating above 60 PSI.
Repairing Polyethylene (Poly) Pipe: The Barbed Fitting Method
Poly pipe is highly flexible and resistant to freezing, making it the standard in northern climates. However, homeowners frequently make a critical error when repairing poly pipe: using standard worm-gear hose clamps. These clamps rust underground, apply uneven torque, and eventually slice through the soft poly material, causing secondary leaks.
The industry standard for repairing poly pipe is using barbed insert fittings secured with stainless steel cinch clamps. According to technical guidelines from the Irrigation Association, crimped or cinched connections provide a uniform 360-degree seal that outlasts the pipe itself.
- Step 1: Cut out the damaged section of the black poly pipe using a tubing cutter for a perfectly square edge.
- Step 2: Slide a stainless steel cinch ring (e.g., Orbit or Rain Bird 3/4-inch poly cinch clamps) onto both ends of the existing pipe.
- Step 3: Push a brass or heavy-duty plastic barbed insert coupling into the pipe ends. If the poly pipe is stiff, dip the ends in boiling water for 30 seconds to soften and expand the material.
- Step 4: Slide the cinch rings over the barbed ridges. Use a specialized poly pipe cinch clamp tool (approx. $28 at hardware stores) to pinch the ring tight. The tool will automatically release when the correct tension is reached.
Advanced Troubleshooting: What If the Leak Keeps Coming Back?
If you find yourself repairing sprinkler line breaks in the same general area multiple times, you are likely dealing with a systemic pressure issue rather than isolated physical damage.
THE 80 PSI THRESHOLD: Most residential PVC and poly irrigation components are rated for a maximum working pressure of 80 PSI. If your municipal water supply delivers static pressure above this threshold, the resulting water hammer (hydraulic shock) every time a zone valve slams shut will repeatedly blow out pipe joints and sprinkler heads.
The Fix: Attach a pressure gauge to your hose bib to test your static water pressure. If it reads above 80 PSI, you must install a Pressure Reducing Valve (PRV), such as the Watts LF25AUB-Z3, on your main irrigation line immediately after the backflow preventer. Set the PRV to regulate the pressure down to a safe 65 PSI. This single upgrade will eliminate chronic line fractures and extend the lifespan of your valve diaphragms.
Preventative Maintenance for Long-Term Line Health
While physical damage from aeration tools or tree roots is sometimes unavoidable, you can mitigate environmental stressors on your underground lines through proper seasonal maintenance.
- Annual Winterization: If you live in a hard freeze zone, never rely on manual drain valves alone. Hire a professional to perform an air blow-out using a high-CFM compressor to evacuate all residual water from the lateral lines, preventing freeze-induced expansion cracks.
- Valve Box Inspections: Check your manifold valve boxes every spring. Ensure the gravel base is clear of mud and debris so that water can drain away from the valve solenoids and pipe joints.
- Root Barrier Installation: When running new lines near aggressive root systems (like Ficus, Willow, or Silver Maples), install a physical HDPE root barrier trench alongside the pipe to deflect root growth away from the PVC joints.
By understanding the specific material properties of your system and utilizing professional-grade fittings rather than temporary hardware store hacks, you ensure that your irrigation infrastructure remains leak-free and highly efficient for decades.

