
Lawn Care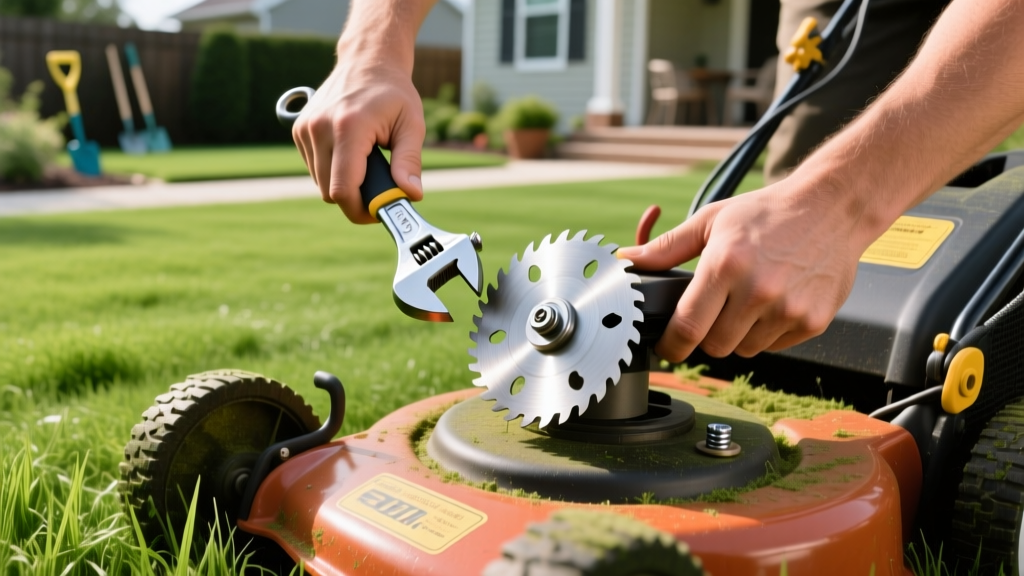
How to Replace a Mower Blade on Walk-Behind Mowers
Why Timely Blade Replacement Matters for Turf Health
A walk-behind mower blade spins at roughly 3,000 RPM, slicing thousands of grass blades per minute. Over time, the cutting edge dulls, nicks, or bends. Mowing with a compromised blade does not just result in an unsightly lawn; it actively damages turfgrass. Dull blades tear rather than slice, leaving ragged grass tips that quickly turn brown and become highly susceptible to fungal pathogens like brown patch and dollar spot. According to turfgrass specialists at the University of Minnesota Extension, maintaining a sharp blade is one of the most critical, yet frequently overlooked, components of integrated lawn care.
While you can sharpen a blade 2 to 3 times before it loses its structural integrity, eventual replacement is mandatory. As of 2026, OEM replacement blades typically cost between $18 and $35, while heavy-duty aftermarket mulching blades (like Oregon Gator blades) range from $45 to $65. Knowing exactly how to replace a mower blade safely and correctly will save you the $40-$75 labor fee charged by small engine repair shops.
Diagnosing a Failing Mower Blade
Before pulling out the wrench, confirm that your blade actually needs replacing rather than just a simple sharpening. Look for these specific failure modes:
- Ragged Grass Tips: Inspect the lawn 24 hours after mowing. If the top 1/4 inch of the grass blades look shredded and whitish-brown, the edge is dull.
- Vibration and Chatter: A bent blade (often caused by hitting an exposed root or rock) throws off the spindle balance, causing the entire mower deck to vibrate at operating speed.
- Wing Erosion: The uplift wings on the back of the blade create the vacuum that stands grass up and discharges clippings. If these wings are thinned by more than 30% due to sand and debris abrasion, the blade will no longer bag or mulch effectively, even if the cutting edge is sharp.
- Center Hole Elongation: If the center mounting hole is no longer a perfect circle or shows heavy rust streaks radiating outward, the blade has been spinning loose on the spindle and must be discarded immediately.
Essential Tools and Safety Gear
Do not attempt this job with inadequate tools. Stripped spindle bolts or snapped threads will turn a 20-minute maintenance task into a $200 spindle replacement.
Pro-Tip: Always use a 6-point socket rather than a 12-point socket on the blade bolt. Mower blade bolts are heavily torqued and often corroded; a 12-point socket will easily round off the bolt head.
- Safety Gear: Heavy leather mechanic gloves (cut-resistant), safety glasses.
- Wrenches: Breaker bar (1/2-inch drive), 6-point socket (typically 14mm, 15mm, 5/8', or 3/4' depending on the brand), and a calibrated click-style torque wrench.
- Blade Blocking Tool: A dedicated blade removal tool (like the MTD or Arnold blade holder) or a 2x4 wood block.
- Chemicals: Penetrating oil (PB Blaster or Liquid Wrench), carburetor cleaner (for spindle cleaning).
- Balancing: Magnetic cone blade balancer.
Step-by-Step: How to Replace Mower Blade Safely
Step 1: Kill the Engine and Disconnect the Spark Plug
This is the single most important safety step. The U.S. Consumer Product Safety Commission (CPSC) reports thousands of laceration injuries annually from accidental mower startups during maintenance. Pull the rubber spark plug boot off the plug and tuck the wire away from the terminal. For electric-start mowers, also disconnect the negative battery cable.
Step 2: Tip and Secure the Mower
Drain the fuel tank if possible, or ensure the gas cap is tightly sealed. Tip the mower on its side. Critical Rule: Always tip the mower so the carburetor and air filter are facing UP. If you tip it with the carburetor facing down, engine oil will flood into the air filter and carburetor bowl, causing severe starting issues and hydro-locking when you restart it.
Step 3: Block the Blade and Break the Bolt Loose
Wedge your blade holder or 2x4 block between the blade and the inside of the mower deck to stop the blade from turning. Apply penetrating oil to the center bolt and let it sit for 5 minutes. Attach your breaker bar and pull counter-clockwise. Exception: A few specific models (including some older Toro and Snapper walk-behinds) use left-hand threaded bolts. If the bolt refuses to budge with standard force, check your owner's manual to confirm thread direction before applying enough torque to snap the spindle.
Step 4: Clean the Spindle and Inspect the Star Pattern
Once the bolt, washer, and old blade are removed, inspect the spindle shaft. Most spindles have a star-shaped or diamond-shaped flange that locks into the center hole of the blade. Use a wire brush and carburetor cleaner to remove caked-on grass and rust. If the edges of the star flange are rounded off, the new blade will slip. A worn spindle flange requires a full spindle assembly replacement.
Step 5: Install the New Blade with Correct Orientation
Slide the new blade onto the spindle star. Pay close attention to the blade orientation. The cutting edges must point in the direction of the deck's rotation (usually clockwise when looking from the top down). More importantly, the uplift wings (or fins) on the trailing edge of the blade must point UP toward the mower deck. Installing the blade upside down will result in a terrible cut, zero bagging suction, and excessive engine strain.
Step 6: Torque to Manufacturer Specifications
Reinstall the washer and bolt. Thread it in by hand to avoid cross-threading. Use your block to hold the blade, then tighten with a torque wrench. Do not guess the tightness. An under-torqued blade will wobble and destroy the spindle bearings; an over-torqued bolt will stretch and eventually snap under operational vibration.
Walk-Behind Mower Torque Specifications Chart
Always defer to your specific model's manual, but these are the standard factory torque specifications for the most common residential walk-behind mower engines and decks in 2026:
| Mower Brand / Engine | Typical Bolt Thread | Bolt Head Size | Torque Spec (ft-lbs) |
|---|---|---|---|
| Toro (Standard Deck) | Right-Hand (Standard) | 5/8' or 15mm | 50 - 60 ft-lbs |
| Honda (HRX / HRS Series) | Right-Hand | 14mm | 36 - 43 ft-lbs |
| Craftsman / Poulan Pro | Right-Hand | 5/8' or 3/4' | 45 - 55 ft-lbs |
| Snapper (Rear Engine) | Left-Hand (Reverse) | 3/4' | 60 - 70 ft-lbs |
Blade Balancing: The Step Most DIYers Skip
If you are replacing a bent blade or installing a heavily modified mulching blade, balancing is non-negotiable. An unbalanced blade spinning at 3,000 RPM generates extreme lateral force, which will prematurely wear out the spindle bearings and cause the deck to crack over time.
- Hang the new blade on a magnetic cone balancer or a dedicated wall-mounted blade balancer.
- If one side dips downward, that side is heavier.
- Use a metal file or bench grinder to remove a small amount of steel from the cutting edge of the heavy side (never file the uplift wings, as this alters the deck's airflow dynamics).
- Re-test until the blade sits perfectly horizontal.
Expert Insight: According to maintenance guidelines published by NC State Extension, vibrating mower decks are frequently misdiagnosed as bad spindles or worn belts, when in reality, the root cause is simply an unbalanced or improperly seated blade causing harmonic resonance in the deck housing.
Common Mistakes and Troubleshooting
Warning: The 'Clanging' Noise on Startup
If you start the mower and hear a loud metallic clanging or slipping sound, shut it off immediately. This usually means the center hole of the blade did not seat fully onto the spindle's star flange, or the bolt was not torqued adequately. The blade is spinning independently of the spindle. Re-tip the mower, reseat the blade, and apply the correct torque.
If you start the mower and hear a loud metallic clanging or slipping sound, shut it off immediately. This usually means the center hole of the blade did not seat fully onto the spindle's star flange, or the bolt was not torqued adequately. The blade is spinning independently of the spindle. Re-tip the mower, reseat the blade, and apply the correct torque.
Mistake 1: Reusing the Old Crush Washer
Many OEM blade kits include a new, hardened Belleville (conical) washer. This washer is designed to flatten under torque, creating a spring-loaded tension that prevents the bolt from vibrating loose. Reusing an old, fully flattened washer reduces this tension and increases the risk of the blade detaching during operation.
Mistake 2: Ignoring Deck Build-Up
If you install a new blade but fail to scrape the inside of the mower deck, hardened clumps of dried clay and grass will disrupt the aerodynamic airflow engineered into the deck. This results in poor mulching and clumping, leading homeowners to falsely blame the new blade design for a bad cut. Always scrape the deck down to bare metal before installing the new hardware.
Mistake 3: Mixing Up Mulching and High-Lift Blades
Ensure you are buying the correct blade profile for your mowing style. High-lift blades have large, aggressive wings designed to throw grass out of a side-discharge chute or up into a bagger. If you put a high-lift blade on a mower configured for mulching (with the discharge chute blocked), the engine will bog down and leave large clumps of grass on the lawn. Conversely, a mulching blade (which features extra cutting teeth and curved baffles) used in bagging mode will result in weak suction and frequent bagger-tube clogs.

