
Lawn Care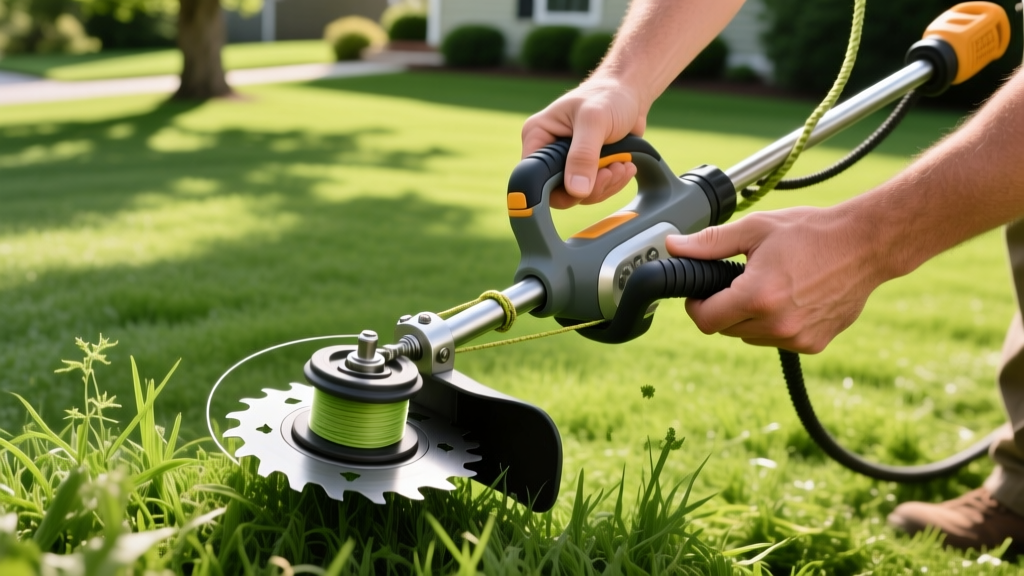
How to Respool a Weed Wacker for Precision Weed Spot-Treatment
The Role of the String Trimmer in Precision Weed Spot-Treatment
When executing a targeted weed management plan, broadleaf herbicides and pre-emergents cannot solve every problem. Stubborn perimeter weeds, fence-line invaders, and hardscape encroachers require mechanical intervention. The string trimmer (weed wacker) is your primary tool for these micro-environments. However, attempting to spot-treat aggressive species like mature crabgrass or woody thistle with a poorly spooled trimmer results in snapped lines, stalled motors, and scalped desirable turf.
Understanding how to respool a weed wacker is not just a maintenance chore; it is a critical calibration step for horticultural precision. The diameter, shape, and material of your trimmer line dictate the kinetic energy transferred to the weed stem. In 2026, with the rise of high-torque brushless electric trimmers from brands like EGO and Greenworks, line selection and spooling tension are more important than ever to prevent rapid line degradation and motor strain.
Matching Trimmer Line to Target Weed Species
Before unspooling the old line, you must select the correct replacement based on the specific weed species you are targeting. According to University of Minnesota Extension, mechanical control of weeds requires severing the stem below the growing point or destroying the foliage entirely to deplete root reserves. Different weed architectures require different line geometries.
| Target Weed Species | Recommended Line Shape | Diameter | Mechanical Advantage |
|---|---|---|---|
| Crabgrass & Goosegrass | Square or Star | 0.095" - 0.105" | Sharp edges slice through thick, fibrous basal sheaths without bending the stem. |
| Field Bindweed & Morning Glory | Smooth Round | 0.080" | Prevents viny stems from wrapping and jamming the spool eyelets during high-RPM cutting. |
| Canada Thistle & Spurge | Twisted or Multi-Sided | 0.105" | Twisted profile reduces aerodynamic drag while maintaining aggressive cutting edges for woody stalks. |
| Nutsedge (Yellow/Purple) | Copolymer Round | 0.085" | High flexibility prevents shattering when striking the hard, nut-like tubers near the soil surface. |
Step-by-Step: How to Respool a Weed Wacker (Bump-Feed Heads)
Most modern spot-treatment setups utilize bump-feed heads (such as the Echo Speed-Feed or Husqvarna Tap 'n Go) for rapid line advancement. Follow this precise procedure to ensure optimal tension and feed reliability.
- Secure the Spool and Remove Old Line: Press the spool lock button (or align the arrow on the spool with the housing notch) to lock the mechanism. Unscrew the center retaining knob counterclockwise. Discard any melted or frayed line remnants.
- Identify Winding Direction: Look for the directional arrow printed on the spool. Critical Rule: Straight-shaft trimmers typically rotate counterclockwise (CCW), requiring CCW winding. Curved-shaft trimmers rotate clockwise (CW). Winding in the wrong direction causes the line to snap instantly upon the first bump.
- Anchor and Wind with High Tension: Feed the line through the center anchor hole. Wind the line tightly in the direction of the arrow. Pro Tip: Apply heavy physical tension with your gloved hand as you wind. Loose winding causes the outer layers to bite into the inner layers under centrifugal force, resulting in a jammed spool.
- Leave the Pigtail and Lock: Leave approximately 6 inches of line unwound. Snap this pigtail into the temporary retention slots on the spool rim. This holds the tension while you reassemble the head.
- Thread the Eyelets and Reassemble: Feed the pigtails through the metal or reinforced plastic exit eyelets on the outer housing. Align the spool notches with the housing eyelets, pull the line tight to release it from the retention slots, and screw the center knob back on clockwise until it ratchets securely.
Warning: Preventing Line Welding During Hardscape Spot-Treatment
When spot-treating weeds growing in concrete cracks or along brick pavers, the trimmer line frequently strikes the hard surface. This generates immense friction heat, causing nylon line to melt and fuse together inside the spool (line welding). To prevent this, soak your nylon line in a bucket of cold water for 24 hours before spooling, or upgrade to a carbon-fiber-infused copolymer line (like Oregon Gatorline) which has a significantly higher melting point and resists welding under high-torque electric trimmer loads.
Electric vs. Gas Trimmer Spooling Dynamics
The transition to battery-electric landscaping equipment has altered how trimmer lines behave. Gas trimmers rely on high RPMs to generate cutting force, favoring lighter, thinner lines (0.065" to 0.080"). Modern 56V and 80V brushless electric trimmers, however, produce massive low-end torque. If you spool a high-torque electric trimmer with thin, round nylon line, the torque will sheer the line off at the spool eyelet before the RPMs can build.
For electric trimmers used in aggressive weed eradication, always use a minimum of 0.095" diameter line, and prefer square or star profiles. The increased surface area and mass of the thicker line absorb the sudden torque spikes of brushless motors, translating electrical power into mechanical cutting force rather than line breakage.
Troubleshooting Spool Failures During Aggressive Weed Eradication
When spot-treating dense patches of invasive species, equipment failure costs time and compromises the treatment window. Use this diagnostic framework to resolve common spooling issues.
- Symptom: Line feeds out continuously without bumping.
Cause: The spool was wound too loosely, or the center retaining knob was not tightened to the final ratchet click, failing to apply downward pressure on the spool brake. - Symptom: Line breaks flush with the eyelet immediately after bumping.
Cause: Wound in the wrong direction (CW instead of CCW), or the eyelet is cracked/burred from striking concrete. Inspect the metal eyelet insert and file down any sharp burrs with a small round file. - Symptom: Trimmer motor bogs down or battery drains rapidly.
Cause: Line diameter is too thick for the trimmer's power rating, or the line is wound unevenly, causing severe aerodynamic drag and vibration. Drop down one line size or ensure perfectly even, tight winding layers. - Symptom: Line refuses to advance when bumped.
Cause: Line welding inside the spool, or the pigtail was not properly seated in the eyelet during reassembly, causing it to slip back into the spool cavity.
Spot-Treatment Technique: Protecting Desirable Turf
Properly respooling your weed wacker is only half the battle; execution dictates the survival of your lawn. When spot-treating weeds like plantain or dandelions embedded in a healthy fescue or bermudagrass lawn, the goal is to decapitate the weed without scalping the surrounding turf. According to Penn State Extension, mechanical damage to the desirable turf canopy opens the soil profile to new weed seed germination.
To achieve this, utilize the 'feathering' technique. Tilt the trimmer head slightly away from the turf so that only the very tip of the extended line makes contact with the target weed stem. Keep the RPMs high to ensure a clean cut rather than a tearing action. For weeds clustered tightly around the base of desirable ornamental shrubs, switch to a 0.065" smooth round line to minimize the risk of girdling the shrub's bark if you accidentally make contact during the spot-treatment maneuver.

