
Lawn Care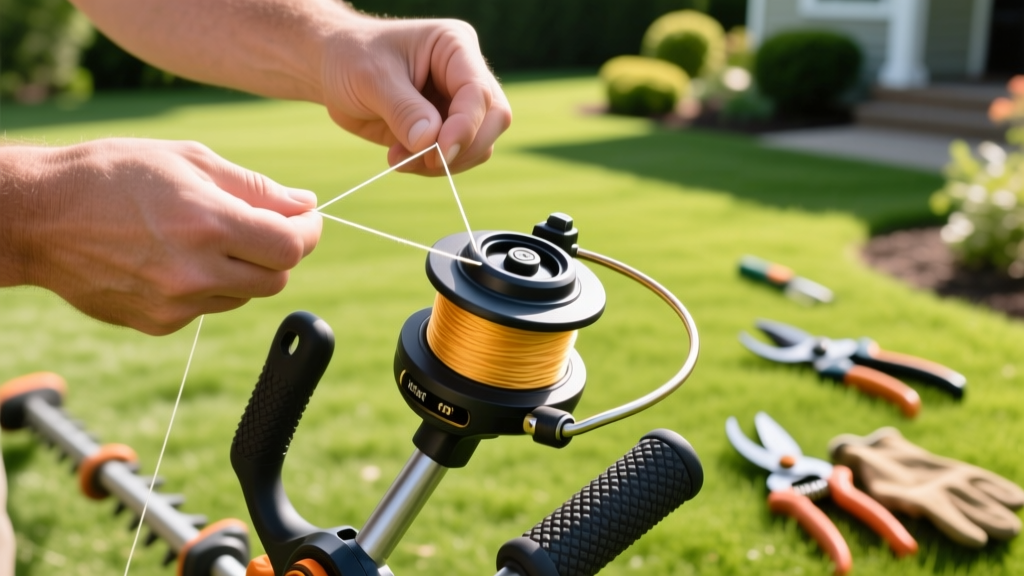
How to Restring a Trimmer: Dual-Line Spools & Quick-Load Heads
A jammed spool or a constantly snapping line doesn't just waste time; it ruins the efficiency of your entire lawn maintenance schedule. Learning how to restring a trimmer properly requires more than just wrapping nylon around a plastic bobbin. Modern high-torque brushless cordless trimmers and high-RPM commercial gas models generate immense friction heat, meaning outdated winding techniques and cheap line materials will fail almost immediately.
This guide bypasses the generic advice and dives straight into the mechanical realities of dual-line bump spools (like the Stihl AutoCut 25-2 and Husqvarna T25) and quick-load systems (like the Echo Speed-Feed 400), providing the exact specifications and failure-prevention protocols used by commercial landscaping crews.
The Anatomy of Trimmer Line Failure
Before restringing, you must identify why your previous line failed. According to equipment maintenance experts at Family Handyman, 90% of trimmer line issues stem from three specific mechanical failures:
⚠️ The Friction Welding Phenomenon
If your line won't advance when you bump the head, the line has likely "welded" or fused together inside the spool. This happens when the friction heat generated by high RPMs melts standard round nylon line, causing the layers to fuse into a solid plastic brick. The Fix: Switch to a copolymer blend or a twisted/aerodynamic profile, which dissipates heat significantly better than standard round nylon.
- Centrifugal Fatigue: Line snapping inches from the eyelet is usually caused by using a line diameter too thin for the trimmer's RPM, causing the line to whip and shatter.
- Eyelet Abrasion: Inspect the metal or plastic grommets where the line exits the head. If they are grooved or sharp, they will sheer the line. Replace the eyelet inserts (usually a $3-$5 part) before restringing.
Material & Gauge Selection Matrix
Using the wrong line diameter is the most common cause of spool jamming and motor strain. Match your line to your equipment class and the vegetation you are cutting.
| Diameter | Material Profile | Application | Trimmer Class |
|---|---|---|---|
| 0.065" - 0.080" | Standard Round Nylon | Soft turf, light edging, delicate flower bed borders | Light Duty (Cordless/Electric, 18V-40V) |
| 0.085" - 0.095" | Copolymer or Multi-Sided | Mixed grasses, light weeds, residential perimeter trimming | Medium Duty (Residential Gas 25-35cc, 56V Brushless) |
| 0.100" - 0.105" | Twisted / Aerodynamic | Thick weeds, overgrown ditches, heavy brush | Heavy Duty (Commercial Gas 40cc+, High-Torque Cordless) |
| 0.130"+ | Cable-Core / Heavy Copolymer | Woody stems, saplings, dense brush clearing | Brushcutters (Dedicated clearing saws) |
Step-by-Step: Rewinding a Dual-Line Bump Spool
This method applies to standard dual-line bump heads where the spool must be removed from the housing. For a comprehensive visual breakdown of general weed eater maintenance, Popular Mechanics offers excellent supplementary diagrams.
1. Preparation and The Water Soak Trick
Cut two equal lengths of line (typically 15 feet each). Pro-Tip: If you are using standard nylon line, submerge it in a bucket of water for 24 hours before use. Nylon is hygroscopic (absorbs water). The water acts as a plasticizer, making the line vastly more flexible, reducing centrifugal shattering, and raising its melting point to prevent spool welding.
2. Clean and Align the Spool
Remove the spool and wipe out any dirt, grass clippings, or melted plastic debris from the previous line. Locate the directional arrows on the top of the spool. Never assume the winding direction. Some spools wind clockwise (CW), while others wind counter-clockwise (CCW). Winding against the arrow guarantees an immediate jam upon startup.
3. Anchor and Wind
Find the center divider on the spool. This divider keeps the two lines separated. Insert the end of your first line into the anchor hole on the inside of the upper or lower chamber. Begin winding the line tightly and evenly. Critical detail: If the line overlaps or crosses itself, the outer layers will bite into the inner layers under tension, causing a phenomenon called "telescoping," which locks the spool.
4. Lock the Retention Notches
Once you have about 6 inches of line remaining, snap the line into the temporary retention notches on the spool's outer rim. Repeat the entire process for the second line in the opposite chamber.
5. Thread and Reassemble
Thread the loose ends of the lines through the metal eyelets on the trimmer head housing. While holding tension on the lines, align the spool with the housing tracks and push it down until it clicks or seats fully. Unsnap the lines from the temporary retention notches, pull them firmly to ensure they advance freely, and reattach the bump knob or retaining bolt.
The Quick-Load Method: Echo Speed-Feed & Ryobi Reel Easy
Modern quick-load heads eliminate the need to disassemble the spool. If you are using an Echo Speed-Feed 400 or a similar Ryobi Reel Easy head, follow this no-disassembly protocol:
- Align the Arrows: Rotate the bump knob until the alignment arrows on the knob match the arrows on the side of the trimmer head housing.
- Feed the Line: Cut a single 20-foot length of line. Feed one end into the eyelet on one side of the head.
- Push Through: Keep pushing the line until it emerges from the opposite eyelet. Pull the line until you have equal lengths extending from both sides (about 10 feet each).
- Crank the Knob: Grasp the bump knob and rotate it clockwise (or in the direction of the arrows). You will hear a clicking sound as the internal gears wind the line onto the hidden spool. Stop cranking when about 4 to 5 inches of line remain exposed on each side.
💡 Troubleshooting Quick-Load Jams
If the knob becomes incredibly difficult to turn while cranking, stop immediately. Forcing it will strip the internal plastic gears. This usually means the line has crossed over itself inside the hidden chamber. You must open the head, untangle the line, and restart the feeding process.
Frequently Asked Questions
Why does my trimmer line keep breaking at the exact same spot?
If the line consistently shears off right where it exits the trimmer head, your eyelet grommets are worn out. Over time, the high-speed whipping of the line cuts a sharp groove into the metal or plastic eyelet. This groove acts like a cheese wire. Inspect the eyelets with your finger; if you feel a sharp ridge, order a replacement eyelet kit for your specific head model.
Can I use a thicker line than the manufacturer recommends?
No. Using a 0.095" line in a head designed for 0.080" will cause excessive drag. The thicker line creates more wind resistance and weight, which can overheat the trimmer's clutch (on gas models) or drain the battery and overheat the motor controller (on cordless models). Always adhere to the maximum diameter stamped on the inside of the trimmer head housing.
How do I prevent the line from retracting completely inside the head?
This happens when the lines are not properly seated in the spool's retention notches during reassembly, or when the bump knob spring is installed upside down. Ensure the wide end of the compression spring is resting against the spool, and the narrow end is pushing against the housing. If the spring is inverted, the spool won't engage the ratchet mechanism that holds the line in place.

