
Lawn Care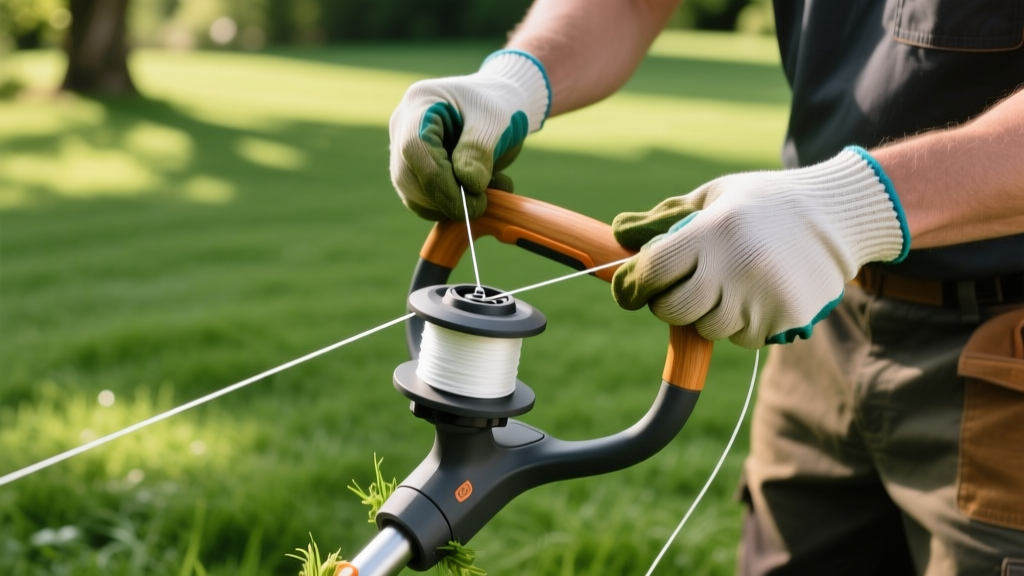
How to Rethread a Weed Trimmer for Precision Spot Treatment
The Intersection of Mechanical Clearing and Spot-Treatment
When executing a targeted weed control program, chemical application is only half the battle. Precision spot-treatment for aggressive species like yellow nutsedge (Cyperus esculentus) or field bindweed (Convolvulus arvensis) often requires mechanical preparation or perimeter edging to prevent stolon spread. However, using a poorly threaded string trimmer during this process leads to line breakage, turf scalping, and the destruction of pre-emergent chemical barriers. Understanding how to rethread a weed trimmer with the correct line profile, diameter, and spool tension is a critical, often overlooked skill in professional lawn care.
According to the University of California Integrated Pest Management (UC IPM), mechanical disruption of soil near spot-treated zones can bring dormant weed seeds to the surface, negating your herbicide efforts. A properly threaded trimmer allows you to hover precisely at the soil line, slicing weed stolons without breaking the soil crust. This guide details the exact spooling techniques and line selections required for modern spot-treatment workflows.
Matching Trimmer Line to Target Weed Species
The most common mistake homeowners and novice landscapers make is using a single, generic round nylon line for all weed species. In 2026, commercial-grade copolymer and aluminum-infused lines dominate the market, priced between $18 and $28 for an 800-foot bulk spool. Selecting the right geometry and thickness prevents the line from wrapping around fibrous weed stems or melting inside the spool head when edging near hardscapes.
| Target Weed Species | Stem Characteristics | Recommended Line Diameter | Optimal Line Profile |
|---|---|---|---|
| Yellow Nutsedge | Thick, fibrous, triangular stems | 0.095' to 0.105' | Serrated or Square (prevents wrapping) |
| Creeping Charlie (Ground Ivy) | Delicate stolons creeping on soil surface | 0.080' | Round (minimizes soil disruption) |
| Field Bindweed | Vining, high-tensile wrapping stems | 0.095' | Twisted (reduces drag and spool jams) |
| Crabgrass (Post-Emergent) | Dense, thin, low-growing tillers | 0.080' to 0.095' | Multi-sided / Star (maximizes cutting surface) |
Step-by-Step: How to Rethread a Weed Trimmer Spool
Whether you are using a Stihl AutoCut 25-2, an Echo Speed-Feed 400, or a Husqvarna T35 bump-feed head, the physics of spool tension remain identical. Improper winding causes the line to fuse together under centrifugal force, resulting in feed failure right when you are attempting a precise edge around a spot-treated garden bed.
- Clear the Spool Chamber: Remove the spool and use a wire brush to clear compacted grass clippings and dirt from the center hub. Debris increases friction, causing the line to melt and fuse inside the head.
- Anchor the Inner Line: Locate the starter hole or anchor slot in the center of the spool. Insert the line and bend the last 2 inches back on itself to create a mechanical lock. This prevents the line from slipping during high-tension winding.
- Apply Manual Tension: This is the most critical step. As you wind the line in the direction of the printed arrows, pull the line with approximately 10 to 15 pounds of manual tension. The line should lay flat and tight against the previous layer. Loose winding guarantees that the upper layers will bite into the lower layers, causing a jam.
- Lock the Eyelets: Leave about 6 inches of line extending from the spool. Snap the line into the temporary retention notches on the spool's outer flange. This holds the tension while you reassemble the head.
- Thread and Release: Feed the line through the metal or reinforced plastic eyelets on the outer trimmer head. Press down on the spool to release the retention notches, pull the lines outward to ensure smooth extension, and snap the bump knob back into place.
Pro-Tip: Speed-Feed vs. Bump-Feed Nuances
Speed-Feed Heads (e.g., Echo Speed-Feed): These require you to pull the line outward while aligning the arrows to feed new line. When rethreading, ensure the internal spring is seated perfectly flat; a tilted spring will cause the line to feed uncontrollably during spot-treatment, risking damage to desirable turf.
Bump-Feed Heads (e.g., Stihl AutoCut): Rely on centrifugal force and a physical tap. If you are spot-treating delicate areas, consider upgrading to a fixed-line head (like the Oregon Gator SpeedLoad) which eliminates bumping entirely, giving you maximum physical control over the cutting swath.
Preserving Chemical Barriers During Mechanical Edging
When spot-treating weeds near the borders of your lawn, you are often working over soil that has been treated with pre-emergent herbicides like Prodiamine or Dithiopyr. The Penn State Extension notes that these chemicals form a microscopic barrier in the top 1 to 2 inches of soil. If your trimmer line is too thick, or if your spool is wound too loosely (causing the line to whip and dig into the dirt), you will break this barrier, allowing weed seeds to germinate in the exact spot you are trying to protect.
To maintain the barrier while cutting creeping stolons, use a 0.080' round line and employ the 'hover technique.' Keep the trimmer head tilted slightly upward (about 15 degrees) so the line cuts the weed stem at the soil surface without the tip of the line acting as a digging tool. This requires a perfectly tensioned spool; a loose spool will cause the line to undulate and strike the soil unpredictably.
Troubleshooting Spool Jams and Line Fusing
Even with perfect technique, specific weed species and environmental conditions can cause trimmer line failure. Use this diagnostic matrix to identify and resolve spool issues during your lawn care routing.
- Symptom: Line melts and fuses inside the spool.
Cause: High friction from hitting concrete curbs or using cheap, monofilament nylon line in high-heat conditions.
Fix: Switch to a commercial copolymer blend or aluminum-coated line. Copolymers have a higher melting point and retain flexibility, which is essential when edging around hardscapes near spot-treated zones. - Symptom: Line feeds out too far and breaks immediately.
Cause: The cutting blade on the trimmer guard is dull or missing, or the spool spring tension is too high.
Fix: Replace the guard's line-limiting blade. If the blade is intact, check the spool spring; it may be over-compressed. Stretch the spring slightly to reduce the upward force on the spool. - Symptom: Line wraps around the spindle hub.
Cause: Cutting tall, fibrous weeds (like mature nutsedge or thistle) with a smooth, round line. The line slices partially through the stem, and the weed's momentum wraps it around the spinning hub.
Fix: Switch to a serrated or star-shaped line profile. The sharp edges sever fibrous stems completely on impact. Additionally, approach thick weed patches at half-throttle to reduce the centrifugal wrapping force, then accelerate to full RPM once the initial cut is made.
Mastering how to rethread a weed trimmer is not just about keeping the tool running; it is about achieving the surgical precision required for modern, integrated weed management. By matching your line geometry to the specific botanical structure of your target weeds and maintaining strict spool tension, you protect your turf, preserve your chemical investments, and achieve a flawless edge. For more comprehensive strategies on turfgrass safety during mechanical maintenance, consult the University of Minnesota Extension guidelines on lawn care equipment operation.

