
Lawn Care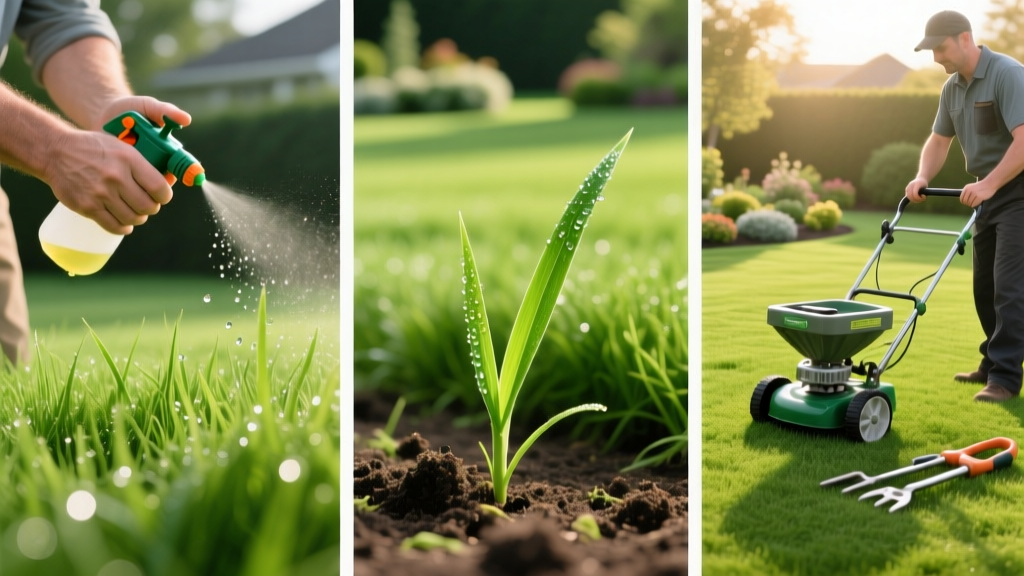
Step-by-Step Revive Lawn Treatment Application Guide
The Science Behind Revive Lawn Treatments
When turfgrass turns brown, thins out, or fails to respond to heavy irrigation, the culprit is rarely a simple lack of water. In most residential lawns, the underlying issue is soil compaction combined with hydrophobic (water-repellent) thatch layers. A professional-grade revive lawn treatment bypasses these barriers by utilizing a synergistic blend of soil wetting agents (surfactants), humic acids, and fulvic acids.
Surfactants reduce the surface tension of water, allowing it to penetrate hard, compacted soil rather than pooling on the surface or running off into storm drains. Meanwhile, humic and fulvic acids act as natural chelators, binding to locked-up nutrients in the soil profile and increasing the soil's Cation Exchange Capacity (CEC). According to research published by NC State TurfFiles, wetting agents can improve soil moisture uniformity by up to 40% in heavily compacted clay soils, making them a critical first step in any turf renovation protocol.
Diagnostic Check: Dormant vs. Dead Grass
Before applying any chemical or organic revive treatment, perform the 'Tug Test'. Grab a handful of brown grass and pull gently. If it resists and stays rooted, the grass is likely dormant due to drought or hydrophobic soil, and a revive treatment will trigger recovery. If it pulls out easily with no root resistance, the turf is dead and requires overseeding or sod replacement, not just a soil treatment.
Step-by-Step Revive Lawn Treatment Application
Applying a revive treatment requires precise calibration and timing. Follow this exact sequence to ensure the active ingredients reach the root zone.
Step 1: Mechanical Soil Prep
A revive treatment cannot perform optimally if applied over a half-inch layer of dry thatch. Mow your lawn to a height of 2.5 inches and bag the clippings. If your thatch layer exceeds 0.5 inches, run a power dethatcher over the area. For severely compacted clay soils, core aeration is mandatory. Pulling 3-inch soil cores creates direct physical channels for the surfactant and humic acid to reach the subsoil.
Step 2: Calibrating Your Sprayer
Most liquid revive concentrates (such as standard lignosulfonate and wetting agent blends) require an application rate of 3 to 6 fluid ounces per 1,000 square feet. Using a hose-end sprayer is the most efficient method for residential applications.
| Sprayer Type | Dial Setting | Coverage Area | Product Needed |
|---|---|---|---|
| Hose-End (Adjustable) | 3 oz / gallon | 2,500 sq ft | 16 oz concentrate |
| Pump Backpack (1-Gal) | 1.5 oz / gallon | 1,000 sq ft | 1.5 oz concentrate |
| Ready-to-Spray Bottle | Pre-mixed (N/A) | 5,000 sq ft | 1 full 32oz bottle |
Step 3: Application Technique
Apply the treatment in the early morning or late evening when temperatures are below 85°F to prevent rapid evaporation of the carrier water. Walk at a steady pace of 3 feet per second, overlapping your spray passes by 50% to ensure uniform coverage. Pay special attention to high-traffic areas and south-facing slopes, which typically suffer from the most severe hydrophobic soil conditions.
Step 4: The 24-Hour Hydration Rule
This is the most critical step. Surfactants and humic acids must be watered into the top 4 to 6 inches of the soil profile to be effective. Within two hours of application, apply exactly 0.5 inches of irrigation. You can measure this by placing three empty tuna cans in different zones of your lawn and timing how long it takes your sprinkler system to fill them to the half-inch mark. This initial watering activates the wetting agents and pulls the treatment off the grass blades and into the root zone, preventing potential leaf burn.
Cost Breakdown and ROI Analysis
Understanding the economics of lawn renovation helps homeowners choose between retail convenience and professional-grade concentrates.
- Retail Ready-to-Spray (RTS): Typically costs $18 to $24 per 32 oz bottle, covering up to 5,000 square feet. Cost per 1,000 sq ft: $3.60 - $4.80.
- Commercial Concentrates (e.g., Lesco, Feature 82): A 2.5-gallon jug costs roughly $120 to $150 and covers up to 40,000 square feet. Cost per 1,000 sq ft: $0.08 - $0.12.
While the upfront cost of commercial concentrates is higher, the per-application cost drops by over 90%, making it the only financially viable option for lawns exceeding 3,000 square feet that require monthly maintenance applications.
Troubleshooting: Why Your Treatment Failed
If you have applied a revive treatment and seen no improvement after 14 days, evaluate these three common failure modes:
Failure Mode 1: Extreme Soil pH
Humic acids are highly sensitive to soil pH. If your soil pH is below 5.5 (highly acidic) or above 8.0 (highly alkaline), the humic molecules will precipitate out of the solution and become unavailable to the plant. Test your soil pH before treatment. If it is out of the 6.0 to 7.0 optimal range, apply elemental sulfur or fast-acting calcitic lime two weeks prior to your revive treatment.
Failure Mode 2: Insufficient Water Volume
Wetting agents do not create water; they only move it. If your irrigation system is only delivering 0.1 inches of water per cycle, the surfactant will remain trapped in the thatch layer. You must deliver enough water volume to physically push the chemical into the subsoil.
Failure Mode 3: Nematode or Fungal Damage
Soil treatments cannot cure biological pathogens. If the grass roots appear stunted, blackened, or have distinct lesions, you may be dealing with a fungal disease like Take-All Patch or root-feeding nematodes. Consult your local university extension office, such as the resources provided by UMN Extension, for proper biological soil testing.
Expert Insight: A single application of a revive lawn treatment is rarely a silver bullet for chronically compacted lawns. For lasting results, integrate liquid aeration treatments into a bi-monthly schedule during the active growing season, pairing them with deep, infrequent watering cycles to train roots to grow downward into the newly loosened soil profile.

