
Lawn Care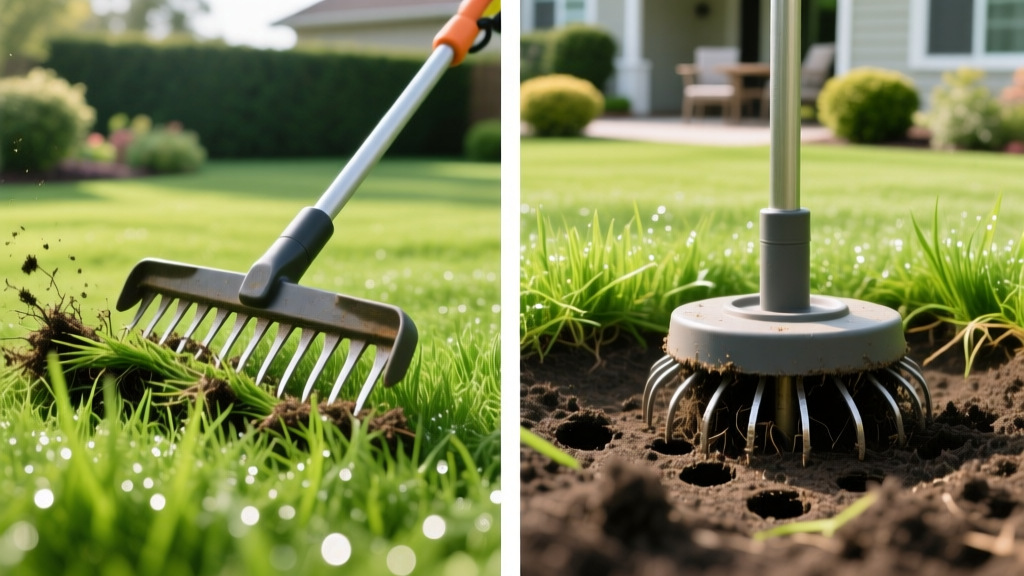
Scarifier vs Aerator: Step-by-Step Lawn Maintenance Guide
Homeowners frequently conflate scarifying and aerating, assuming both machines serve the same turf-reviving purpose. In reality, a scarifier and an aerator address two entirely different lawn pathology issues: thatch accumulation and soil compaction. Misdiagnosing your lawn's problem and deploying the wrong equipment will not only waste a weekend of heavy lifting but can actively damage your turf's root zone. Understanding the mechanical differences between a scarifier vs aerator is the first step in building a precision lawn maintenance program.
The Core Difference: Thatch Removal vs. Soil Compaction
A scarifier (often called a dethatcher or power rake) uses vertically spinning blades or spring tines to slice through the soil surface and physically rip out dead organic matter, moss, and lateral creeping stems (stolons). Its primary target is the thatch layer. According to the University of Minnesota Extension, a thatch layer exceeding 0.5 inches prevents water, fertilizer, and oxygen from reaching the root zone, creating a breeding ground for fungal diseases like brown patch.
An aerator (specifically a core or plug aerator) uses hollow tines to punch into the soil, extracting 2-to-3-inch plugs of earth and depositing them on the surface. Its primary target is soil bulk density. By removing physical cores, aeration relieves compaction, allowing gas exchange (oxygen in, carbon dioxide out) and encouraging deeper root penetration without tearing the existing thatch layer.
| Feature | Scarifier (Power Rake) | Core Aerator |
|---|---|---|
| Primary Target | Thatch, moss, creeping stolons | Soil compaction, clay hardpan |
| Mechanism | Vertical slicing / tearing | Hollow tine core extraction |
| Ideal Season | Early Spring / Early Fall | Late Summer / Early Fall |
| Turf Stress Level | High (tears living tissue) | Moderate (clean puncture wounds) |
| Debris Cleanup | Extensive (requires raking/vacuuming) | Minimal (leave plugs to decompose) |
Diagnostic Framework: Does Your Lawn Need Scarifying, Aerating, or Both?
Before renting heavy machinery, perform these two field tests to determine your exact maintenance requirements.
Step 1: The Thatch Plug Test
Use a sharp spade or a standard soil probe to extract a 4-inch deep wedge of turf. Measure the brown, spongy layer between the green grass blades and the dark topsoil. If this layer is thicker than 0.5 inches, you need to scarify. If it is under 0.5 inches, skip the scarifier; you will only cause unnecessary mechanical stress to the crown of the grass.
Step 2: The Screwdriver Compaction Test
Take a 6-inch flathead screwdriver and attempt to push it into the soil by hand when the ground is moderately moist. If you cannot easily sink it past 3 inches, your soil is heavily compacted and requires core aeration. Compaction is especially prevalent in high-traffic zones, play areas, and heavy clay soils.
Critical Warning: Never use a 'spike aerator' (solid tines that simply poke holes). Spike aerators actually increase compaction in the surrounding soil by pressing the earth outward. The Penn State Extension explicitly recommends only hollow-tine core aeration for effective soil relief.
Step-by-Step Scarifying Procedure
If your thatch plug test exceeds 0.5 inches, follow this protocol to safely remove the organic barrier.
- Mow Low: Drop your mower deck to 1.5 inches. Bag the clippings to expose the thatch layer and prevent the scarifier blades from clogging.
- Set Blade Depth: For cool-season grasses (Kentucky Bluegrass, Fescue), set the scarifier blades to just nick the soil surface (approx. 1/8 inch deep). For warm-season grasses (Bermuda, Zoysia), you can be more aggressive, setting blades to 1/4 inch.
- Execute in One Direction: Drive the machine in straight, overlapping lines (like mowing). Never run the scarifier in a crisscross pattern; this will rip out living turf crowns and leave bare dirt patches.
- Extract and Remove: The machine will pull up massive amounts of dead material. Use a heavy-duty leaf rake, a lawn vacuum, or a mower with a bagger to remove 100% of the extracted debris. Leaving it on the lawn will smother the remaining grass.
Step-by-Step Core Aeration Procedure
If your screwdriver test indicates compaction, execute this aeration protocol to maximize soil gas exchange.
- Hydrate the Soil: Apply exactly 1 inch of water 24 to 48 hours before aerating. The tines need moisture to penetrate 3 inches deep, but the soil must not be muddy, or the tines will clog with wet clay.
- Flag Obstacles: Mark all shallow sprinkler heads, valve boxes, and invisible dog fence lines with high-visibility flags. Aerator tines will crush plastic sprinkler heads instantly.
- Double-Pass Grid Pattern: Make your first pass in a north-south direction. Make your second pass in an east-west direction. This ensures maximum hole density (approx. 20-40 holes per square foot).
- Leave the Plugs: Do not rake up the soil cores. The Royal Horticultural Society (RHS) notes that leaving the plugs on the surface allows soil microorganisms to break down remaining thatch naturally as the cores wash back into the turf canopy during rain.
The Ultimate Combo Protocol: Sequencing Both Treatments
For severely neglected lawns with both deep thatch and hardpan compaction, you must deploy both machines. The sequence is critical: always scarify first, aerate second.
If you aerate first, the scarifier blades will tear up the freshly pulled soil plugs, creating a muddy, unworkable mess and potentially dulling the scarifier blades on embedded rocks. By scarifying first, you strip the thatch barrier. When you follow up with the core aerator, the hollow tines can pull up clean, deep soil cores directly from the earth, and subsequent overseeding will have perfect seed-to-soil contact.
2026 Equipment Rental vs. Purchase Economics
Deciding whether to rent or buy depends on your lawn size and long-term maintenance strategy. Here is the current market breakdown for residential lawn care equipment:
- Walk-Behind Core Aerator (Rental): $85 to $130 per day at major hardware chains. Ideal for lawns under 10,000 sq ft.
- Walk-Behind Scarifier (Rental): $70 to $110 per day. Often harder to find in inventory than aerators.
- Electric Dethatcher (Purchase): Models like the Sun Joe AJ801E or Greenworks 14-inch dethatcher cost between $140 and $190. These use spring tines, not rigid blades, making them suitable only for light thatch (under 0.75 inches) on small urban lawns.
- Commercial Stand-On Aerator (Purchase): For property managers or homeowners with multi-acre estates, commercial units like the Ryan Ren-O-Thin or Exmark commercial aerators range from $3,500 to $6,500. These are strictly for high-frequency use and require trailer storage.
By accurately diagnosing your lawn's specific pathology and executing the correct mechanical intervention, you transition from guessing to precision turf management. Whether you are pulling thatch with a scarifier or relieving bulk density with an aerator, timing and technique will dictate the thickness and resilience of your turf for the entire growing season.

