
Lawn Care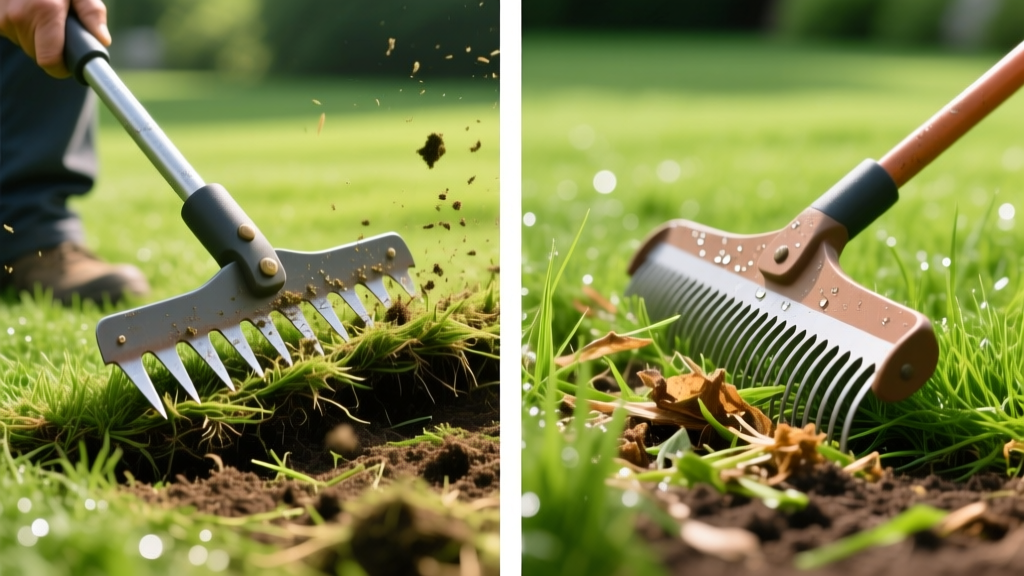
Scarify vs Dethatch: Step-by-Step Thatch Removal Procedures
The Thatch Threshold: Diagnosing Your Lawn's Subsurface Health
Thatch is a tightly intermingled layer of living and dead stems, roots, and rhizomes that develops between the green vegetation and the soil surface. While a thin layer (under 0.5 inches) acts as an insulating mulch that retains moisture and buffers soil temperature, excessive thatch creates an impermeable barrier. This barrier blocks water infiltration, traps applied fertilizers, and harbors fungal pathogens like Pythium blight.
According to turfgrass researchers at Penn State Extension, the primary cause of thatch accumulation is not grass clippings, but rather the over-application of synthetic nitrogen, which suppresses the microbial fungi required to break down lignin-rich stems. Before deciding between mechanical intervention methods, you must accurately measure the thatch depth using a soil core sampler or a sharp spade to extract a 3-inch cross-section. Measure the brown, spongy layer above the mineral soil.
Diagnostic Decision Framework
- Less than 0.5 inches: No mechanical removal needed. Apply a liquid humic acid and biological inoculant to accelerate microbial decomposition.
- 0.5 to 1.0 inches: Dethatching is the appropriate procedure to remove surface-level accumulation without severe root disruption.
- Greater than 1.0 inches: Scarification is mandatory. The thatch mat is too dense for surface raking and requires deep mechanical slicing to reach the soil interface.
Dethatching: The Surface-Level Removal Procedure
Dethatching relies on flexible spring tines or blunt flail blades designed to comb through the turf canopy, lifting and pulling dead organic matter from the surface without aggressively cutting into the mineral soil. This method is ideal for moderate thatch buildup in cool-season grasses like Kentucky Bluegrass and Tall Fescue.
Step-by-Step Dethatching Protocol
- Preparation Mowing: Lower your mower deck to 1.5 inches. Bag the clippings to expose the thatch layer and prevent the dethatcher tines from clogging.
- Moisture Calibration: Water the lawn deeply 48 hours prior to treatment. The soil should be moist but not saturated; overly wet soil will cause the tines to gouge the earth rather than comb the thatch.
- Machine Setup: If using a walk-behind power rake (such as a Billy Goat or Classen rental unit), adjust the tine depth so they barely graze the soil surface. Test on a concrete driveway; the tines should just touch the pavement.
- Directional Passes: Run the dethatcher in a North-South pattern, overlapping each pass by 2 inches. Follow up with an East-West pattern to create a cross-hatch extraction.
- Debris Extraction: Use a commercial lawn vacuum or a mower with a high-lift bagging blade to remove the extracted thatch. Leaving debris on the lawn will smother the remaining grass and invite disease.
Scarification: The Deep-Root Intervention
When evaluating scarify vs dethatch, scarification is the heavy-duty alternative. Scarifiers utilize rigid, sharpened blades (often tungsten-carbide tipped) mounted on a high-speed rotating drum. Unlike dethatching tines, scarifier blades are designed to penetrate 1/8 to 1/4 inch into the mineral soil. This process physically slices through stolons and rhizomes, tearing the thatch mat from the bottom up while simultaneously pruning roots to stimulate aggressive lateral growth.
Scarification is highly aggressive and should primarily be reserved for warm-season grasses (Bermuda, Zoysia) that spread via aggressive rhizomes, or cool-season lawns suffering from severe (>1 inch) thatch compaction. As noted by Texas A&M AgriLife Extension, warm-season turfgrass recovers rapidly from the severe root pruning caused by scarification due to their vigorous summer growth habits.
Step-by-Step Scarification Protocol
- Scalping Cut: Mow the lawn as low as your mower allows (typically 0.5 to 0.75 inches for Bermuda/Zoysia). This ensures the scarifier blades reach the soil base without being deflected by tall grass blades.
- Blade Depth Calibration: Adjust the scarifier drum so the blades cut 3mm to 6mm (1/8 to 1/4 inch) into the soil. Warning: Do not set blades deeper than 1/4 inch, or you risk severing the primary crown of the turf.
- Unidirectional Pass: Unlike dethatching, run the scarifier in only one direction (e.g., North-South). Cross-hatching with a scarifier will cause catastrophic root tearing and leave the lawn looking like tilled dirt.
- Heavy Raking: Scarification pulls up massive volumes of soil and thatch. Rake thoroughly with a flexible leaf rake, then use a push broom to sweep remaining dust from the turf crowns.
- Topdressing Application: Apply a 1/4 inch layer of 70/30 sand-to-compost topdressing. The sand fills the scarification grooves, improving drainage and preventing the thatch from immediately re-binding.
Scarify vs Dethatch: The Technical Comparison Matrix
Understanding the mechanical and biological differences between these two procedures ensures you select the correct equipment and timing for your specific turfgrass species.
| Parameter | Dethatching | Scarification |
|---|---|---|
| Target Thatch Depth | 0.5 to 1.0 inches | Greater than 1.0 inches |
| Tool Mechanism | Flexible spring tines or blunt flails | Rigid, sharpened steel/tungsten blades |
| Soil Penetration | Surface level (0mm) | 3mm to 6mm into mineral soil |
| Root Impact | Minimal disruption | Severe pruning (stimulates lateral growth) |
| Recovery Time | 7 to 14 days | 21 to 30 days |
| Estimated Cost (Pro) | $0.10 - $0.15 per sq. ft. | $0.15 - $0.25 per sq. ft. |
Post-Treatment Recovery: Seeding and Nutrient Loading
Both procedures leave the lawn vulnerable and stressed. The recovery phase dictates the long-term success of the thatch removal. Within 24 hours of completing either procedure, you must initiate a recovery protocol.
Overseeding Specifications
If you dethatched a cool-season lawn (Tall Fescue or Kentucky Bluegrass), overseeding is mandatory to fill the voids created by thatch extraction. Use a slit-seeder or broadcast spreader at a rate of 5 to 8 lbs per 1,000 square feet for Tall Fescue, or 2 to 3 lbs per 1,000 square feet for Kentucky Bluegrass. Ensure the seed makes direct contact with the mineral soil; seed trapped in residual thatch will fail to germinate.
Fertilizer and Hydration
Apply a high-phosphorus starter fertilizer (such as an NPK ratio of 18-24-12) at a rate of 1 lb of nitrogen per 1,000 sq. ft. Phosphorus is critical for repairing the root systems damaged during scarification. Water the lawn with 1/4 inch of irrigation daily for the first 14 days to keep the top 1 inch of soil consistently moist, which is required for both seed germination and rhizome recovery.
⚠️ Warning: Shallow Irrigation Systems
Before scarifying, always run a wire locator or manually probe for shallow sprinkler lines and drip irrigation tubing. Scarifier blades penetrating 1/4 inch into the soil will easily slice through polyethylene drip lines or shallow pop-up sprinkler risers that have settled above the soil grade. Mark all irrigation heads with high-visibility flags prior to operating heavy-duty scarification equipment.
Frequently Asked Questions
Can I use a manual thatch rake instead of a powered machine?
Manual thatch rakes (with curved steel blades) are only viable for lawns under 1,500 square feet with minor thatch issues (0.5 inches). For any lawn larger than this, or for thatch exceeding 0.75 inches, manual raking will result in severe operator fatigue and inconsistent depth penetration, ultimately failing to remove the bulk of the thatch mat.
What is the best time of year to perform these procedures?
Timing is dictated by grass type. Cool-season grasses (Fescue, Bluegrass, Ryegrass) should be dethatched or scarified in early fall (late August to mid-September) when soil temperatures are dropping but growth remains active. Warm-season grasses (Bermuda, Zoysia, St. Augustine) must be treated in late spring (late May to early June), exactly when they are entering their peak summer growth cycle to ensure rapid recovery.
Will liquid dethatchers work instead of mechanical removal?
Liquid dethatchers (containing enzymes and bacillus bacteria strains) can help accelerate the breakdown of organic matter over a 6-to-12-month period. However, they cannot physically remove an existing 1-inch thatch mat. Liquid biologicals are best used as a preventative maintenance strategy after mechanical scarification or dethatching has reset the baseline.

