
Lawn Care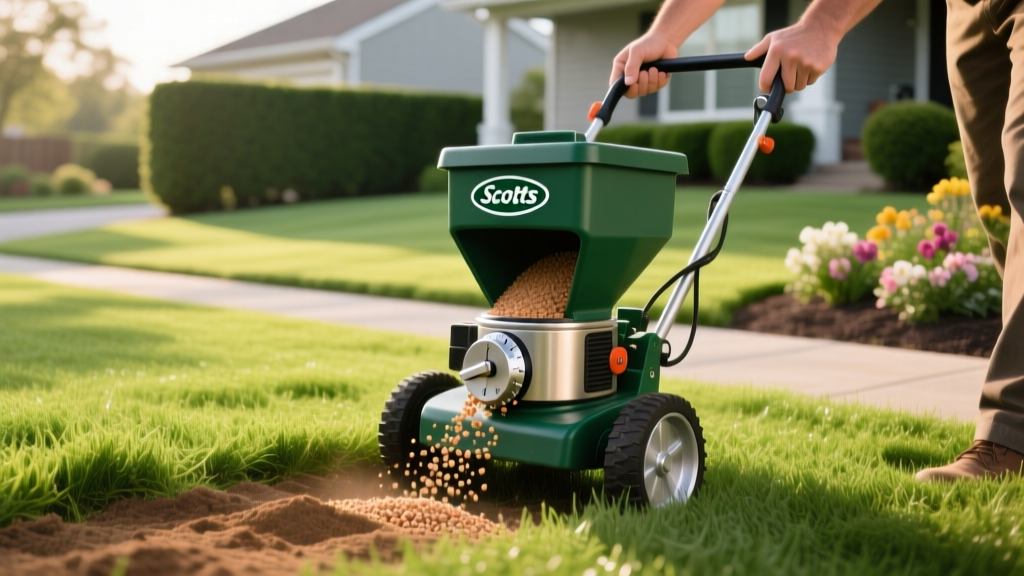
Scotts Drop Spreader Calibration and Fertilizer Settings Guide
The Precision Advantage: Why Choose a Drop Spreader?
When applying granular fertilizers, herbicides, or grass seed, the margin between a lush lawn and chemical burn is measured in ounces per square foot. While broadcast spreaders are popular for large, open estates, the Scotts drop spreader remains the undisputed tool for urban and suburban lawns under 5,000 square feet. Drop spreaders release material directly downward in a strict, defined band matching the width of the hopper. This eliminates the wind-drift associated with rotary spreaders, protecting adjacent flower beds, vegetable gardens, and water features from accidental chemical exposure.
However, this precision demands exact calibration. A miscalibrated drop spreader will leave visible striping—alternating bands of dark green and pale yellow—because the application footprint does not naturally feather at the edges like a broadcast pattern. This guide provides the exact mechanical settings, calibration mathematics, and operational techniques required to achieve a uniform application using Scotts drop spreader models in 2026.
Identifying Your Scotts Drop Spreader Model
Scotts currently manufactures two primary drop spreader models for residential use. Identifying your specific model is critical, as the dial settings are not interchangeable between them due to differences in hopper geometry and agitator bar design.
| Feature | Scotts Classic Drop Spreader (Model 760) | Scotts AccuGreen Drop Spreader (Model 3000) |
|---|---|---|
| Hopper Capacity | Holds up to 10,000 sq ft of product | Holds up to 5,000 sq ft of product |
| Spread Width | 22 inches | 22 inches |
| Agitator Type | Wire coil spring (best for large granules) | Stirring bar (prevents fine powder bridging) |
| Current Retail Price | $75 - $85 | $90 - $105 |
| Best Use Case | Standard granular fertilizers, grass seed | Fine granulars, weed-and-feed, powdered amendments |
Step-by-Step Calibration Protocol
Never assume the dial setting printed on the fertilizer bag is perfectly accurate for your specific machine. Wear and tear on the spreader's wheels, tire pressure (if pneumatic), and your walking speed all alter the application rate. According to the University of Minnesota Extension, physical calibration is the only way to guarantee the correct nutrient load.
Step 1: Establish a 100 Square Foot Test Zone
Measure a 10-foot by 10-foot section of your driveway or a tarp laid flat on the lawn. This 100 sq ft area represents exactly 10% of a standard 1,000 sq ft application zone. Ensure the surface is dry and level.
Step 2: Calculate the Target Catch Weight
Read the fertilizer bag for the recommended application rate per 1,000 square feet. Divide that number by 10 to find the target weight for your 100 sq ft test area.
- Example: If the bag recommends 3.2 lbs per 1,000 sq ft, your target catch weight is 0.32 lbs.
- Conversion: Multiply 0.32 lbs by 16 to get ounces. The target is 5.12 ounces.
Step 3: Execute the Test Pass
Set your Scotts drop spreader to the manufacturer's suggested dial setting. Close the hopper, fill it with a few pounds of the actual fertilizer you intend to use, and walk at your normal, steady pace (approximately 3 miles per hour) across the 10-foot test zone. Catch the dispensed material in a lightweight plastic container held beneath the hopper.
Pro Tip: The Digital Scale Method
Do not rely on measuring cups for calibration. Granular fertilizers vary wildly in density. Place your empty catch container on a digital kitchen scale, zero it out (tare), and weigh the captured fertilizer to the nearest tenth of an ounce. If you capture 6.0 ounces instead of the targeted 5.12 ounces, lower the dial setting by 0.5 and repeat the test.
Do not rely on measuring cups for calibration. Granular fertilizers vary wildly in density. Place your empty catch container on a digital kitchen scale, zero it out (tare), and weigh the captured fertilizer to the nearest tenth of an ounce. If you capture 6.0 ounces instead of the targeted 5.12 ounces, lower the dial setting by 0.5 and repeat the test.
Baseline Fertilizer Settings for Scotts Drop Spreaders
While physical calibration is mandatory for perfect results, the official Scotts spreader settings guide provides reliable baseline dial numbers to start your calibration process. Below are the starting settings for the most common 2026 Scotts lawn care formulations.
| Product Name | Classic Drop (760) Setting | AccuGreen (3000) Setting | Application Rate (per 1k sq ft) |
|---|---|---|---|
| Scotts Turf Builder Lawn Food | 5.5 | 6.25 | 2.86 lbs |
| Scotts Turf Builder Weed & Feed | 6.0 | 6.75 | 3.60 lbs |
| Scotts Winterizer Fall Lawn Food | 5.25 | 6.0 | 3.00 lbs |
| Scotts EZ Seed (Tall Fescue) | 8.5 | 9.5 | 6.00 lbs |
The Overlap Rule: Avoiding the "Zebra Stripe" Effect
The most common failure mode when using a Scotts drop spreader is incorrect overlapping. Because drop spreaders do not throw material outward, the application band has hard, abrupt edges.
The Golden Rule of Drop Spreading: Overlap your previous pass by exactly 2 to 3 inches. The easiest way to achieve this is to align the inside edge of your left wheel with the outside edge of the right wheel track from your previous pass.
If you overlap by 50% (the standard technique for broadcast spreaders), you will apply a double dose of nitrogen in the overlap zones, resulting in severe fertilizer burn and dark green stripes that will persist for weeks. Conversely, leaving a 2-inch gap between passes will result in pale, nutrient-starved strips.
Troubleshooting Common Application Failures
Problem: The Spreader Leaves Streaks Even With Proper Overlap
Cause: Agitator bar clogging or bridging. Hygroscopic fertilizers (those containing high levels of urea or ammonium sulfate) pull moisture from the air and form microscopic clumps that block the drop holes.
Fix: Stop every 1,000 square feet and tap the side of the hopper. If using the AccuGreen 3000, ensure the internal stirring bar is rotating freely. If clumping persists, mix the fertilizer with a dry, fine-grained sand at a 10:1 ratio to improve flowability.
Problem: Fertilizer Burns the Perimeter of the Lawn
Cause: Opening the hopper gate while stationary or turning.
Fix: Never open the hopper gate until you have taken three full steps forward, and always close the gate three steps before you reach the end of the run. When turning around at the property line, the gate must be 100% closed. Drop spreaders do not have a "coast" feature; if the wheels are moving, product is dropping.
Post-Application Maintenance and Storage
Fertilizer salts are highly corrosive to the metal components of your spreader, particularly the agitator spring and the hinge pins on the hopper gate. Leaving residual Scotts Turf Builder in the hopper for even 48 hours in high humidity will cause the metal to pit and rust, eventually causing the gate to stick open or fail to close entirely.
- Dry Wash: Immediately after application, use a stiff-bristled dry brush to sweep out 95% of the remaining granules from the hopper and the axle housing.
- Wet Wash: Take the spreader to the driveway and use a garden hose with a spray nozzle to rinse the interior hopper, the underside of the agitator bar, and the wheels. Avoid spraying the wheel bearings directly to prevent grease washout.
- Lubrication: Once completely dry, apply a light coat of silicone spray or white lithium grease to the hopper gate hinge and the agitator bar bearings. Do not use WD-40, as it attracts dust and creates a grinding paste over time.
- Storage: Store the spreader indoors, hanging from a wall hook if possible, to prevent the rubberized wheels from developing flat spots on the concrete floor.
By adhering to strict calibration protocols and understanding the mechanical nuances of your specific model, your Scotts drop spreader will deliver professional-grade, edge-to-edge nutrition without the risk of chemical drift or striping.

