
Lawn Care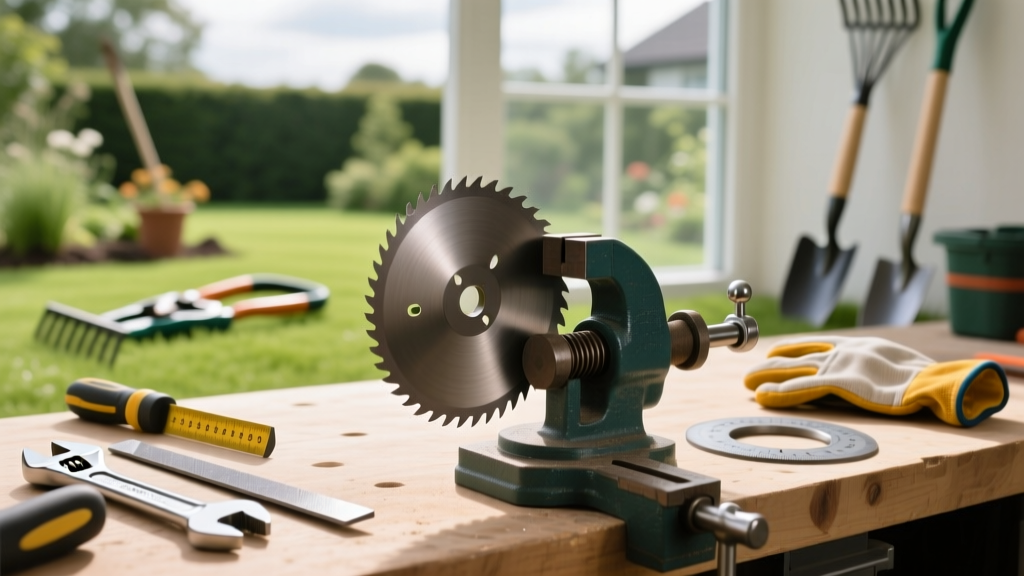
How to Sharpen Mower Blades: Exact Angles, Tools & Steps
The Hidden Cost of Dull Mower Blades
A dull mower blade does not cut grass; it shreds it. This shredding tears the cellular structure of the leaf tip, causing the lawn to lose up to 30% more water through evaporation and turning the turf a hazy, whitish-brown color. More critically, the ragged wounds provide direct entry points for fungal pathogens like Rhizoctonia solani (brown patch) and Curvularia (leaf spot). According to the University of Minnesota Extension, maintaining a sharp blade is one of the most critical, yet frequently overlooked, cultural practices for disease prevention and drought resistance.
Knowing how to sharpen mower blades correctly requires understanding the metallurgy of the blade, the precise cutting angles required for a clean slice, and the critical balancing process that prevents catastrophic engine damage. This guide provides the exact specifications, tool recommendations, and step-by-step procedures used by commercial turf managers.
The Science of the Cut: Angles and Metallurgy
Most rotary mower blades are stamped from medium-carbon steel and feature a cutting bevel ranging from 30 to 45 degrees. The industry standard for residential walk-behind and zero-turn mowers is a 40 to 45-degree angle on the top edge. The flat bottom of the blade must remain completely untouched. Altering the bottom aerodynamics disrupts the vacuum lift required to stand grass blades upright before the blade passes through them. If you round off the bottom edge, your mower will leave uncut strips of grass, regardless of how sharp the top edge is.
⚠️ CRITICAL METALLURGY WARNING: Never use a standard aluminum oxide grinding wheel on a mower blade. The extreme friction generates localized heat that can exceed 400°F, drawing the temper of the medium-carbon steel. You will know this has happened if the steel turns blue. A tempered-loss edge will roll over and dull within two mowing sessions. Always use a ceramic flap disc or a hand file.
Essential Tool Loadout and Costs
To achieve a commercial-grade edge, you need the right tools. Skip the cheap drill attachments that chatter and ruin the bevel. Here is the exact loadout for precision sharpening:
- Nicholson 10-inch Mill Bastard File (Model 22090): ~$14. The gold standard for manual sharpening, offering a safe edge and aggressive bite.
- Milwaukee M18 Cordless Angle Grinder with 60-grit Ceramic Flap Disc: ~$139 (bare tool) + $12 for the disc. Ideal for quick material removal without overheating the steel.
- Oregon 72-053 Lawn Mower Blade Balancer: ~$12. A magnetic cone balancer that is vastly superior to hanging the blade on a nail.
- 1/2-inch Drive Torque Wrench: ~$45. Essential for preventing cracked crankshafts during reinstallation.
- Heavy-duty leather mechanic gloves and a 2x4 wood block.
Safe Removal: Securing the Deck
Before learning how to sharpen mower blades, you must safely remove them. The rotational force of a mower engine can easily sever fingers if the engine accidentally turns over.
- Disconnect Power: For gas mowers, pull the spark plug wire and secure it away from the plug. For battery-electric mowers, remove the battery entirely.
- Block the Blade: Tilt the mower deck (always tilting so the carburetor faces UP on gas models to prevent oil flooding). Wedge a 2x4 block of wood between the blade and the mower deck to lock it in place.
- Break the Bolt Loose: Using a socket wrench (typically a 5/8-inch or 15mm socket), turn the center bolt counter-clockwise. Remove the bolt, the retaining washer, and the blade.
Step-by-Step: How to Sharpen Mower Blades
Secure the blade in a heavy-duty bench vise, clamping it horizontally with the cutting edge facing up and away from you.
1. Clean and Inspect
Use a wire brush to remove caked-on grass and rust. Inspect the blade for deep nicks or cracks. If the blade has nicks deeper than 1/8-inch or the ends are curled upward from hitting rocks, the metallurgical fatigue means it cannot be salvaged. Replace it with a high-lift or mulching blade (e.g., Oregon Gator mulching blades, ~$25-$40).
2. Match the Original Angle
Place your file or angle grinder against the existing bevel. You should feel it drop perfectly into the 40 to 45-degree groove. If using a file, push it forward in one direction using firm, even pressure. Lift the file on the return stroke to preserve the teeth.
3. Remove Material Evenly
The goal is not to create a razor-sharp, knife-like edge, which will instantly chip when it hits a pebble. You want a clean, flat bevel that is about 1/32-inch wide. Count your file strokes on one end of the blade (usually 15 to 25 strokes), then flip the blade in the vise and apply the exact same number of strokes to the opposite cutting edge. This ensures you remove equal weight from both sides.
Pro-Tip: Run your fingernail lightly across the cutting edge. If it catches cleanly without snagging on burrs or wire edges, the blade is sufficiently sharp. Use a flat file to lightly deburr the flat bottom side with one single, flat stroke.
Tool Comparison Matrix: Sharpening Methods
| Method | Time Required | Precision & Angle Control | Risk of Overheating | Best Use Case |
|---|---|---|---|---|
| 10" Bastard File | 10-15 mins | Excellent (follows existing bevel) | Zero | Standard maintenance, precise edge control |
| Angle Grinder (Flap Disc) | 2-4 mins | Good (requires steady hand) | Low (if using ceramic flap) | Heavily dulled blades, commercial fleets |
| Drill Attachment Sharpener | 5-8 mins | Poor (chatters, rounds edges) | High | Not recommended for quality turf care |
| Bench Grinder | 3-5 mins | Moderate | Very High (ruins temper) | Shaping new blades, not sharpening |
The Balancing Act: Preventing Spindle Destruction
Removing unequal amounts of metal from the blade ends creates an imbalance. An unbalanced blade spinning at 3,000 RPM generates severe harmonic vibration. Over a single season, this vibration will destroy the mower deck spindle bearings and can even bend the engine crankshaft—a repair that often exceeds the value of the mower itself.
Place the center hole of the blade onto the cone of your Oregon blade balancer. If the blade sits perfectly level, it is balanced. If one side dips, that side is heavy.
How to correct an imbalance: Never grind the cutting edge to remove weight; this alters your carefully crafted 45-degree angle. Instead, use your file or grinder to remove a small amount of material from the trailing edge (the flat back side) of the heavy end. Re-test on the balancer until the blade rests horizontally.
Reinstallation and Torque Specifications
Before reinstalling, scrape the underside of the mower deck with a putty knife to remove impacted grass, which can trap moisture and accelerate deck rust. Slide the blade back onto the spindle spline, ensuring the cutting edges are pointing in the direction of rotation (usually toward the deck housing).
According to Penn State Extension equipment maintenance guidelines, proper torque is vital for safety and engine longevity. Hand-tighten the bolt, then use your torque wrench to tighten to the manufacturer's specification:
- Standard Push Mowers (e.g., Honda, Toro): 35 to 45 ft-lbs.
- Heavy-Duty Zero-Turns (e.g., Exmark, Scag): 65 to 85 ft-lbs.
Do not use impact wrenches for the final tightening, as they easily over-torque the bolt, stripping the threads on the crankshaft or making future removal nearly impossible without an induction heater.
Establishing a Maintenance Schedule
For a standard 1/2-acre lawn, sharpen your blades every 20 to 25 hours of runtime, which translates to roughly every 4 to 6 weeks during peak spring growth. If your lawn contains sandy soil or you frequently mow over small twigs, inspect the edge every 15 hours. Keeping a spare, pre-sharpened and balanced blade on hand allows you to swap them in five minutes, minimizing downtime and ensuring your turf always receives a clean, disease-resistant cut.

