
Lawn Care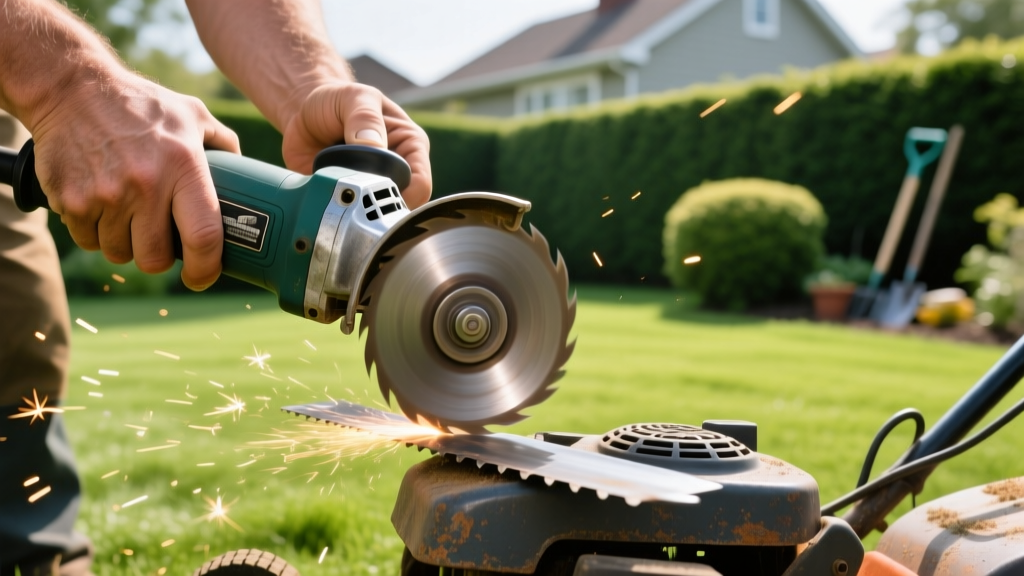
Step-by-Step Sharpening Mower Blades With Angle Grinder
Commercial landscapers and turf managers rely on angle grinders to maintain mower blades because hand files are too slow and bench grinders often remove too much bulk metal. However, sharpening mower blades with angle grinder equipment requires precise technique. A single mistake—such as overheating the steel or altering the original bevel—can ruin the blade's temper or cause catastrophic deck vibrations. This guide details the exact abrasive selections, safety protocols, and metallurgical limits required to achieve a factory-grade edge in under five minutes.
Essential Gear: Selecting the Right Grinder and Abrasives
Not all angle grinders or abrasive discs are suited for high-carbon mower steel. Using a hard grinding wheel will gouge the bevel and create micro-fractures. Instead, you need a tool that offers control and an abrasive that conforms to the blade's geometry.
Grinder Specifications
For standard residential and commercial mower blades, a 4.5-inch angle grinder drawing 7 to 9 amps is the optimal size. Models like the DeWalt DWE4120 or Makita 9557PBX1 (typically priced between $50 and $75) provide enough torque to maintain RPM under load without being so heavy that they cause user fatigue. Avoid 7-inch or 9-inch grinders; their rotational mass makes precision bevel-matching nearly impossible.
Abrasive Disc Selection Matrix
The abrasive disc dictates your finish quality. Zirconia alumina flap discs are the industry standard for mower blades because the overlapping flaps wear away to expose fresh, sharp grains, preventing the disc from glazing over.
| Disc Type | Grit / Material | Best Application | Avg. Cost | Expert Verdict |
|---|---|---|---|---|
| Type 27 Depressed-Center Grinding Wheel | 24-36 Grit (Aluminum Oxide) | Heavy rust removal, flat stock | $1.50 - $3.00 | Avoid. Too aggressive; will gouge the cutting bevel. |
| Type 29 Flap Disc | 40 Grit (Zirconia Alumina) | Primary bevel grinding, edge shaping | $3.50 - $5.50 | Highly Recommended. Perfect balance of material removal and control. |
| Type 29 Flap Disc | 60 Grit (Ceramic Alumina) | Final polishing, high-alloy steels | $7.00 - $11.00 | Optional. Use only for the final stropping pass if a razor edge is desired. |
Pre-Grind Preparation and Safety Protocols
Angle grinders operate at up to 11,000 RPM, throwing high-velocity sparks and steel shards. According to OSHA guidelines on power tool safety, proper PPE and workpiece stabilization are non-negotiable.
- PPE Requirements: Wear an ANSI Z87.1-rated face shield (not just safety glasses), heavy leather welding gloves, and a long-sleeve cotton shirt. Avoid synthetic fabrics that can melt from stray sparks.
- Blade Removal & Cleaning: Disconnect the spark plug wire or remove the battery. Spray the blade with a penetrating oil like PB Blaster and scrub with a stiff wire brush to remove caked-on chlorophyll and rust. Grinding through organic matter will instantly clog your flap disc.
- Vise Stabilization: Clamp the blade in a heavy-duty cast-iron vise. Pro Tip: Place a small block of soft wood (like pine) between the vise jaws and the mower blade. This prevents the hardened steel jaws from marring the blade's paint and provides a slightly forgiving grip that reduces harmonic chatter during grinding.
⚠️ CRITICAL WARNING: Spark Direction
Always orient the blade so the grinder's sparks are directed away from your body and toward a non-flammable surface. Ensure the grinder's tool-free guard is positioned between your hands and the rotating disc.
Always orient the blade so the grinder's sparks are directed away from your body and toward a non-flammable surface. Ensure the grinder's tool-free guard is positioned between your hands and the rotating disc.
The 4-Step Angle Grinder Sharpening Technique
The goal is to remove the minimum amount of metal required to establish a clean, straight edge. According to turfgrass research from the Penn State Extension Turfgrass program, a sharp blade slices grass cleanly, reducing moisture loss and susceptibility to fungal pathogens like brown patch.
Step 1: Match the OEM Bevel
Most rotary mower blades feature a cutting bevel between 30 and 45 degrees. Do not attempt to change this angle. Hold the 4.5-inch grinder with the 40-grit flap disc flat against the existing bevel. Tilt the grinder until the entire surface of the flap disc rests flush against the factory angle.
Step 2: The Grinding Pass
Turn on the grinder and let it reach full speed before contacting the steel. Apply light, even pressure and sweep the grinder along the length of the cutting edge. Direction matters: Push the grinder so the disc's rotation pushes away from the sharp edge. If you pull it into the edge, the disc can catch the lip, causing violent kickback.
Step 3: Monitor Steel Temperature
Mower blades are made of high-carbon steel that is heat-treated (tempered) to hold an edge. If the steel exceeds 400°F, it will turn blue and lose its temper, becoming soft and prone to rapid dulling or chipping. Rule of thumb: Grind for 3 to 4 seconds, then lift the grinder to let the steel air-cool. Keep a spray bottle of water nearby to mist the blade if it gets too hot to touch, but never quench red-hot steel in water, as this will cause micro-cracks.
Step 4: Backside Burr Removal
Grinding the bevel pushes a microscopic wire burr over the top edge of the blade. Flip the blade or adjust your stance, lay the flap disc completely flat against the back (non-beveled side) of the blade, and make one or two light, sweeping passes to knock off the burr. This ensures a clean, scissor-like cut.
Balancing the Blade: Protecting Your Deck Spindles
Skipping the balancing step is the most common cause of premature mower deck failure. An unbalanced blade spinning at 3,000 RPM generates hundreds of pounds of lateral centrifugal force, which will destroy your deck's spindle bearings—a repair that typically costs $150 to $300 per spindle in parts and labor.
- Use a Magnetic Balancer: Purchase a dedicated magnetic blade balancer (such as the Oregon 72-053 or Arnold 490-5795, usually under $15). Hang it on a nail or screwdriver away from wind drafts.
- Identify the Heavy Side: Place the blade on the magnetic cone. The side that dips downward is the heavy side.
- Correct the Imbalance: Do not grind more off the cutting edge to balance it, as this alters your cutting geometry. Instead, use your flap disc to grind a small amount of metal off the back edge or the lifting fin on the heavy side until the blade sits perfectly level on the balancer.
Troubleshooting Matrix: Grinder Marks, Burns, and Vibrations
Even with proper technique, anomalies can occur. Use this diagnostic matrix to correct common sharpening defects identified by equipment maintenance experts at the University of Minnesota Extension.
| Symptom | Root Cause | Corrective Action |
|---|---|---|
| Blue/Purple discoloration on the cutting edge | Overheating; steel exceeded 400°F and lost its temper. | Grind past the discolored zone until fresh, silver steel is exposed. Use lighter pressure and frequent pauses. |
| Chatter marks or wavy edge profile | Blade vibrating in the vise or worn spindle bearings on the angle grinder. | Insert wood blocks in the vise jaws for better grip. Check the grinder's spindle for lateral play; replace if bearings are shot. |
| Mower deck vibration post-installation | Uneven metal removal resulting in an unbalanced blade. | Re-mount on a magnetic balancer. Remove material strictly from the non-cutting edge of the heavy side. |
| Grass tips appear torn or shredded | Wire burr left on the backside, or edge was rounded off instead of sharpened. | Perform flat passes on the backside of the blade to remove the burr. Ensure you are grinding the bevel, not rounding the lip. |
Mastering the art of sharpening mower blades with angle grinder tools transforms a tedious seasonal chore into a rapid, precision maintenance routine. By selecting 40-grit zirconia flap discs, strictly managing steel temperatures, and never bypassing the magnetic balancing step, you will extend the life of your mower's deck spindles and achieve the clean, manicured cuts that define professional-grade lawn care.

