
Lawn Care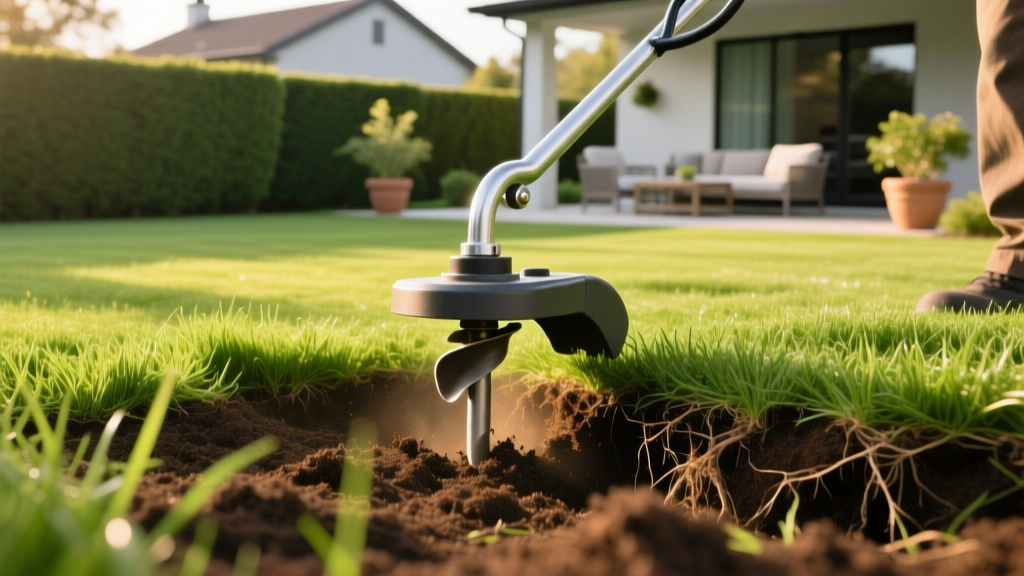
How Do You Spell Aerator? The Step-by-Step Lawn Aeration Guide
How Do You Spell Aerator? (And Why It Matters)
If you have ever found yourself typing "how do you spell aerator" into a search engine while trying to fix a compacted, thinning lawn, you are not alone. The correct spelling is aerator (a-e-r-a-t-o-r), derived from the Latin word aer, meaning air. However, knowing how to spell it is only the first step. Understanding how to properly operate this heavy-duty lawn maintenance tool is what separates a patchy, weed-infested yard from a golf-course-quality turf.
An aerator is a mechanical device designed to alleviate soil compaction by removing small cores of soil and thatch, allowing oxygen, water, and nutrients to penetrate the root zone. In 2026, with increasingly erratic weather patterns causing severe soil hardening in both clay-heavy and sandy loam soils, core aeration is no longer optional—it is a critical pillar of any comprehensive lawn care program.
The Science of Soil Compaction and Turf Health
Soil compaction occurs when soil particles are pressed together, reducing the pore space between them. According to turfgrass researchers at the University of Minnesota Extension, compacted soils restrict root growth, limit water infiltration, and starve the soil microbiome of necessary oxygen. When bulk density exceeds 1.4 g/cm³ in clay soils, turfgrass roots physically cannot push through the soil matrix.
Data Highlight: A single pass with a core aerator can increase water infiltration rates by up to 40% and improve fertilizer uptake efficiency by 25%, directly reducing nutrient runoff into local waterways.
Choosing the Right Tool: Spike vs. Core Aeration
Before you rent or buy equipment, you must understand the difference between the two main types of aerators. For almost all residential lawns, core aeration is the undisputed standard.
| Feature | Spike Aerator | Core (Plug) Aerator |
|---|---|---|
| Mechanism | Solid tines poke holes into the ground | Hollow tines extract 2-3 inch soil cylinders |
| Compaction Relief | Poor (actually increases compaction around the hole) | Excellent (physically removes soil mass) |
| Thatch Management | None | Breaks up thatch layer via soil microbe exposure |
| Best Use Case | Sandy soils, temporary water drainage fixes | Clay soils, heavy foot traffic areas, overseeding prep |
| 2026 Rental Cost | $40 - $60 / day | $85 - $120 / 4 hours |
Step-by-Step Lawn Aeration Procedure
Operating a commercial-grade core aerator (such as a Billy Goat Outback or Classen CP20) requires physical effort and precise timing. Follow this exact protocol to maximize turf recovery and seed-to-soil contact.
Step 1: The Soil Moisture Test (48 Hours Prior)
Aerating dry soil will result in shallow, crumbly plugs and excessive wear on the machine's tines. Aerating soggy soil will tear the turf and create a muddy disaster. Perform the "Screwdriver Test": push a 6-inch flathead screwdriver into the soil. It should slide in with moderate resistance. If it stops at 2 inches, water your lawn deeply (about 1 inch of water) 24 to 48 hours before aerating.
Step 2: Mark Underground Hazards
Core aerator tines penetrate 2 to 3 inches deep. This is deep enough to sever shallow irrigation lines, dog fence wires, and drip irrigation tubing. Use bright orange landscaping flags to mark every sprinkler head, valve box, and shallow utility line. Call 811 a few days prior to mark public utility lines, though private irrigation is your responsibility.
Step 3: Set the Depth and Execute the Double-Pass
Adjust the machine's depth bar so the hollow tines extract plugs that are 2 to 3 inches long. The Double-Pass Technique is mandatory for proper coverage:
- Pass 1: Drive the aerator in straight, parallel lines across the entire lawn, overlapping each pass by about 2 inches.
- Pass 2: Make a second set of passes perpendicular (diagonal) to your first pattern. This creates a grid-like network of holes spaced roughly 2 to 3 inches apart, which is the optimal density for overseeding.
Pro Tip for Heavy Clay: If your soil is heavily compacted clay, make a third pass over high-traffic areas (like pathways or play zones) at a 45-degree angle to maximize fracturing.
Step 4: Leave the Plugs on the Lawn
Do not rake up or vacuum the extracted soil plugs. According to turf management guidelines from Scotts Lawn Care Library, these plugs contain vital soil microorganisms that will break down the thatch layer as they dissolve over the next two to three weeks. Mowing over them after a few days will help pulverize them back into the turf canopy.
Post-Aeration Care: Overseeding and Fertilization
Aeration is rarely a standalone procedure; it is the preparation phase for overseeding and fertilization. The holes created by the aerator provide direct seed-to-soil contact, which is the single most important factor in germination success.
- Seed Selection: For cool-season lawns (Tall Fescue, Kentucky Bluegrass), apply 5 to 8 lbs of seed per 1,000 sq ft. For warm-season lawns (Bermuda, Zoysia), aeration is usually done in late spring to encourage lateral spread rather than seeding.
- Fertilizer Application: Immediately after seeding, apply a starter fertilizer. Look for a product containing Mesotrione (such as Scotts Turf Builder Starter Food for New Grass Plus Weed Preventer). This active ingredient prevents crabgrass and broadleaf weeds from germinating without harming your delicate new turfgrass seedlings.
- Watering Protocol: Water lightly 2 to 3 times a day for the first 14 days to keep the top 1/2 inch of soil consistently moist. Once seedlings reach 1.5 inches, transition to deep, infrequent watering (1 inch per week).
Common Aeration Mistakes and Troubleshooting
| Symptom / Failure | Root Cause | Corrective Action |
|---|---|---|
| Machine bounces or skips across the lawn | Soil is too dry and hard; tines cannot penetrate. | Stop immediately. Water the lawn deeply and wait 48 hours before resuming. |
| Plugs are less than 1 inch long | Tines are clogged with mud or thatch; depth bar is set too high. | Clean tines with a wire brush; lower the depth adjustment lever. |
| Turf tears or rips during extraction | Soil is overly saturated; roots are holding muddy soil. | Allow the lawn to dry for 2-3 days. Saturated aeration destroys soil structure. |
| Uneven hole spacing | Driving speed is too fast for the machine's tine rotation cycle. | Slow down to a walking pace (approx. 2-3 mph). Let the machine do the work. |
Frequently Asked Questions
Is it 'aerator' or 'aerater'?
The correct spelling is aerator. 'Aerater' is a common misspelling. The suffix '-or' denotes an agent or instrument that performs an action (like a tractor or generator), while '-er' is typically used for people (like a teacher or baker).
When is the best time of year to use an aerator?
Timing depends on your grass type. For cool-season grasses (Fescue, Rye, Bluegrass), aerate in early fall (late August through October) when the grass is actively growing and weed competition is low. For warm-season grasses (Bermuda, Zoysia, Centipede), aerate in late spring to early summer (May through June) just as the grass breaks dormancy and enters its peak growth phase.
Can I aerate a newly sodded or seeded lawn?
No. Never aerate a lawn that was seeded or sodded within the last 12 months. The root system is not established enough to withstand the physical pulling force of the hollow tines, which will tear the young turf out of the ground entirely.

