
Lawn Care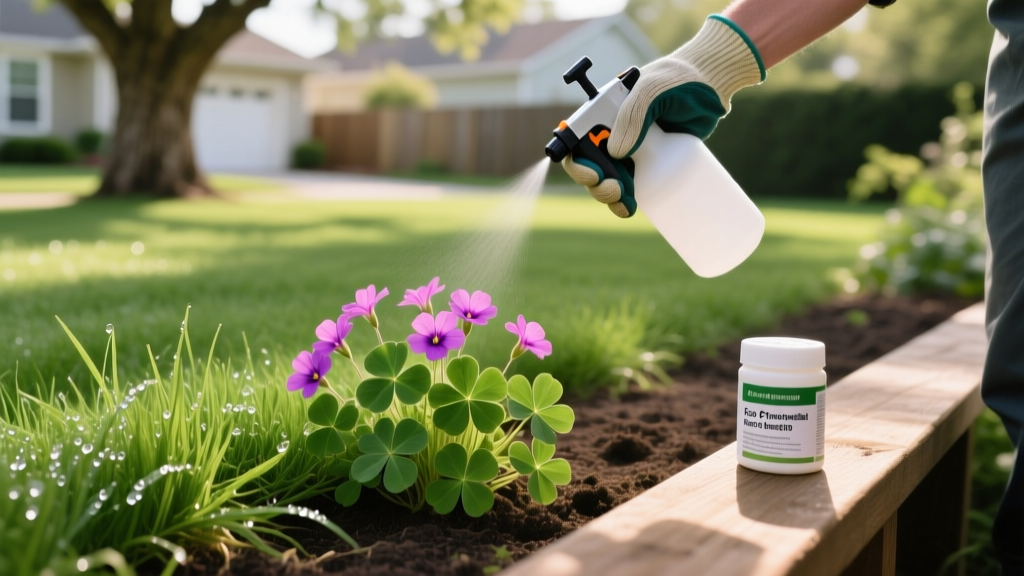
Spot-Treating Clover Blooms: Safe Herbicide & Timing Guide
The Challenge of Blooming White Clover
White clover (Trifolium repens) is a perennial broadleaf weed that thrives in nitrogen-deficient lawns. When clover transitions from vegetative growth to producing its signature white and pink-tinged flower heads, it presents a unique challenge for turf managers and homeowners. Spot-treating clover blooms requires balancing aggressive weed eradication with strict environmental stewardship, specifically regarding pollinator safety and herbicide volatilization.
During the blooming phase, clover shifts its energy allocation toward seed production and stolon (above-ground runner) expansion. The waxy cuticle on the leaves and flower petals also thickens, making standard aqueous herbicide applications less effective. Furthermore, the presence of flowers attracts honeybees and native pollinators, meaning indiscriminate spraying can cause catastrophic colony damage. This guide details the exact protocols, chemical formulations, and timing frameworks required to eliminate blooming clover without harming your local ecosystem.
⚠ Pollinator Protection Mandate: Never apply liquid or granular pesticides directly to open clover blooms while bees are actively foraging. According to the Environmental Protection Agency (EPA), systemic and contact herbicides can be transferred to nectar and pollen, leading to acute toxicity in pollinator populations. Always follow the bloom-removal protocol outlined below.
Biology and Timing: Why Standard Sprays Fail on Blooms
Many homeowners report that their standard broadleaf weed killers 'bounce off' or fail to kill clover once it flowers. This failure is rooted in plant physiology. According to turfgrass research from the University of Minnesota Extension, mature, blooming clover develops a highly hydrophobic leaf surface. Standard herbicide droplets bead up and roll off the stolon and petioles before the active ingredient can penetrate the plant tissue.
Energy Translocation Shifts
In early spring, clover moves nutrients upward from its taproot to support new leaves and flowers. By mid-summer, when blooms are heavy and seed heads are forming, the translocation shifts downward to store carbohydrates in the root system for winter survival. Spot-treatment during the blooming phase must utilize systemic herbicides that ride this downward phloem flow to ensure the deep taproot is completely destroyed, preventing spring regrowth.
Herbicide Selection: Amine vs. Ester Formulations
Choosing the correct chemical formulation is the most critical decision when spot-treating clover blooms. The two primary formulations of 2,4-D and Triclopyr are Amine and Ester. Understanding the difference prevents lawn damage and ornamental kill-off.
| Formulation | Active Ingredient Examples | Volatility Risk | Efficacy on Blooming Clover | Best Application Window |
|---|---|---|---|---|
| Amine | Southern Ag Amine 2,4-D (~$25/gal) | Low (Water-soluble) | Moderate (Requires surfactant) | Late spring / Summer (>75°F) |
| Ester | Hi-Yield Triclopyr Ester (~$45/pt) | High (Oil-soluble, vaporizes) | High (Penetrates waxy blooms) | Early spring / Fall (<80°F) |
Expert Insight: If you are spot-treating in July or August when temperatures exceed 85°F, never use an ester formulation. Esters will volatilize (turn into a gas) in high heat, drifting into nearby flowerbeds and causing severe twisting and cupping of ornamental shrubs, tomatoes, and trees. Stick to an Amine formulation for summer spot treatments, but compensate for its lower penetration power by adding a high-quality Non-Ionic Surfactant (NIS).
The 4-Step Bee-Safe Spot Treatment Protocol
To achieve a 95%+ kill rate on blooming clover while maintaining zero pollinator casualties, execute this exact sequence:
Step 1: Mechanical Bloom Removal (Day 1)
Set your rotary or reel mower to 2.5 inches and mow the lawn. The primary goal is not to cut the grass, but to decapitate the clover flower heads. Bag the clippings to remove the severed blooms from the property. This immediately eliminates the food source for bees, ensuring they will not be present during your chemical application.
Step 2: Wait for Stolon Recovery (Day 3)
Allow 48 to 72 hours for the clover to push out tiny, immature leaflets from the cut stolons. These new leaves lack the thick, waxy cuticle of mature foliage, making them highly susceptible to herbicide uptake. Waiting also guarantees that any lingering bees have moved on to other foraging zones.
Step 3: Mix the Solution with Water Conditioners
Clover is notoriously difficult to kill with hard water, as calcium and magnesium ions bind to the 2,4-D molecules, rendering them inert. Mix your spot-treatment solution in a 1-gallon pump sprayer using this exact recipe:
- 1 Gallon of soft or distilled water (or add 1 oz of Ammonium Sulfate (AMS) to condition hard tap water).
- 2.5 fl oz of Amine 2,4-D (or a 3-way broadleaf herbicide containing 2,4-D, Mecoprop, and Dicamba).
- 0.5 fl oz of Non-Ionic Surfactant (NIS) to break the surface tension on the clover leaves.
- 1/4 tsp of blue turf marker dye to track your spray pattern and avoid overlapping.
Step 4: Precision Application
Adjust your pump sprayer nozzle to a pin-stream or coarse droplet setting. Fine mists drift too easily. Spray the clover patches until the leaves are visibly wet, but not dripping. Apply between 6:00 AM and 8:00 AM when dew has dried but temperatures are still below 80°F, minimizing evaporation and maximizing leaf absorption.
Post-Treatment Cultural Controls
Herbicides only solve the immediate symptom. White clover is an indicator species for low soil nitrogen. Because clover is a legume, it hosts Rhizobium bacteria in its root nodules, allowing it to fix atmospheric nitrogen and thrive in poor soils where your turfgrass is starving.
Once the treated clover patches turn black and desiccate (usually within 14 to 21 days), rake out the dead debris. Immediately apply a fast-acting, high-nitrogen fertilizer to the bare spots. A product with a 30-0-0 NPK ratio, applied at a rate of 1 lb of nitrogen per 1,000 square feet, will force your surrounding bermudagrass, fescue, or Kentucky bluegrass to aggressively tiller and fill the void. A dense, heavily fertilized turf canopy shades the soil, preventing any surviving clover seeds from receiving the sunlight required to germinate.

