
Lawn Care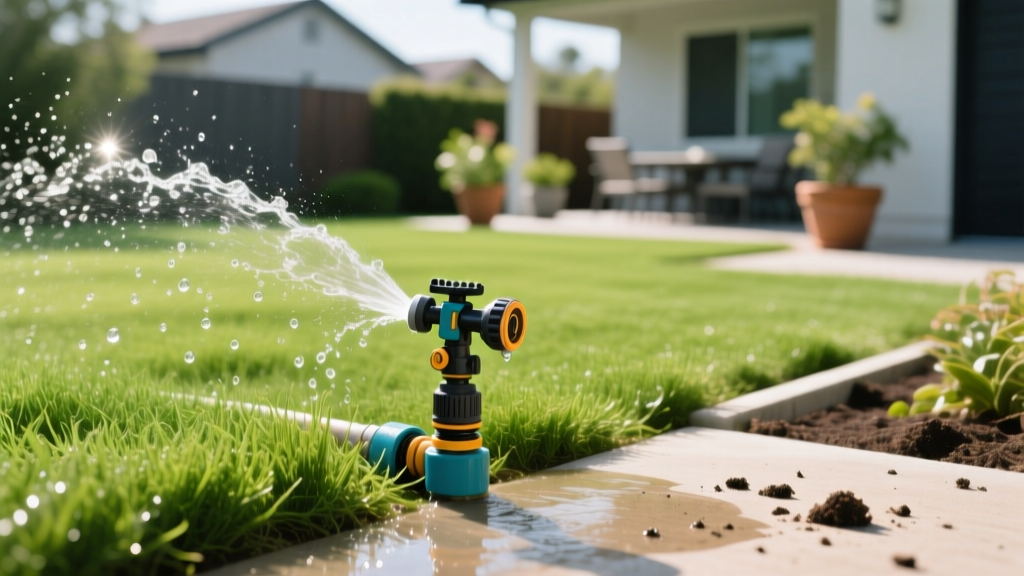
Sprinkler Leaking at the Head? 5 Causes and Fixes
A leaking irrigation system does more than create unsightly muddy patches in your yard; it silently inflates your water bill and compromises turf health through overwatering. According to the EPA WaterSense program, a single broken or misaligned sprinkler head can waste up to 25,000 gallons of water over a six-month irrigation season. Diagnosing the exact failure point is critical, as the repair protocol for a leaking sprinkler head differs vastly from a failing valve diaphragm or a fractured lateral line.
The Diagnostic Decision Tree: Where is the Leak?
Before grabbing a shovel, run your system through a manual station test and observe the leak behavior. Categorize the leak into one of three primary failure modes:
- Leak at the Head (Active): Water geysers from the nozzle, sprays sideways from a cracked casing, or pools heavily around the base while the zone is running.
- Leak at the Head (Passive/Low Head Drainage): Water slowly oozes from the lowest sprinkler head in the zone hours after the system shuts off.
- Lateral or Mainline Leak: A massive sinkhole or constant surface pooling occurs between heads, regardless of whether the zone is actively scheduled to run.
Sprinkler Leaking at the Head: The 3 Most Common Causes
Pop-up spray heads (like the Rain Bird 1800 Series) and rotary heads (like the Hunter PGJ or PGP) are the most vulnerable components in your system because they sit at the soil surface and endure lawnmower strikes, foot traffic, and UV degradation.
1. Debris in the Wiper Seal or Nozzle
If water is spraying sideways from the base of the pop-up riser rather than misting from the nozzle, grit or sand has likely bypassed the filter screen and lodged in the wiper seal. The wiper seal is the rubber gasket that hugs the riser as it retracts. When debris prevents the seal from seating flush against the riser, pressurized water escapes laterally. The Fix: Unscrew the nozzle and filter screen, flush the body with water, and wipe the riser clean. If the rubber seal is visibly scored, replace the entire seal kit (typically $2 to $4).
2. Cracked Riser or T-Connector
A lawnmower blade striking an extended pop-up head will often snap the internal plastic riser or crack the threaded T-connector at the base. If water is bubbling up from the soil immediately surrounding the head during operation, the subterranean connection has failed. The Fix: Excavate a 12-inch diameter circle around the head. Unscrew the broken head from the swing joint or flexible funny pipe. If the PVC T-connector is cracked, cut it out and install a slip-fix expansion coupling (e.g., Hydro-Rain 170-SLIP, approx. $12).
3. Stripped Threads or Missing Teflon Tape
If a sprinkler head was recently replaced and is leaking at the base connection, the installer likely failed to use thread seal tape. Standard white plumber's tape degrades under constant soil moisture and pressure fluctuations. The Fix: Remove the head and wrap the male threads with 3 to 4 layers of blue高密度 PTFE tape (designed specifically for PVC irrigation fittings) before re-threading.
Cost Reality Check: Replacing a standard 4-inch pop-up spray head costs between $4 and $8 for the part. However, if the leak has caused soil erosion requiring a swing joint replacement and funny pipe repair, your DIY material cost will rise to roughly $18 to $25 per head. Professional irrigation repair technicians typically charge a $75 to $125 service call fee plus $45 per head replaced.
Passive Leaks: Low Head Drainage vs. Valve Diaphragm Failure
One of the most misunderstood irrigation issues is the "phantom leak"—water slowly draining out of a sprinkler head long after the controller has shut the system off. Homeowners often assume the head is broken, but the culprit is usually gravity or a failing valve. The Colorado State University Extension notes that improper system winterization and valve degradation are leading causes of off-cycle water waste.
| Symptom | Low Head Drainage | Failing Valve Diaphragm |
|---|---|---|
| Location of Leak | Only the lowest elevation head in the zone. | Multiple heads in the zone, or all heads weep slightly. |
| Duration of Leak | Stops after 1 to 4 hours once pipes drain. | Continuous 24/7 weeping until the main water shutoff is closed. |
| Root Cause | Gravity pulling residual water down the lateral line. | Debris or a torn rubber diaphragm preventing the valve from sealing. |
| The Fix | Install heads with built-in check valves (e.g., Rain Bird 1800-SAM). | Rebuild the valve with a new diaphragm kit ($6 to $10) or replace the valve. |
Step-by-Step: Replacing a Broken Sprinkler Head and Swing Joint
When a sprinkler is leaking due to a shattered casing or broken riser, follow this precise excavation and replacement protocol to ensure a watertight seal and proper grade alignment.
- Locate the Main Shutoff: Turn off the irrigation water at the backflow preventer or the main ball valve to prevent flooding the trench once the pipe is exposed.
- Excavate a "Bucket" Hole: Using a trenching shovel, dig a 12-inch wide by 10-inch deep circle around the leaking head. Remove all loose soil so it does not fall into the open pipe during the repair.
- Extract the Old Assembly: Grip the base of the sprinkler body (not the riser) with channel-lock pliers and twist counter-clockwise. If it is attached to a rigid PVC riser, you may need to cut the pipe below the fitting using a PVC ratchet cutter.
- Install a Swing Joint: If the system previously used a rigid riser, upgrade to a 6-inch flexible swing joint. This allows the head to flex if struck by a tire or mower, preventing future lateral line fractures.
- Seal the Threads: Wrap the male threads of the swing joint with 3 layers of blue PTFE tape. Thread the new sprinkler body on by hand, then tighten a quarter-turn with pliers. Warning: Overtightening PVC fittings will cause micro-fractures that leak under pressure.
- Backfill and Tamp: Refill the hole with native soil, tamping it down firmly every 2 inches to prevent future settling. Ensure the top of the sprinkler head is exactly flush with the soil grade or turf canopy.
When to Abandon DIY and Call an Irrigation Professional
While replacing a $6 sprinkler head is a straightforward weekend task, certain leak scenarios require commercial-grade leak detection equipment and trenching machinery. Contact a licensed irrigation contractor if you observe any of the following:
- Mainline Breaks: If water is surfacing near your water meter or backflow preventer before the zone valves, you have a pressurized mainline leak. This requires immediate professional intervention to prevent foundation erosion.
- Unexplained Water Bill Spikes: If your municipal water bill increases by more than 30% without a change in landscaping or weather, you likely have a subterranean lateral line fracture that is not surfacing. Professionals use acoustic listening devices and pipe locators to find these leaks without destroying your lawn.
- Electrical Valve Shorts: If a leaking valve box has submerged the solenoid wires and your controller is now throwing an "ERR" or "Short" code, the wiring harness must be traced, spliced with waterproof direct-bury gel connectors, and tested with a multimeter.
Addressing a sprinkler leaking issue promptly preserves your turf's root structure and keeps your utility costs predictable. By correctly diagnosing whether the failure lies in the wiper seal, the valve diaphragm, or the lateral line, you can execute the exact repair needed without wasting time or money on unnecessary part replacements.

