
Lawn Care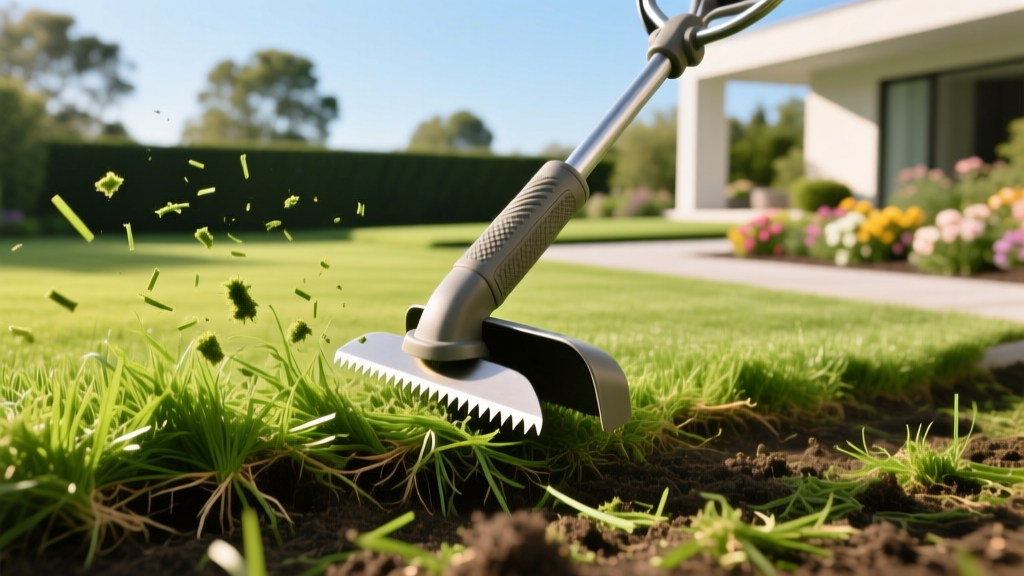
How to Use a Stand-Up Grass Remover Tool for Invasive Turf Eradication
The Biology of Creeping Turf and Why Standard Pulling Fails
Invasive lawn grasses like Bermudagrass (Cynodon dactylon) and Quackgrass (Elymus repens) do not grow in isolated clumps. They spread via complex underground networks of rhizomes and above-ground stolons. When you attempt to pull these grasses by hand or use a standard garden hoe, you inevitably snap the brittle rhizomes, leaving behind 2- to 4-inch fragments in the soil. According to the University of California Integrated Pest Management (UC IPM) program, a single Bermudagrass rhizome fragment containing one viable node can regenerate a fully established colony within 14 to 21 days under optimal moisture conditions.
A specialized stand-up grass remover tool solves this biomechanical problem. Unlike hoes or tillers that chop roots, a quality extractor tool utilizes a deep, serrated steel claw to encircle the root mass and apply vertical leverage, removing the entire rhizome network intact. This step-by-step protocol details how to execute this extraction efficiently while minimizing soil disruption.
⚠️ The Rhizome Rule: Never use a rototiller or mechanical edger to clear invasive grass from garden beds. These tools act as vegetative propagators, chopping rhizomes into dozens of viable pieces and guaranteeing a denser infestation the following spring.
Tool Selection Matrix: Matching the Extractor to Your Soil Profile
Not all extraction tools perform equally across different soil textures. Heavy clay requires a different blade geometry than loose, sandy loam. Below is a comparison of the top-performing models currently on the market, evaluated on blade depth, leverage mechanics, and optimal soil conditions.
| Tool Model | Blade Depth & Design | Handle Length | Best Soil Type | Est. Price (2026) |
|---|---|---|---|---|
| Fiskars 7991 Stand-Up Weeder | 10-inch dual serrated claws | 39 inches | Loam, Sandy Loam | $38 - $42 |
| Radius Garden 102 Ergonomic | 10-inch single V-blade | 36 inches | Compacted Clay | $28 - $32 |
| Grampa's Weeder | 12-inch four-prong claw | 41 inches | Rocky, Mixed Soils | $45 - $50 |
For homeowners dealing with heavy clay soils where Quackgrass thrives, the Radius Garden 102 provides superior penetration due to its concentrated V-blade design, which concentrates downward force onto a smaller surface area. For standard suburban loam invaded by Bermudagrass, the Fiskars 7991 offers the best balance of root-gripping surface area and ejection mechanics.
Step-by-Step Extraction Protocol
Successful extraction relies heavily on soil moisture and proper leverage angles. Follow this precise sequence to ensure complete rhizome removal.
Step 1: Soil Hydration Preparation
Dry soil creates excessive friction against steel blades, causing rhizomes to snap rather than slide out. You must achieve a volumetric water content (VWC) of roughly 20% to 30%. Apply exactly 0.5 inches of irrigation to the target area 12 to 18 hours before extraction. This allows water to percolate through the top 6 inches of the soil profile without creating surface mud, which compromises the tool's footrest traction.
Step 2: Tool Positioning and Engagement
Center the extractor claws directly over the crown of the grass clump. Tilt the handle forward at a 15-degree angle away from you. Step firmly onto the tool's footrest, driving the blades to their full 10-inch depth. If you hit resistance before the blades are fully submerged, withdraw the tool, rotate it 90 degrees, and re-engage to bypass subsurface stones.
Step 3: Leverage Mechanics and Extraction
Once fully seated, pull the handle backward toward your body at a 45-degree angle. Do not pull straight up. The backward pivot engages the tool's fulcrum point against the soil surface, multiplying your lifting force by a factor of three. As the root mass surfaces, inspect the extracted rhizomes. You are looking for clean, unbroken white or yellow root tips. If the roots appear sheared or broken halfway down, the soil is too dry, or you pulled at too steep an angle.
Step 4: Ejection and Disposal
Push the handle forward past the vertical center of gravity to trigger the ejection plate (on models like the Fiskars) or manually clear the V-blade. Deposit the extracted turf directly into a heavy-duty contractor bag. Never compost invasive rhizomes; most residential compost piles fail to reach the sustained 140°F (60°C) required to kill Bermudagrass nodes, as noted by University of Minnesota Extension turfgrass specialists.
Troubleshooting Common Extraction Failures
Even with perfect technique, edge cases occur. Here is how to handle the most frequent field failures:
- Snapped Rhizomes in Clay: If the root breaks, immediately switch to a 12-inch stainless steel Hori-Hori knife. Insert the knife vertically alongside the broken root fragment and lever it out surgically. Do not leave fragments larger than 1 inch in the soil.
- Tool Footrest Slippage: If your foot slips off the pedal during the downward thrust, the soil surface is too wet. Wait 24 hours for the top 1 inch of soil to dry and form a crust, which provides necessary traction for the footrest.
- Dense Mat Interlocking: In areas where stolons have formed a thick, woven mat above the soil, use a sharp spade to score a 12-inch grid into the mat before using the grass remover tool. This prevents the tool from dragging the entire lawn mat upward.
Post-Exclusion Barrier Installation
Extracting the grass is only half the procedure; preventing reinvasion is the second. Once the bed is cleared, install a physical rhizome barrier. Standard plastic lawn edging is insufficient against aggressive grasses.
Barrier Specification: Use 80-mil High-Density Polyethylene (HDPE) landscape edging. Trench the perimeter to a depth of 8 inches, seat the HDPE barrier, and backfill tightly. Ensure 2 inches of the barrier remains above grade to block above-ground stolons from crawling over the top.
Frequently Asked Questions
Can a grass remover tool extract deep-rooted tapweed like Dandelion?
Yes, but with limitations. While a grass remover tool is engineered for fibrous and rhizomatous root systems, the V-blade models (like the Radius Garden 102) can successfully extract dandelion taproots provided the soil is adequately hydrated and the taproot does not exceed 10 inches in depth. For deeper taproots, a dedicated soil knife is more effective.
How do I maintain the tool's extraction mechanism?
After every use, hose off the soil from the ejection plate and pivot points. Once a month, apply a dry PTFE (Teflon) lubricant spray to the moving steel joints and the interior of the claw sleeves. Avoid wet oils like WD-40, as they attract fine soil particles that form an abrasive paste, accelerating wear on the internal springs.
Is it safe to use these tools on newly laid sod?
No. Using a deep-penetrating extractor on sod that has not fully established its root zone (typically the first 6 to 8 weeks) will severely disrupt the shallow knit layer, causing the surrounding sod to lift and dry out. Wait until the sod is fully anchored before performing targeted extraction maintenance.

