
Lawn Care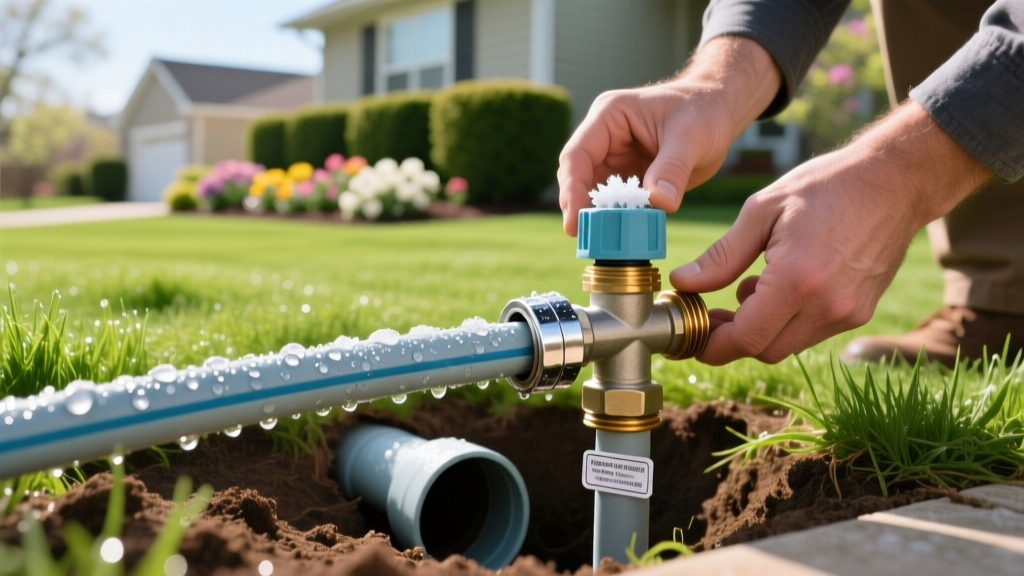
Starting Sprinkler System After Winter: Spring Activation Guide
The Soil Temperature Rule: When to Actually Turn It On
The most common mistake homeowners make when starting a sprinkler system in spring is relying on air temperature rather than soil temperature. A string of 65°F sunny days in March might tempt you to fire up the irrigation, but if the ground is still frozen or hovering just above freezing, you are setting your lawn up for failure. Water applied to frozen or semi-frozen soil cannot penetrate the root zone; it simply pools, runs off into storm drains, or refreezes at night, causing crown hydration damage to cool-season grasses like Kentucky Bluegrass and Tall Fescue.
The 40°F Threshold: Grass roots remain dormant and cannot effectively absorb moisture until the soil temperature at a 4-inch depth consistently reaches 40°F. Use a digital soil probe thermometer to verify this before activation.
According to the University of Minnesota Extension, premature watering not only wastes municipal water but also encourages shallow root growth and early-season fungal diseases like snow mold. In most northern and transitional zones, this 40°F soil threshold is typically met between mid-April and early May. In southern zones with warm-season grasses (Bermuda, Zoysia), you can generally begin irrigation when the grass breaks dormancy and shows 50% green-up, which often aligns with late March or early April.
Pre-Activation Inspection Checklist
Before introducing water back into the pipes, you must physically inspect the above-ground components. Winter freeze-thaw cycles and improper winterization (blowouts) can leave hidden damage that will flood your yard the moment pressure is restored.
1. Inspect the Backflow Preventer
Whether you have a Pressure Vacuum Breaker (PVB) or a Reduced Pressure Zone (RPZ) assembly, examine the brass casting closely. Look for hairline cracks, particularly around the test cocks and the bonnet. If water expanded inside the casing during winter, the brass will split. A cracked PVB costs between $120 and $180 to replace, plus labor. Ensure the test cocks (the small screw-valves on the side) are turned to the closed position (a 45-degree angle to the pipe) before turning on the main water supply.
2. Check Valve Boxes and Sprinkler Heads
Open all underground valve boxes. If they are filled with water or mud, clear them out to ensure the solenoid wiring isn't submerged, which causes short circuits. Walk the lawn and manually pop up a few spray heads and rotors in each zone. Check for sunken heads that have dropped below the soil line due to winter frost heave; these will need to be raised on flexible swing joints to ensure proper head-to-head coverage.
Step-by-Step: Starting Sprinkler System Safely
Rushing the pressurization process is the leading cause of catastrophic pipe failure in residential irrigation. You must use the 'slow fill' method to prevent water hammer.
WARNING: The Danger of Water Hammer
If you open the main shut-off valve too quickly, water rushes into empty PVC pipes at 50 to 80 PSI. When this high-velocity water hits the closed ends of the lateral lines, it creates a hydraulic shockwave (water hammer) that can instantly shatter Schedule 40 PVC glued joints underground, requiring expensive excavation to repair.
If you open the main shut-off valve too quickly, water rushes into empty PVC pipes at 50 to 80 PSI. When this high-velocity water hits the closed ends of the lateral lines, it creates a hydraulic shockwave (water hammer) that can instantly shatter Schedule 40 PVC glued joints underground, requiring expensive excavation to repair.
- Locate the Main Shut-Off Valve: This is usually found in the basement, crawlspace, or a dedicated outdoor valve box before the backflow preventer.
- Open the Manual Bleed Valve: On your first underground zone valve, turn the manual bleed screw counter-clockwise one full turn. This gives the incoming water a place to escape, relieving pressure buildup.
- The Quarter-Turn Method: Turn the main shut-off valve handle just one-quarter of the way open. You will hear a hissing sound as water slowly trickles into the system.
- Wait for the Hiss to Stop: It may take 2 to 5 minutes for the pipes to fill completely. Once the hissing stops, the system is fully pressurized and equalized.
- Open Fully: Turn the main valve the rest of the way open. Close the manual bleed screw on the zone valve.
- Open the Backflow Valves: Slowly open the inlet valve on the backflow preventer, followed by the outlet valve.
Controller Programming and Smart Upgrades
Do not simply resume your mid-summer watering schedule in the spring. Early spring requires significantly less water due to lower evapotranspiration (ET) rates. If you are still using a traditional dial-based timer, you are likely overwatering. Upgrading to a smart, weather-based controller is one of the highest ROI improvements you can make for your landscape.
| Controller Type | Model Example | Approx. Cost (2026) | Key Features & Water Savings |
|---|---|---|---|
| Traditional Timer | Hunter X-Core | $110 - $140 | Fixed schedule. Requires manual seasonal adjust. No weather integration. |
| Smart Wi-Fi (Basic) | Wyze Sprinkler | $130 - $150 | Weather-based skips, app control. Good for simple zones, lacks advanced flow sensors. |
| Smart Wi-Fi (Pro) | Rachio 3 (8-Zone) | $229 - $249 | Hyper-local weather intelligence, soil type customization, EPA WaterSense certified. Integrates with Matter/Thread smart home ecosystems. |
| Smart Wi-Fi (Pro) | Hydrawise Pro-HC | $280 - $320 | Advanced flow meter integration to detect broken pipes. Ideal for complex landscapes with master valves. |
According to the EPA WaterSense program, upgrading to a WaterSense-labeled smart irrigation controller can save the average home nearly 7,600 gallons of water annually. When programming your new controller for spring, set the 'Seasonal Adjust' or 'Budget' feature to 50% or 60% of your peak summer baseline.
Zone-by-Zone Audit and Adjustment
Once the system is pressurized, run each zone manually for 3 minutes. This is not just to check if they work; it is a critical audit of your distribution uniformity.
- Check for Geysers: A geyser (water shooting straight up from a broken nozzle) indicates a missing or damaged spray tip. Replace it immediately to prevent massive water waste.
- Verify Head-to-Head Coverage: Spray from one head should physically hit the adjacent head. If it falls short, the nozzle is clogged or the filter screen inside the head is blocked by debris that entered the pipes during winter.
- Adjust Arc and Radius: Use a small flathead screwdriver to adjust the radius screw on rotors. Ensure water is not hitting the side of your house, fences, or the street, which violates local watering ordinances and wastes resources.
Troubleshooting Common Spring Startup Issues
Even with careful preparation, you may encounter operational hiccups. Use this diagnostic matrix to identify and resolve issues quickly.
Symptom: A Single Zone Will Not Turn On
Cause: Usually a faulty solenoid or a severed wire.
Fix: First, turn the manual bleed screw on the valve. If the zone turns on manually, the mechanical valve is fine, and the issue is electrical. Use a multimeter to check the voltage at the controller terminals (should be 24-28V AC). If voltage is present at the controller but not at the valve, you have a wire break. If voltage reaches the valve, replace the solenoid (typically a $15 part).
Symptom: Zone Turns On, But Pressure is Extremely Low
Cause: A leak in the lateral line, or the valve diaphragm is torn and not opening fully.
Fix: Check the valve box for standing water. If the box is dry, walk the zone while it's running and look for unusually soggy patches of soil, indicating a cracked PVC pipe. If no leak is found, open the valve bonnet, remove the diaphragm, and check for debris or tears. A replacement diaphragm kit costs about $10.
Symptom: Sprinkler Heads Mist Instead of Spraying
Cause: Water pressure is too high (exceeding 45 PSI for spray heads). This creates wind drift and poor coverage.
Fix: Install pressure-regulating spray heads (like the Rain Bird PRS series) or adjust the pressure regulator at the main valve if your system has one. High pressure wastes up to 30% more water due to atomization.
Frequently Asked Questions
Should I water my lawn immediately after starting the system?
No. The activation process is purely mechanical. Only begin your actual watering schedule when the soil temperature reaches 40°F and the grass shows active growth. Running the system just to 'test it' for 3 minutes per zone is sufficient for the startup audit.
How deep should I water in the early spring?
Spring watering should be light and infrequent. Aim for about 1/2 inch of water per week, including rainfall. Deep, infrequent watering (1 to 1.5 inches) is reserved for the heat of summer to encourage deep root drought resistance. For more detailed seasonal metrics, consult the University of Minnesota Turfgrass Science guidelines.
Do I need to hire a professional for spring startup?
If you are comfortable using basic hand tools, a multimeter, and a soil thermometer, DIY startup is entirely feasible and saves $100 to $150 per visit. However, if your system requires backflow preventer testing (which is legally mandated in some municipalities to protect the municipal water supply), you must hire a certified irrigation technician, as this requires specialized gauge equipment and a state-issued license.

