
Lawn Care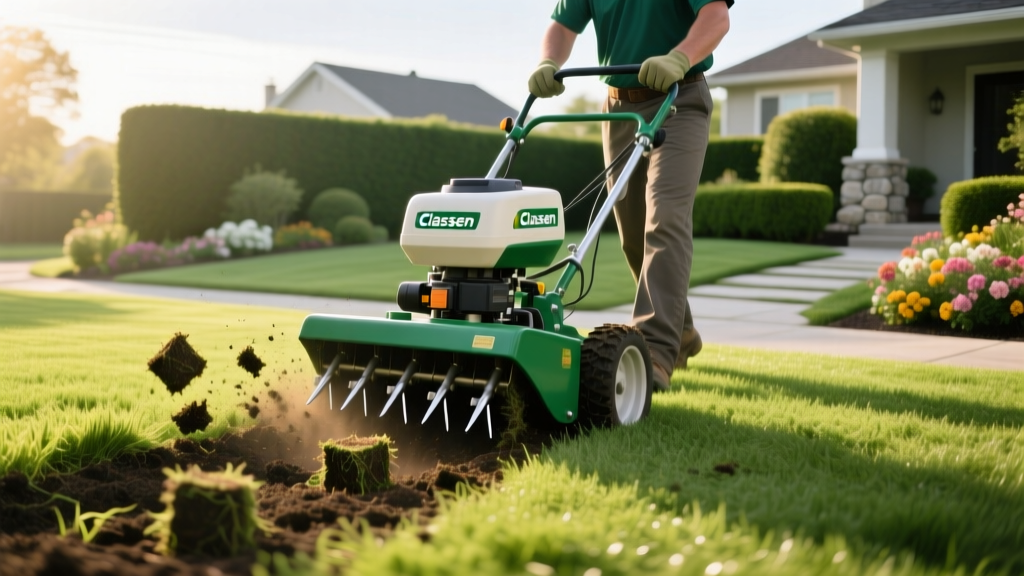
Step-by-Step Guide to Lawn Aeration Using a Classen Aerator
Pre-Aeration Checklist and Soil Moisture Testing
Core aeration is the most effective mechanical intervention for alleviating soil compaction, reducing thatch buildup, and improving gas exchange in the root zone. When executing a professional-grade lawn renovation, the Classen aerator lineup remains the industry benchmark due to its aggressive coring action and durable cam-driven tine assemblies. However, operating a 250-pound walk-behind aerator requires precise timing and technique to avoid turf tearing and mechanical strain.
Before renting or deploying your equipment, you must verify soil moisture levels. Aeration in overly dry soil results in shallow, fractured cores that fail to penetrate the compaction layer. Conversely, aerating saturated clay soils destroys soil structure and causes severe tine clogging.
The Screwdriver Moisture Test: Push a standard 6-inch flathead screwdriver into the turf. If it penetrates to the handle with moderate resistance, the soil is optimally moist for coring. If it stops at 1-2 inches, irrigate the lawn with 0.5 inches of water 24 hours prior to aeration. If it slides in with zero resistance and the soil feels muddy, delay the procedure by 48 hours.
Choosing the Right Classen Aerator Model
Selecting the correct machine is critical for efficiency and turf health. Classen offers three primary walk-behind models frequently found in rental fleets and professional landscaping arsenals. Understanding the drivetrain differences will dictate your operating strategy.
| Model | Drivetrain | Weight / Tines | 2026 Rental Rate (4hr) | Best Application |
|---|---|---|---|---|
| CA-118 | Mechanical (Belt/Chain) | 235 lbs / 12 Tines | $85 - $105 | Flat, open lawns with minimal obstacles |
| CA-18H | Hydrostatic | 245 lbs / 12 Tines | $110 - $135 | Sloped yards, tight turns, complex landscapes |
| CA-218H | Hydrostatic | 285 lbs / 14 Tines | $125 - $155 | Large commercial properties, severe compaction |
According to turfgrass researchers at the University of Minnesota Extension, achieving optimal soil relief requires extracting cores that are 2 to 3 inches deep and spaced no more than 2 to 3 inches apart. Because a single pass of a Classen machine leaves cores spaced roughly 4 to 5 inches apart, overlapping passes are mandatory.
Step-by-Step Operating Procedure
Operating a walk-behind aerator is physically demanding. The machine's weight is necessary to force the hollow tines into the soil, but it requires specific handling techniques to prevent damage to the turf crown and the machine's gearbox.
Step 1: Transport and Positioning
Never drag a Classen aerator across concrete or paved surfaces with the tines engaged. Use the transport lever (located near the handlebar) to lift the tine assembly. When loading onto a truck or trailer, use steel ramps rated for at least 500 lbs and maintain a ramp angle of less than 20 degrees to prevent the machine's low-clearance chassis from bottoming out.
Step 2: Engaging the Coring Tines
Position the machine at the starting edge of your lawn. Lower the tine assembly completely. For the CA-118 mechanical model, engage the drive lever slowly. The tines will begin rotating and biting into the soil. Allow the machine to pull you forward; do not push down on the handlebars, as this lifts the front of the tine deck and reduces core depth.
Step 3: The Aeration Pattern and Turning
Walk in straight, parallel lines, overlapping your previous pass by 50% (roughly one wheel width). The turning procedure is where most operator errors and turf damage occur.
CRITICAL WARNING - Turning Techniques:
Mechanical Models (CA-118): You MUST lift the tines out of the ground before turning. Turning while the tines are engaged will tear massive chunks of turf from the root zone and can snap the drive chain.
Hydrostatic Models (CA-18H / CA-218H): These feature infinite speed control and reverse. You can perform a slow, tight turn while the tines remain in the ground, but you must feather the hydrostatic lever to avoid aggressive pivoting that scars the lawn.
Mechanical Models (CA-118): You MUST lift the tines out of the ground before turning. Turning while the tines are engaged will tear massive chunks of turf from the root zone and can snap the drive chain.
Hydrostatic Models (CA-18H / CA-218H): These feature infinite speed control and reverse. You can perform a slow, tight turn while the tines remain in the ground, but you must feather the hydrostatic lever to avoid aggressive pivoting that scars the lawn.
Step 4: Managing Tine Clogging
In heavy clay soils, the hollow tines will inevitably clog with compacted mud, rendering them useless. If you notice the machine is no longer pulling out soil plugs, stop immediately. Use a wire brush or a specialized tine-cleaning tool to clear the cores. Never use your fingers, as the sharp edges of the heat-treated steel tines can cause severe lacerations.
Post-Aeration Recovery and Overseeding Integration
The holes left by the Classen aerator are temporary micro-environments perfect for seed-to-soil contact. To maximize the return on your aeration effort, execute the following protocol within 24 hours of coring:
- Leave the Cores: Do not rake or collect the soil plugs. Allow them to break down naturally over the next 2-3 weeks via mowing and rainfall. They deposit beneficial soil microbes back onto the thatch layer, accelerating decomposition.
- Overseed Immediately: Apply your chosen turfgrass seed (e.g., Turf-Type Tall Fescue or Kentucky Bluegrass) directly over the open holes at a rate of 3-5 lbs per 1,000 sq ft.
- Starter Fertilizer: Apply a high-phosphorus starter fertilizer (such as a 10-18-10 NPK ratio) to fuel initial root development in the newly exposed soil channels.
- Hydration Protocol: Water the lawn lightly 2-3 times daily for the first 14 days to keep the top inch of soil consistently moist, ensuring seed germination within the aeration holes.
"The synergy between mechanical core aeration and immediate overseeding is the single most effective cultural practice for renovating thinning, compacted lawns without resorting to complete tilling and reseeding."
Troubleshooting Common Classen Operator Mistakes
Even experienced landscapers encounter issues when pushing heavy aeration equipment to its limits. Use this diagnostic framework to correct performance issues on the fly.
- Issue: Shallow, crumbling cores (less than 1 inch deep).
Cause: Soil is too dry, or the machine's weight distribution is off.
Fix: Irrigate the area and wait 24 hours. Ensure you are not leaning back on the handlebars, which lifts the tine deck. - Issue: Machine stalls or bogs down in thick turf.
Cause: Thatch layer exceeds 0.75 inches, preventing tines from reaching the soil.
Fix: Perform a heavy dethatching (power raking) pass before aerating, or reduce your walking pace to allow the cam-driven tines time to penetrate the mat. - Issue: Severe turf tearing at the end of passes.
Cause: Failing to disengage or lift the tines during turns on mechanical models.
Fix: Adopt the "lift, turn, drop, engage" rhythm. Never force the handlebars sideways while the drive belt is engaged.
By adhering to these precise operational parameters and respecting the mechanical limits of the equipment, you will transform a compacted, poorly draining lawn into a deeply rooted, resilient turf system capable of withstanding severe summer stress.

