
Lawn Care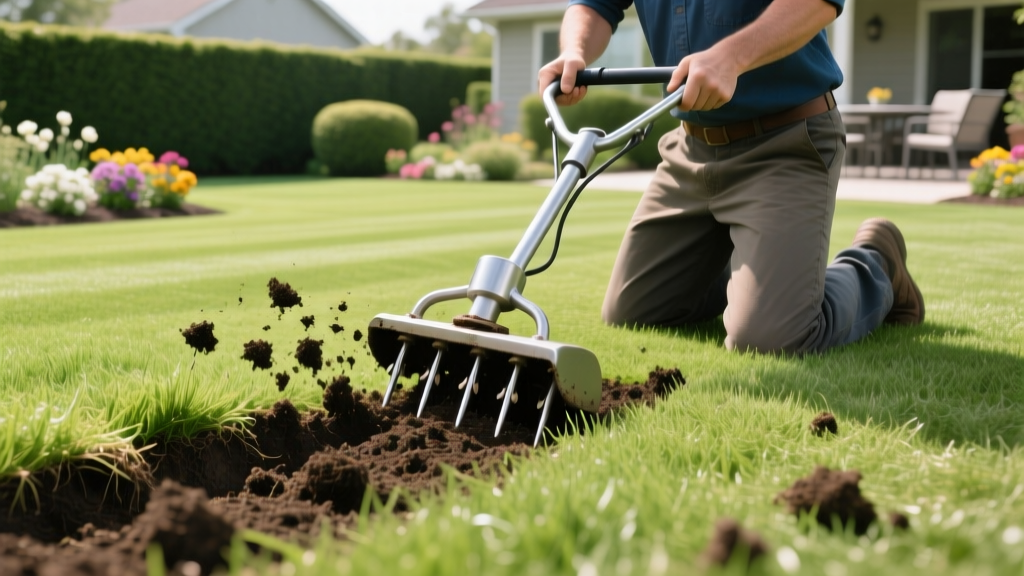
Step-by-Step Core Aeration Guide: Revitalize Compacted Soil
The Mechanics of Soil Compaction and Core Aeration
Soil compaction is the silent killer of turfgrass vitality. When soil particles are compressed—typically by foot traffic, heavy mowing equipment, or natural settling—the pore space required for oxygen, water, and nutrient exchange is eliminated. Roots suffocate, thatch accumulates rapidly because soil microbes lack the oxygen needed to decompose organic matter, and fertilizer runoff increases. According to Penn State Extension, core aeration is the most effective mechanical intervention to physically relieve this compaction by extracting cylindrical plugs of soil, thereby creating permanent channels for air and water to reach the root zone.
Unlike spike aeration, which merely pushes soil outward and can actually worsen compaction in heavy clay soils, core aeration removes physical mass from the ground. This guide details the exact step-by-step procedures, equipment specifications, and agronomic timing required to execute a professional-grade aeration on your lawn.
Aerator Selection Matrix: Core vs. Spike vs. Liquid
Before renting equipment, it is critical to select the correct aeration method for your specific soil profile. The table below outlines the mechanical differences and optimal use cases for each approach.
| Aeration Type | Mechanism of Action | Best Use Case | Estimated Cost (2026) | Efficacy Rating |
|---|---|---|---|---|
| Core (Plug) | Extracts 3-4 inch soil cylinders using hollow tines. | Heavy clay, severe compaction, pre-overseeding. | $95 - $140 / day (rental) | High |
| Spike | Punctures soil with solid metal spikes or forks. | Sandy soils, mild compaction, routine maintenance. | $20 - $40 (manual tool) | Low-Medium |
| Liquid | Applies surfactants to reduce soil surface tension. | Minor hydrophobic soils, between mechanical aerations. | $35 - $60 (per bottle) | Low |
For homeowners dealing with compacted suburban soils or preparing for a fall overseeding, mechanical core aeration is the undisputed standard. Liquid aerators are best reserved as supplementary treatments, not replacements for mechanical intervention.
Pre-Aeration Preparation Protocol
Proper preparation dictates the success of the aeration process. Skipping these steps will result in shallow plug extraction or severe damage to rental equipment.
⚠️ CRITICAL WARNING: Utility Line Marking
Before any tines penetrate the soil, you must contact your local utility locating service. In the US and Canada, dial Call 811 at least three business days prior to your aeration date. Hitting a shallow irrigation line, fiber optic cable, or gas line with a 300 lb aerator will result in catastrophic damage and severe liability.
1. Soil Moisture Calibration (The Screwdriver Test)
Core aerators require precise soil moisture to function. If the soil is too dry, the tines will bounce off the surface, failing to extract plugs and potentially shearing the machine's drive pins. If the soil is too wet, the extracted mud will smear the sidewalls of the hole, effectively sealing the pore space you are trying to open.
- The Test: Push a standard 6-inch flathead screwdriver into the lawn. It should slide in with moderate resistance and come out with soil clinging to the shaft, but not dripping wet mud.
- The Fix: If the soil is hard, apply exactly 1 inch of water via your irrigation system 48 hours before aeration. If the soil is saturated, delay the procedure by 3 to 4 days.
2. Mowing and Debris Clearance
Mow the lawn to a height of 1.5 to 2.0 inches, which is significantly lower than the standard 3.5-inch summer maintenance height. This ensures the aerator tines can penetrate deeply without being deflected by thick thatch or tall grass blades. Rake the lawn thoroughly to remove fallen leaves, twigs, and large stones that could bend the hollow tines.
Step-by-Step Execution Procedure
Step 1: Machine Selection and Inspection
Reserve a walk-behind core aerator from a local equipment rental yard. Industry-standard models include the Billy Goat PL1800H or the Ryan Lawnaire IV. Expect to pay between $95 and $140 for a 4-hour rental block. Upon pickup, inspect the tines. Ensure they are the "scoop" or "spoon" style rather than simple hollow tubes, as spoon tines eject soil plugs much more reliably in heavy clay. Check the shear pins on the tine bar; if they look rusted or worn, ask the rental technician to replace them before you leave the lot.
Step 2: The Perimeter and Criss-Cross Pattern
Operating a core aerator requires physical strength, as these machines weigh between 250 and 350 pounds. Follow this specific driving pattern to ensure uniform coverage:
- Perimeter Pass: Make one complete pass around the outer edge of the lawn. This creates a turning buffer zone so you do not have to execute sharp, turf-tearing turns near flower beds or fences.
- First Linear Pass: Drive straight lines back and forth across the longest axis of the lawn. Overlap each pass by roughly 20% (about one wheel width).
- Second Perpendicular Pass: Turn 90 degrees and repeat the process. This criss-cross pattern guarantees that high-traffic areas (like the path from the driveway to the front door) receive double aeration, yielding the recommended density of 20 to 40 holes per square foot.
Step 3: Depth and Spacing Verification
Stop after the first 50 square feet and inspect the results. According to University of Minnesota Extension, the target plug length is 3 to 4 inches. If the plugs are only 1 inch long, your soil is too dry, or the machine's weight distribution needs adjustment (some models allow you to add water to a front ballast tank to increase downward pressure). The holes should be spaced no more than 2 to 3 inches apart.
Troubleshooting Edge Cases and Machine Maintenance
Even with perfect preparation, field conditions can cause operational issues. Use this decision framework to troubleshoot common aeration problems:
- Problem: Tines clogging with heavy clay. Solution: Clay soils naturally stick to the inside of hollow tines, preventing plug ejection. Keep a 5-gallon bucket of water mixed with two squirts of dish soap nearby. Every 10 minutes, lift the tine bar and use a stiff-bristled brush to clear the clay buildup. Alternatively, switch from coring tines to spoon tines if the rental yard has them in stock.
- Problem: Machine pulling violently to one side. Solution: This indicates one side of the tine bar is encountering more resistance, often due to a buried rock or a partially clogged tine on that side. Disengage the drive lever immediately, shut off the engine, and clear the obstruction. Forcing the machine will snap the drive chain.
- Problem: Shallow extraction on slopes. Solution: Gravity pulls the machine's center of mass backward on inclines. When aerating slopes, always drive horizontally across the grade rather than vertically up and down. This maintains even weight distribution on the tine bar and prevents dangerous roll-overs.
Post-Aeration Recovery and Overseeding Integration
The work is not finished when the machine is returned. The 48 hours immediately following aeration represent the most critical window for turfgrass recovery and seed-to-soil contact.
Leave the Plugs on the Lawn
Do not rake or collect the extracted soil plugs. As they dry over the next two to three weeks, rain and mowing will break them apart, redistributing beneficial soil microbes back into the thatch layer to accelerate decomposition. Removing the plugs strips the lawn of valuable topsoil and microorganisms.
Immediate Overseeding and Fertilization
If you are overseeding (which is highly recommended for cool-season grasses like Tall Fescue and Kentucky Bluegrass in early fall), broadcast your seed immediately after aeration. The open holes provide perfect, protected micro-environments for seed germination, shielding the seed from birds and wind. Follow the seed application with a starter fertilizer high in phosphorus (e.g., an 18-24-12 N-P-K ratio) to stimulate rapid root development in the newly exposed soil channels.
Post-Procedure Watering Schedule
For the first 14 days post-aeration, the soil profile will lose moisture faster due to the newly created air channels. Transition from deep, infrequent watering to lighter, more frequent watering. Apply 0.25 inches of water daily to keep the top two inches of soil consistently moist, ensuring both the existing turf and any newly dropped seed do not experience drought stress during the healing process.

