
Lawn Care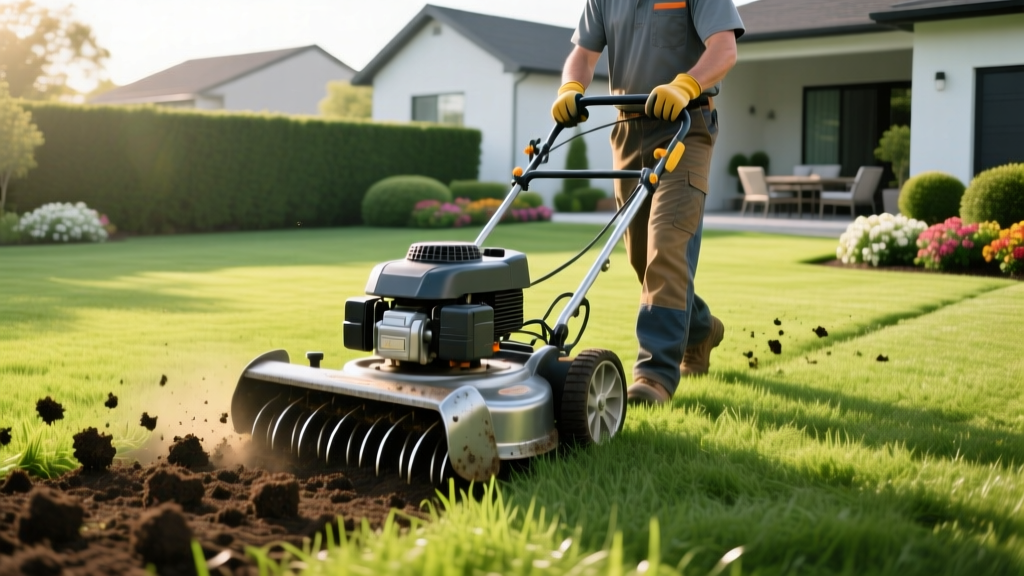
Step-by-Step Guide to Using a Lawn Aerator Power Machine
Understanding Lawn Aerator Power and Equipment Selection
Soil compaction restricts root expansion, limits water infiltration, and starves turfgrass of oxygen. While manual aeration tools exist, a true lawn aerator power machine utilizes mechanical weight and rotational force to extract 2-to-3-inch soil cores, physically relieving compaction. Selecting the correct equipment class depends on your lawn size, terrain, and budget.
| Equipment Type | Popular Models (2026) | Weight / Tine Specs | Cost / Rental Rate | Best Application |
|---|---|---|---|---|
| Walk-Behind Core Aerator | Billy Goat PL1800V, Ryan Ren-O-Thin | 250–350 lbs / 5/8" hollow tines | Buy: $4,500+ | Rent: $85–$145/day | Residential lawns (2,000–10,000 sq ft) |
| Tow-Behind Aerator | Agri-Fab 45-0544, Brinly PA-40BH | 60–80 lbs (plus added weight) / 3" spoons | Buy: $150–$250 | Large, flat properties with existing ATV/tractor |
| Stand-On Aerator | Ryan Lawnaire V, Classen PS-20 | 450–600 lbs / 3/4" heavy-duty tines | Buy: $6,500–$9,000 | Commercial landscaping, severe clay soils |
For most homeowners, renting a walk-behind unit from a local equipment yard is the most cost-effective route. When evaluating a rental lawn aerator power unit, inspect the tines for dull edges or caked-on dried clay, which will severely reduce penetration depth.
Phase 1: Pre-Aeration Preparation Protocol
Proper preparation dictates the success of the aeration process. Hard, dry soil will cause the machine to bounce, while overly saturated soil will cause the tines to clog and tear the turf rather than extracting clean cores.
⚠️ CRITICAL SAFETY STEP: Before any mechanical ground penetration, call 811 or visit call811.com to have underground utility lines marked. Hitting a buried gas or fiber-optic line with an aerator tine can result in severe injury and massive financial liability.
Moisture Calibration
Water your lawn with 0.5 to 0.75 inches of water exactly 48 hours before aeration. According to University of Minnesota Extension, the soil should be moist but not muddy. Test the moisture level by driving a 6-inch flathead screwdriver into the soil; if it penetrates to the handle with moderate pressure, the moisture level is optimal.
Mowing and Marking
- Mowing: Lower your mower deck to 1.5 inches. Short grass allows the extracted soil cores to fall directly onto the soil surface rather than getting tangled in long grass blades, which accelerates their breakdown.
- Marking: Use bright survey flags to mark shallow sprinkler heads, valve boxes, and invisible dog fence wires. Even with utilities marked, private irrigation lines are not tracked by 811 services.
Phase 2: Executing the Power Aeration Pattern
Operating a lawn aerator power machine requires physical control, as the rotating tines pull the machine forward aggressively. Always engage the tines only when moving forward, and disengage them before turning to prevent tearing the turf canopy.
The Crisscross Grid Technique
For standard annual maintenance, a single pass over the lawn is sufficient. However, for lawns suffering from heavy foot traffic or severe clay compaction, use the crisscross grid technique:
- First Pass (Perimeter): Run the aerator around the outer edge of the lawn to create a turning buffer zone.
- Second Pass (Linear): Make straight, overlapping passes across the longest dimension of the yard. Overlap each pass by 2 to 3 inches to ensure no strips of compacted soil are missed.
- Third Pass (Perpendicular): Run a second set of passes perpendicular to your first set. This doubles the aeration density, achieving the ideal 20 to 40 holes per square foot recommended by Penn State Extension.
Handling Slopes and Tight Turns
When aerating an incline, always drive straight up and down the slope, never horizontally across it. Walk-behind aerators are heavily top-weighted; traversing a slope sideways creates a severe rollover hazard. For tight corners near garden beds, disengage the tines, push the machine manually into position, and re-engage.
Phase 3: Post-Aeration Recovery and Overseeding
The 48 hours immediately following power aeration represent the most critical window for lawn renovation. The open soil channels provide direct access to the root zone for water, seed, and nutrients.
Pro Tip: Core Management
Do not rake up or remove the extracted soil plugs. They contain beneficial soil microorganisms and will naturally break down over 2 to 3 weeks, redistributing topsoil across the thatch layer and aiding in thatch decomposition.
Do not rake up or remove the extracted soil plugs. They contain beneficial soil microorganisms and will naturally break down over 2 to 3 weeks, redistributing topsoil across the thatch layer and aiding in thatch decomposition.
The Post-Aeration Timeline
- Day 1 (Immediate): Apply a high-phosphorus starter fertilizer (e.g., an 18-24-12 NPK ratio). The granules will fall directly into the aeration holes, reaching the root zone without being locked up by surface thatch.
- Day 1 or 2: Broadcast overseed with your chosen grass species (e.g., Turf-Type Tall Fescue for cool-season lawns). Seed-to-soil contact is maximized by the open aeration channels.
- Day 3 to 14: Water lightly 2 to 3 times daily for 10 minutes per zone. The goal is to keep the top inch of soil consistently moist to trigger seed germination without washing soil into and clogging the aeration holes.
- Day 21: Resume standard, deep-and-infrequent watering cycles once the new grass reaches 2 inches in height.
Troubleshooting Common Power Aerator Failures
Even with proper preparation, mechanical and environmental variables can disrupt the aeration process. Use this diagnostic guide to adjust your approach on the fly.
Tines Clogging with Mud
Cause: Soil moisture exceeds field capacity. The clay is adhering to the inside of the hollow spoons, preventing new cores from entering.
Fix: Stop immediately. Park the machine on a hard surface and use a wire brush or a wooden dowel to clear the packed clay from each tine. Delay aeration for 48 to 72 hours to allow the soil profile to dry.
Machine Bouncing and Shallow Penetration
Cause: The soil is too dry, or the machine lacks sufficient downward force.
Fix: If using a walk-behind unit, check if it has a water-weight tank and fill it. If the soil is simply too hard, apply 1 inch of water and wait 24 hours before attempting the second pass. Never force the machine downward by leaning on the handlebars, as this damages the drive linkage.
Uneven Core Spacing
Cause: Walking speed is inconsistent. Most walk-behind aerators are geared to drop cores at optimal spacing when driven at a steady 2 to 3 mph walking pace.
Fix: Maintain a deliberate, consistent walking speed. If you walk too fast, the spacing between holes widens; if you walk too slow, the machine may over-saturate a single area and cause localized turf damage.

