
Lawn Care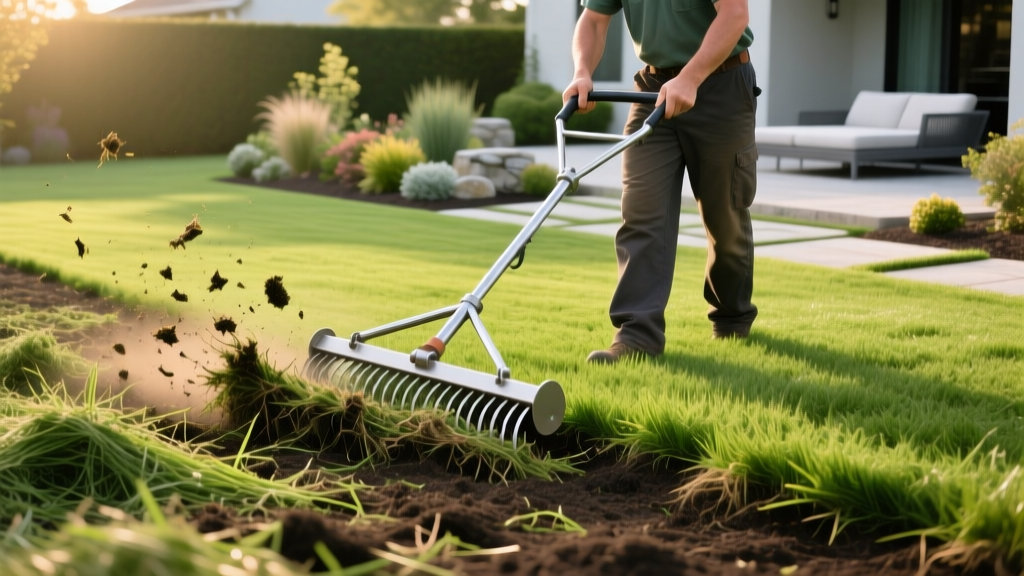
Step-by-Step Guide: When and How Your Lawn Should Be Dethatched
The Science of Thatch: Why Your Lawn Needs Intervention
Thatch is a tightly intermingled layer of living and dead stems, roots, and crowns that develops between the green vegetation and the soil surface. Contrary to popular belief, grass clippings do not cause thatch; they decompose rapidly. The real culprit is lignin-rich stem tissue from aggressive grasses like Kentucky bluegrass, Bermuda, and Zoysia. When a lawn is properly dethatched, you restore critical gas exchange, water infiltration, and nutrient penetration to the root zone. However, dethatching is an aggressive mechanical process. If executed improperly, it can scalp the turf, tear the crowns, and leave your lawn vulnerable to weed invasion and desiccation.
Diagnostic Matrix: Does Your Lawn Actually Need Dethatching?
Before renting heavy machinery, you must measure your thatch layer. Use a sharp spade or a soil probe to cut a 3-inch deep cross-section of your turf. Measure the brown, spongy layer between the green blades and the dark topsoil.
| Thatch Thickness | Lawn Condition | Required Action |
|---|---|---|
| Less than 0.5 inches | Healthy, optimal water penetration | No dethatching. Perform core aeration to maintain soil biology. |
| 0.5 to 0.75 inches | Moderate buildup, slight water runoff | Light power raking or aggressive manual thatch raking. |
| 0.75 to 1.5 inches | Severe buildup, shallow roots, spongy feel | Full mechanical dethatching (verticutting) followed by overseeding. |
| Over 1.5 inches | Critical failure, turf easily peels back | Multiple passes with a verticutter, or complete lawn renovation via sod/starter seed. |
For authoritative guidance on turfgrass thresholds, the Clemson University Extension recommends intervening the moment thatch exceeds the half-inch mark, particularly for warm-season species that produce aggressive stolons.
Phase 1: Timing and Seasonal Windows
Dethatching inflicts significant stress on turfgrass. You must schedule this procedure during your grass type's peak growth window so it can recover rapidly.
- Cool-Season Grasses (Kentucky Bluegrass, Tall Fescue, Perennial Ryegrass): Late summer to early fall (August through September). Spring dethatching is a common mistake; it disrupts the spring growth flush and opens the soil to summer annual weeds like crabgrass.
- Warm-Season Grasses (Bermuda, Zoysia, St. Augustine): Late spring to early summer (May through June), exactly after the lawn has fully greened up and entered its most aggressive vegetative growth phase.
Phase 2: Site Preparation and Hydration
Do not skip the preparation phase. The physical state of the soil dictates how cleanly the dethatching blades will slice through the thatch versus tearing the living roots.
- Hydrate the Profile: Water the lawn deeply 48 hours before the procedure. The soil should be moist but not muddy. If the soil is bone-dry, the tines will bounce off the surface; if it is waterlogged, the machine will rut the yard and tear living root crowns.
- Lower the Mower: Mow the lawn to 50% of its normal maintenance height. For Tall Fescue normally kept at 3.5 inches, mow it down to 1.75 inches. This exposes the thatch layer and prevents the machine from clogging with long green clippings.
- Clear Debris: Walk the grid and remove rocks, branches, and hidden irrigation heads. A power rake flail blade striking a hidden sprinkler head will shatter the PVC casing instantly.
Phase 3: Tool Selection and Blade Calibration
Choosing the right equipment is non-negotiable. The wrong tool will either fail to penetrate the thatch or destroy the soil structure.
Manual Thatch Rakes
Best for lawns under 1,500 square feet or spot-treatments. Purchase a heavy-duty, 15-tine steel thatch rake with a curved blade profile (e.g., Ames True Temper). Standard leaf rakes are entirely useless for this task; they lack the mass and blade geometry to penetrate the lignin layer.
Power Rakes (Flail Blades)
Power rakes use spring-loaded flail blades that spin on a horizontal axis, beating the thatch out of the canopy. Models like the Billy Goat PR360 are excellent for moderate thatch (0.5 to 0.75 inches) because they are less aggressive on the living crown tissue.
Verticutters (Fixed Blades)
For thatch exceeding 0.75 inches, you need a vertical mower (verticutter) like a Classen V20. These machines feature fixed, rigid blades on a horizontal reel that slice vertically into the soil. They pull up massive volumes of thatch and simultaneously slit the soil, creating perfect seed-to-soil contact for overseeding.
WARNING: The Calibration Rule
Never set the blades based on guesswork. Place the machine on a flat concrete surface, lower the blades until they just kiss the concrete, and then adjust the depth gauge down exactly 1/8 to 1/4 of an inch. The blades must barely scratch the soil surface. Setting them deeper will scalp the turf and destroy the root crown.
Phase 4: Execution and Overlap Patterns
Operate the dethatcher in straight, deliberate lines, similar to mowing. Maintain a steady walking pace; moving too fast allows the blades to skip over dense thatch mats, while moving too slow will churn the soil into a muddy trench.
For comprehensive coverage, execute a two-pass grid system. Make your first pass horizontally across the yard, and your second pass vertically (or at a 45-degree diagonal for sloped yards). Expect the lawn to look severely damaged, brown, and torn immediately after this process. This is a normal physiological response to mechanical stress.
Phase 5: Cleanup, Recovery, and Fertilization
The volume of debris generated will shock you. A 5,000-square-foot lawn with a 1-inch thatch layer can yield upwards of 15 to 20 cubic yards of dead material.
- Debris Removal: Use a heavy-duty landscaping rake or a commercial lawn sweeper to remove all extracted thatch. Leaving it on the lawn will smother the remaining turf and invite fungal pathogens like Pythium blight.
- Overseeding Integration: If you are overseeding, apply seed immediately after dethatching. The vertical slits left by the verticutter provide ideal micro-environments for seed germination, protecting them from wind and bird predation.
- Fertilization: Apply a starter fertilizer high in phosphorus to promote rapid root regeneration. A formulation like 18-24-12 applied at a rate of 1 lb of nitrogen per 1,000 square feet is ideal for post-dethatch recovery.
- Hydration: Water the lawn immediately after cleanup to settle the soil around exposed roots and wash fertilizer off the leaf tissue to prevent burning.
Cost Breakdown: DIY vs. Professional Services
Budgeting for a dethatching project requires factoring in equipment rental, fuel, and debris disposal. Below is a current market estimate for a standard 5,000-square-foot residential lawn.
| Method / Equipment | Estimated Cost | Best Use Case |
|---|---|---|
| Manual Thatch Rake (Purchase) | $35 - $60 | Lawns under 1,500 sq ft; high physical fitness required. |
| Power Rake (Daily Rental) | $85 - $130 / day | Moderate thatch; homeowners comfortable with heavy machinery. |
| Verticutter (Daily Rental) | $120 - $160 / day | Severe thatch; prepping for major overseeding renovation. |
| Professional Landscaping Service | $175 - $350 total | Large properties, sloped terrain, or lack of debris disposal options. |
Common Failure Modes to Avoid
According to turfgrass management protocols outlined by the UC Statewide IPM Program, improper dethatching often leads to long-term turf decline. Avoid these critical errors:
- Dethatching St. Augustine Grass: St. Augustine produces thick, above-ground stolons. Aggressive verticutting will rip these stolons out entirely, leaving bare dirt that may not recover. Use a specialized thatch rake or a power rake with the tines raised high for this specific species.
- Ignoring Soil pH: Thatch accumulation is often a symptom of highly acidic soil (pH below 6.0), which suppresses the microbes responsible for breaking down lignin. Always conduct a soil test and apply pelletized lime if your pH is low, otherwise the thatch will return within 18 months.
- Skipping the Herbicide Window: Do not apply pre-emergent herbicides within 4 weeks before or after dethatching if you plan to overseed. Pre-emergents will inhibit the germination of your new grass seed.
Summary Checklist for Success
1. Measure thatch depth (must be > 0.5 inches).
2. Verify seasonal timing (Fall for cool-season, late Spring for warm-season).
3. Mow low and water 48 hours prior.
4. Calibrate blades to penetrate soil by exactly 1/8 inch.
5. Run a two-pass diagonal grid.
6. Remove all debris, overseed, and apply starter fertilizer.

