
Lawn Care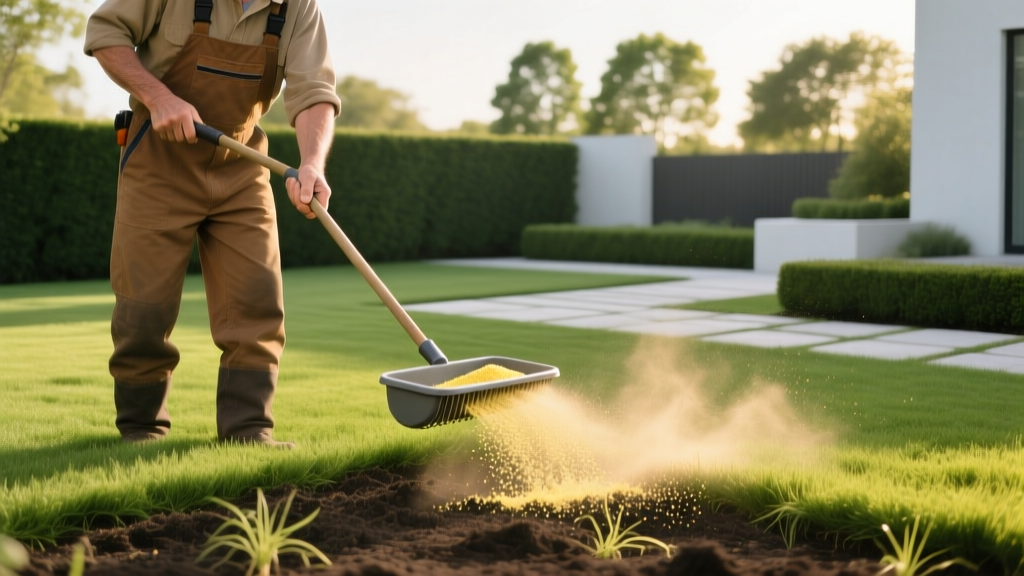
How to Apply Sulfur for Grass: A Step-by-Step Soil pH Guide
The Hidden Problem: Alkaline Soil and Nutrient Lockout
Most turfgrass species, including Kentucky bluegrass, tall fescue, and bermudagrass, thrive in a slightly acidic soil pH range of 6.0 to 7.0. When your soil pH creeps above 7.2, essential micronutrients like iron, manganese, and zinc become chemically bound to soil particles. No amount of fertilizer will fix the resulting chlorosis (yellowing) because the roots physically cannot absorb the locked nutrients. Applying elemental sulfur for grass is the most effective, long-term agronomic solution to lower soil pH and restore nutrient availability.
However, sulfur is not a quick-fix spray. It relies on complex soil biology and requires precise calculations to avoid severe salt burn. This guide details the exact step-by-step lawn maintenance procedures for testing, selecting, and applying sulfur to permanently correct alkaline turf environments.
Step 1: Diagnostic Testing and Understanding Buffer pH
Before purchasing any amendments, you must obtain a professional soil test. Do not rely on cheap, single-use plastic pH pens or dye kits from big-box stores; they only measure active acidity in water and ignore the soil’s cation exchange capacity (CEC).
Send a composite soil sample (10-12 cores taken at a 4-inch depth) to a reputable lab like Logan Labs or Waypoint Analytical. A comprehensive test in 2026 typically costs between $35 and $50. According to UMass Extension turf specialists, you must look for two specific metrics on your lab report:
- Water pH (Active Acidity): This tells you the current pH of the soil solution. If it reads 7.8, your soil is alkaline.
- Buffer pH (Reserve Acidity): This is the critical metric. It measures how much lime (calcium/magnesium carbonate) is bound to the clay and organic matter particles. A soil with a high clay content has a massive reserve of alkalinity, meaning it will require significantly more sulfur to lower the pH than a sandy soil with the exact same Water pH.
⚠ Agronomic Warning: Never attempt to lower your soil pH by more than 0.5 to 1.0 points in a single calendar year. Rapid, drastic shifts in soil chemistry will shock the turf’s root system and decimate beneficial microbial populations.
Step 2: Selecting the Right Sulfur Product
Not all sulfur is created equal. The physical form of the sulfur dictates how quickly it reacts, how easily it spreads, and the risk of phytotoxicity (plant burn). Below is a comparison of the three primary sulfur formulations used in modern lawn care.
| Product Type | Top Brand Example | Avg. Cost (2026) | Pros & Cons |
|---|---|---|---|
| Pelletized (90% Sulfur) | Tiger-Sul 90S | $45 - $55 / 40 lbs | Spreads evenly with rotary spreaders; low dust; slow, steady microbial breakdown. |
| Powdered / Dust | Espoma Organic Soil Acidifier | $15 - $20 / 4 lbs | Reacts faster due to high surface area; extremely messy; clogs drop spreaders; high wind drift. |
| Liquid Sulfur | Civility Liquid Sulfur 6% | $30 - $40 / Gallon | Immediate foliar greening effect; does not permanently alter soil pH long-term; high burn risk in heat. |
For structural soil pH modification, pelletized 90% elemental sulfur is the industry standard. The bentonite clay binder in products like Tiger-Sul causes the pellets to swell and disintegrate into microscopic particles when wet, providing the massive surface area required for bacterial oxidation without the hazard of airborne dust.
Step 3: Calculating the Exact Application Rate
Applying too much sulfur at once creates a toxic buildup of sulfates and salts, which will desiccate grass roots. Penn State Extension turfgrass specialists mandate a strict maximum application limit.
📋 The Golden Rule of Sulfur Application: Never apply more than 5 pounds of elemental sulfur per 1,000 square feet in a single application. If your soil test dictates you need 15 pounds per 1,000 sq ft to reach your target pH, you must split this into three separate applications spaced 8 to 10 weeks apart.
General Dosage Guidelines (Per 1,000 Sq Ft to drop pH by 1.0 point)
- Sandy Soil (Low Buffer Capacity): 8 to 10 lbs (Split into 2 applications)
- Loamy Soil (Medium Buffer Capacity): 15 to 20 lbs (Split into 3-4 applications)
- Heavy Clay Soil (High Buffer Capacity): 25 to 30+ lbs (Split into 5-6 applications over two seasons)
Step 4: Calibration and Spreading Procedure
Elemental sulfur is a heavy, dense material. If you use a broadcast (rotary) spreader, you must calibrate it specifically for sulfur to avoid over-applying.
- Mow the Lawn: Cut the grass to its standard height and remove any excessive thatch. Sulfur must reach the soil surface; if it gets trapped in a thick thatch layer, it will not react with the soil microbes.
- Set the Spreader: For a standard Scotts Rotary Spreader (like the EdgeGuard Mini) using Tiger-Sul 90S pellets, start with a dial setting of 3.5 to 4.0. Always check the specific product label, as pellet sizes vary slightly by manufacturer.
- Use the Perimeter Pass Method: Walk the perimeter of your lawn first with the spreader edge guard engaged (facing inward). Then, make overlapping back-and-forth passes across the interior, shutting off the hopper before turning at the edges to prevent double-application burns.
- Water Immediately: Apply 0.25 to 0.5 inches of irrigation immediately after spreading. This washes the pellets off the grass blades (preventing foliar burn) and initiates the swelling process of the bentonite clay binder.
Step 5: Microbial Activation and Timeline Expectations
Elemental sulfur is completely inert on its own. It does not lower pH until soil bacteria, specifically Thiobacillus thioparus and Thiobacillus thiooxidans, consume the sulfur and excrete sulfuric acid as a byproduct. This biological oxidation process is highly dependent on environmental conditions.
Factors Accelerating Sulfur Oxidation:
- Soil Temperature: Bacterial activity peaks between 75°F and 85°F. Oxidation virtually halts when soil temperatures drop below 55°F. Apply sulfur in early spring or early fall for best results.
- Moisture: The bacteria require consistent soil moisture. Drought conditions will stall the pH-lowering process entirely.
- Soil Aeration: Thiobacillus are aerobic bacteria. Compacted, anaerobic soils will drastically slow down sulfur conversion. Core aerating your lawn prior to sulfur application can reduce the conversion timeline by up to 30%.
Realistic Timeline: Do not expect an immediate pH shift. Even under optimal summer conditions, it takes 3 to 6 months for pelletized sulfur to fully oxidize and register as a lower pH on a follow-up soil test. Plan your maintenance schedule accordingly, and do not re-test your soil for at least 90 days post-application.
Troubleshooting Common Sulfur Application Failures
If you have applied sulfur but your grass remains yellow or your follow-up soil test shows no pH change, investigate these common edge cases:
1. The Irrigation Water is Alkaline
If you live in an arid region and irrigate with municipal or well water that has a high pH (above 7.5) and high bicarbonate levels, your irrigation water is constantly re-liming the soil. You are essentially fighting a losing battle. In this scenario, you must inject sulfuric acid into your irrigation system or use a liquid acidifying agent to neutralize the water bicarbonates before applying granular sulfur to the soil.
2. Surface Application on Established Lawns
Sulfur is relatively immobile in the soil profile. If broadcasted on the surface of an established lawn, the sulfuric acid produced will only lower the pH of the top 1 inch of soil, while the grassroots are pulling nutrients from 4 inches deep. To solve this, pair your sulfur applications with annual core aeration. The aeration holes allow the sulfur pellets and the resulting acidic water to penetrate deep into the root zone where they are actually needed.
3. Confusing Sulfur with Iron Sulfate
Iron sulfate (ferrous sulfate) will lower soil pH and green up the grass simultaneously, but it requires massive application rates (up to 20 lbs per 1,000 sq ft) to alter soil pH, which risks severe iron toxicity and staining of concrete. Stick to elemental sulfur for structural pH modification, and use chelated iron (like Fe-EDDHA) strictly for foliar greening if immediate aesthetic results are required while waiting for the sulfur to work.

