
Lawn Care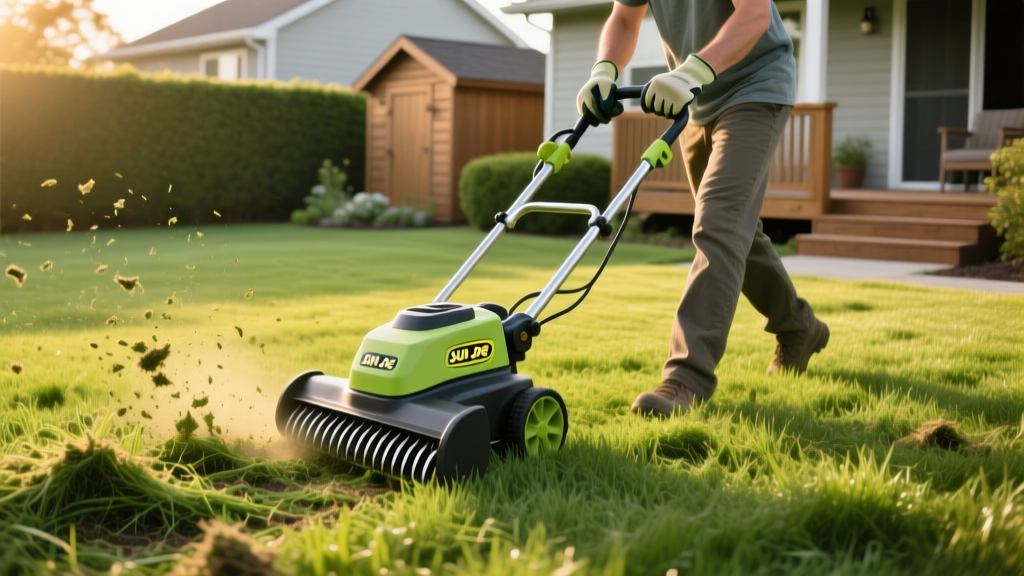
How to Use a Sun Joe Dethatcher and Scarifier: Step-by-Step Guide
A healthy lawn requires a delicate balance of soil, water, and organic matter. However, when the layer of dead and living stems, roots, and crowns—known as thatch—exceeds half an inch, it becomes a barrier. It blocks water infiltration, harbors fungal pathogens, and prevents fertilizer from reaching the root zone. For homeowners managing mid-sized lawns (up to 5,000 square feet), the Sun Joe AJ801E 14-Inch 11-Amp Electric Dethatcher and Scarifier offers a highly effective, mid-tier solution, typically retailing between $150 and $180 in 2026.
Unlike gas-powered pull-behind units that require heavy tractors, this electric walk-behind model provides precise maneuverability. However, its effectiveness relies entirely on proper calibration, timing, and execution. Below is the definitive, agronomically sound procedure for utilizing the Sun Joe dethatcher and scarifier to renovate your turf.
Dethatching vs. Scarifying: Selecting the Correct Sun Joe Attachment
The Sun Joe AJ801E is a dual-purpose machine. It ships with two distinct cylindrical drums, and confusing them is the most common failure point for DIY lawn renovations. Understanding the mechanical difference between the two is critical before you pull the trigger.
| Feature | Dethatching Cylinder (Spring Tines) | Scarifying Cylinder (Steel Blades) |
|---|---|---|
| Mechanism | Flexible stainless steel tines that comb and pull. | Rigid, flat steel blades that slice and cut. |
| Primary Purpose | Removes dead organic matter (thatch) from the surface. | Cuts through thatch and slices into the topsoil (shallow aeration). |
| Best Use Case | Lawns with 0.5 to 1.0 inch of thatch; spring/fall cleanup. | Severe thatch buildup (>1 inch); pre-overseeding soil preparation. |
| Turf Impact | Gentle on healthy grass crowns; minimal soil disruption. | Aggressive; will tear healthy grass and leave visible soil grooves. |
Expert Warning: Do not use the scarifier blade attachment on newly established lawns (less than one year old) or on delicate warm-season grasses like centipedegrass, as the aggressive slicing will sever shallow stolons and cause severe turf dieback. Stick to the spring-tine dethatcher for routine maintenance.
Phase 1: Pre-Procedure Lawn Preparation
Operating the Sun Joe dethatcher and scarifier on an unprepared lawn will yield uneven results and strain the 11-amp motor. Follow these preparation steps 24 to 48 hours before dethatching.
1. Measure the Thatch Layer
Do not guess. Use a flat-edged spade or a soil probe to extract a 3-inch deep cross-section of your lawn. Measure the brown, spongy layer between the green grass and the dark topsoil. If it is less than 0.5 inches, dethatching is unnecessary and will only stress the turf. If it exceeds 0.5 inches, proceed with the renovation.
2. Lower the Mowing Height
Two days before dethatching, mow your lawn significantly lower than your standard maintenance height. For cool-season grasses like Kentucky bluegrass or tall fescue, drop the deck to 1.5 inches. For warm-season grasses like Bermudagrass or Zoysia, drop it to 1 inch. This exposes the thatch layer to the Sun Joe's tines and prevents the machine from bogging down in long grass blades.
3. Optimize Soil Moisture
The soil should be moderately moist, not saturated. Water the lawn lightly the evening before if the ground is bone-dry. If the soil is muddy or waterlogged, postpone the procedure. Running the Sun Joe on wet soil will cause the wheels to slip, create muddy ruts, and lead to severe soil compaction.
Phase 2: Step-by-Step Operation of the Sun Joe Dethatcher
With the lawn prepped and the correct cylinder installed (spring tines for standard thatch removal), you are ready to begin the mechanical extraction.
Step 1: Calibrate the 5-Position Depth Knob
The Sun Joe AJ801E features a 5-position depth control lever located near the front wheels. This is not a 'set it and forget it' dial; it requires active calibration based on your lawn's topography.
- Setting 1 (Highest): Tines barely graze the surface. Use this for the first pass on a lawn with uneven terrain to avoid scalping high spots.
- Setting 3 (Medium): The standard operating depth. The tines should penetrate the thatch and lightly scratch the soil surface.
- Setting 5 (Lowest): Aggressive penetration. Reserve this only for the second pass on heavily compacted thatch layers.
Calibration Test: Place the machine on a flat concrete driveway. Lower the lever to Setting 3. The tines should just barely kiss the concrete. If they press hard against the pavement, the machine will scalp your lawn and dull the tines instantly.
Step 2: Execute the Overlap Mowing Pattern
Start the machine by engaging the safety switch and pulling the trigger. Always start the motor while the machine is lifted slightly off the grass to prevent stalling.
- Walk at a steady, moderate pace (about 2 miles per hour). Walking too fast leaves thatch behind; walking too slow over-processes the turf.
- Push the machine in straight, parallel lines, similar to mowing.
- The Overlap Rule: Overlap each subsequent pass by 2 to 3 inches. This ensures no strips of thatch are missed, which is a common issue when relying on the machine's 14-inch swath width.
- For severe thatch (>0.75 inches), make a second pass perpendicular to the first (in a cross-hatch grid pattern), dropping the depth knob one setting lower.
Step 3: Manage the Debris (The Bagger Limitation)
The Sun Joe AJ801E includes a rear collection bag, but real-world application reveals a critical limitation: the bag clogs within 50 to 100 square feet when dealing with heavy thatch. The airflow generated by the 11-amp motor is insufficient to keep wet, dense thatch suspended in the bag.
Pro-Tip for Cleanup: Remove the collection bag entirely. Allow the machine to discharge the thatch onto the surface in windrows. Once the lawn is fully processed, use a heavy-duty leaf rake or a tow-behind lawn sweeper to gather the debris. Tarp it and remove it from the property to prevent smothering the remaining grass.
Phase 3: Post-Dethatching Recovery Protocol
Dethatching is a traumatic event for turfgrass. The University of Minnesota Extension emphasizes that the lawn is now highly vulnerable to weed invasion and desiccation. Immediate post-care is non-negotiable.
1. Overseed Bare Patches
If the dethatching process exposed bare soil (which is highly beneficial for seed-to-soil contact), overseed immediately. Apply a starter fertilizer (high in phosphorus, such as a 10-18-10 NPK ratio) at a rate of 0.5 lbs of nitrogen per 1,000 square feet to support rapid germination.
2. Deep Hydration
Water the lawn deeply immediately after cleanup and seeding. Apply roughly 0.5 inches of water to settle the soil around the exposed roots and new seed. For the next 14 days, maintain consistent surface moisture with light, daily watering if you have overseeded.
3. Delay Broadleaf Herbicides
Do not apply pre-emergent or post-emergent herbicides for at least 4 to 6 weeks following dethatching and overseeding. Chemical barriers will prevent your new grass seed from germinating, and systemic herbicides will stress the already weakened existing turf.
Seasonal Timing Guide for Optimal Results
Timing your use of the Sun Joe dethatcher and scarifier is just as important as the mechanical execution. Dethatching during peak summer heat or winter dormancy will result in severe turf damage. According to turfgrass specialists at NC State University, recovery depends heavily on the grass's active growth cycle.
| Grass Category | Common Varieties | Optimal Dethatching Window | Estimated Recovery Time |
|---|---|---|---|
| Cool-Season | Kentucky Bluegrass, Tall Fescue, Perennial Ryegrass | Early Fall (Late August to Mid-September) or Early Spring (April) | 14 to 21 days |
| Warm-Season | Bermudagrass, Zoysia, St. Augustine, Centipede | Late Spring to Early Summer (May to June) after full green-up | 10 to 14 days |
By aligning the mechanical stress of the Sun Joe dethatcher and scarifier with the natural peak growth cycles of your specific turfgrass, you ensure rapid canopy recovery and a dense, weed-resistant lawn for the remainder of the growing season.

